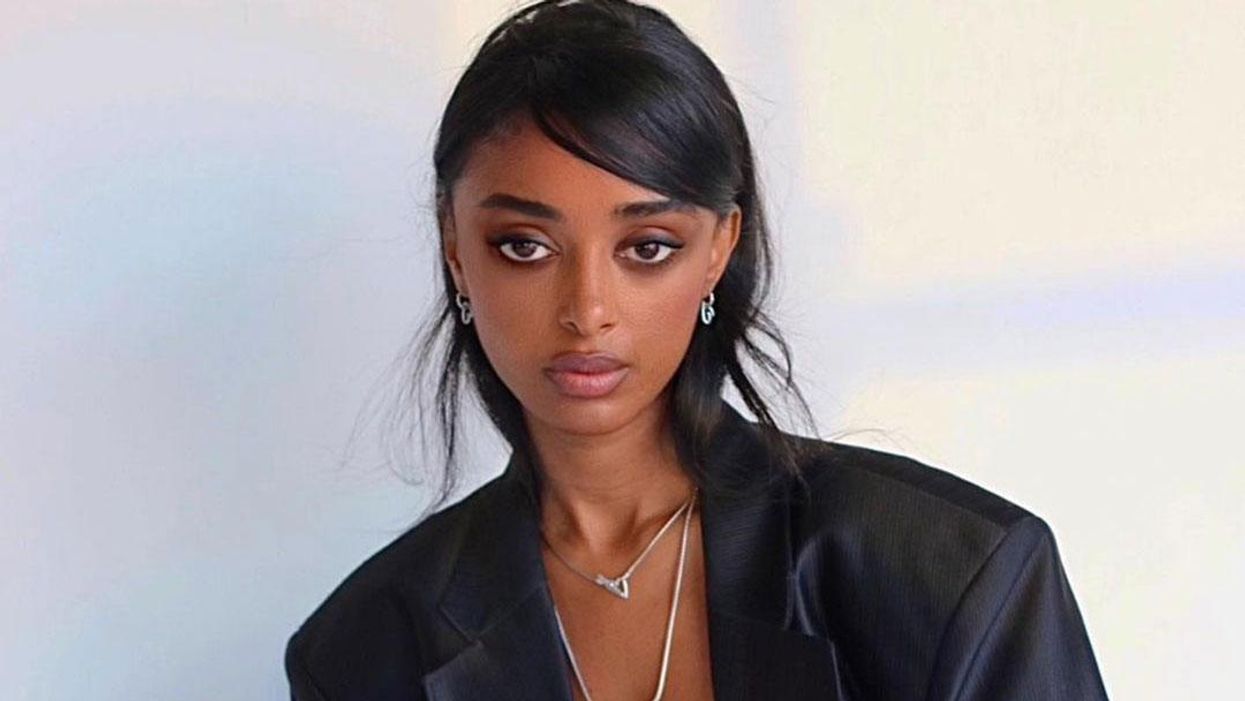
The internet has had a long-standing obsession with '90s style that continues to live on in our obsession with Jil Sander pantsuits and butterfly hair clips. With the world opening back up, there's no wondering why people have taken to re-creating an *iconic* lip look from the '90s to rock as they start to hang out in the world again: the supermodel lip look. You can see everyone from TikTokers and Instagrammers to Kim Kardashian and Beyoncé rocking this '90s lip look made famous by figures like Naomi Campbell, Cindy Crawford, and Angelina Jolie.
They're those hazy, matte lips with a soft gradient from the lip line to the center of the lips that makes the entire look pouty and full. Naturally, we want to know how we can re-create this look at home. Celebrity makeup artist Jenna Kristina and makeup artist and founder of B3 Balm Julia Dalton-Brush give us the details on how to re-create this iconic lip look.
Preparing Your Tools
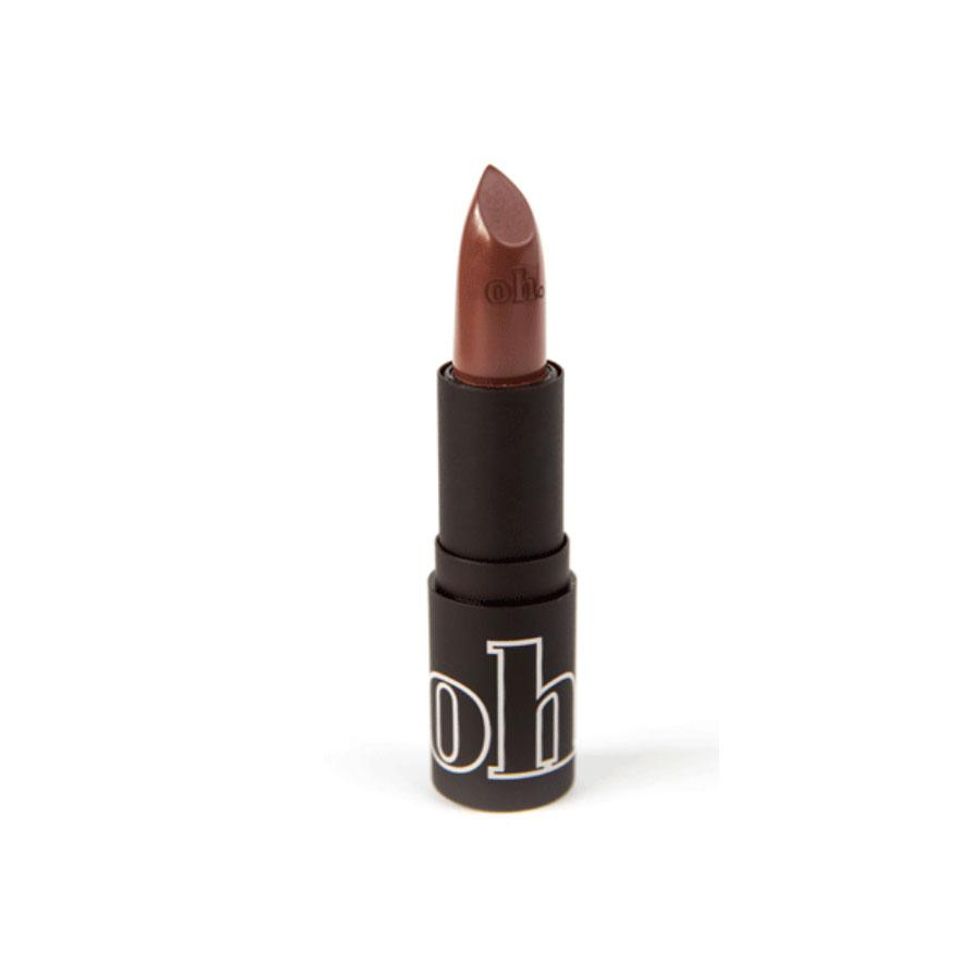
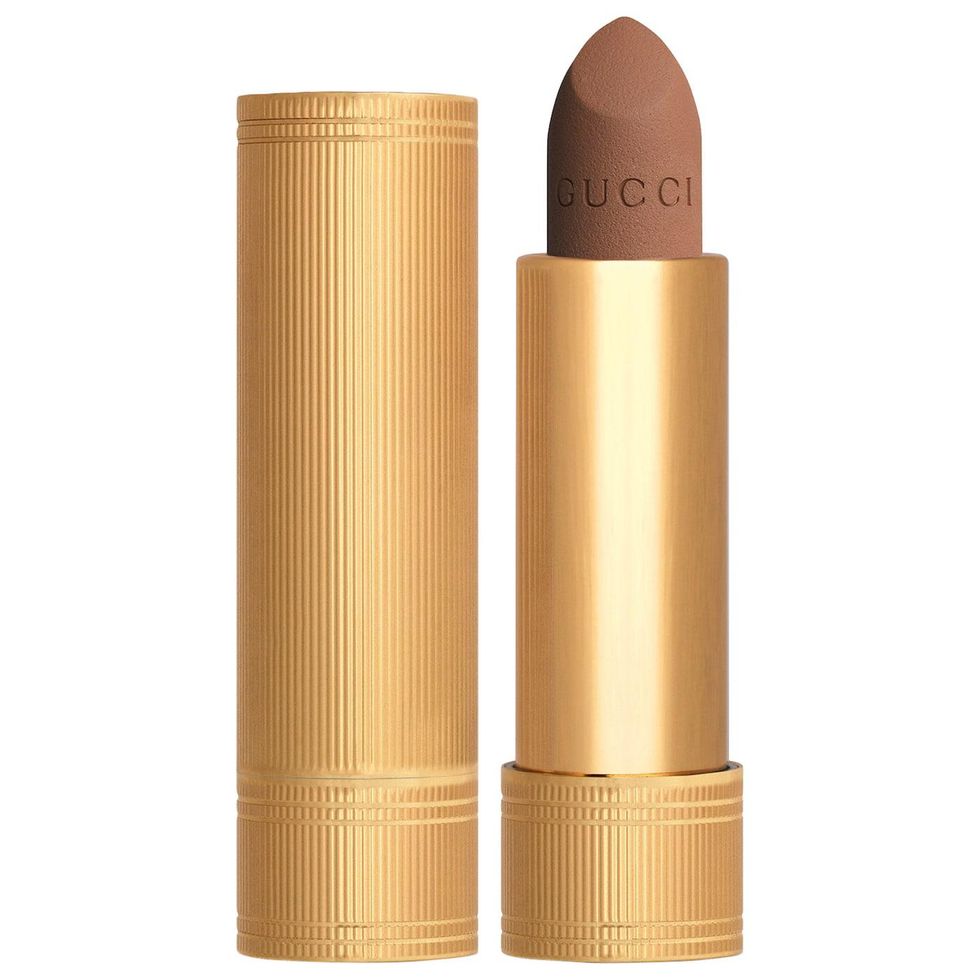
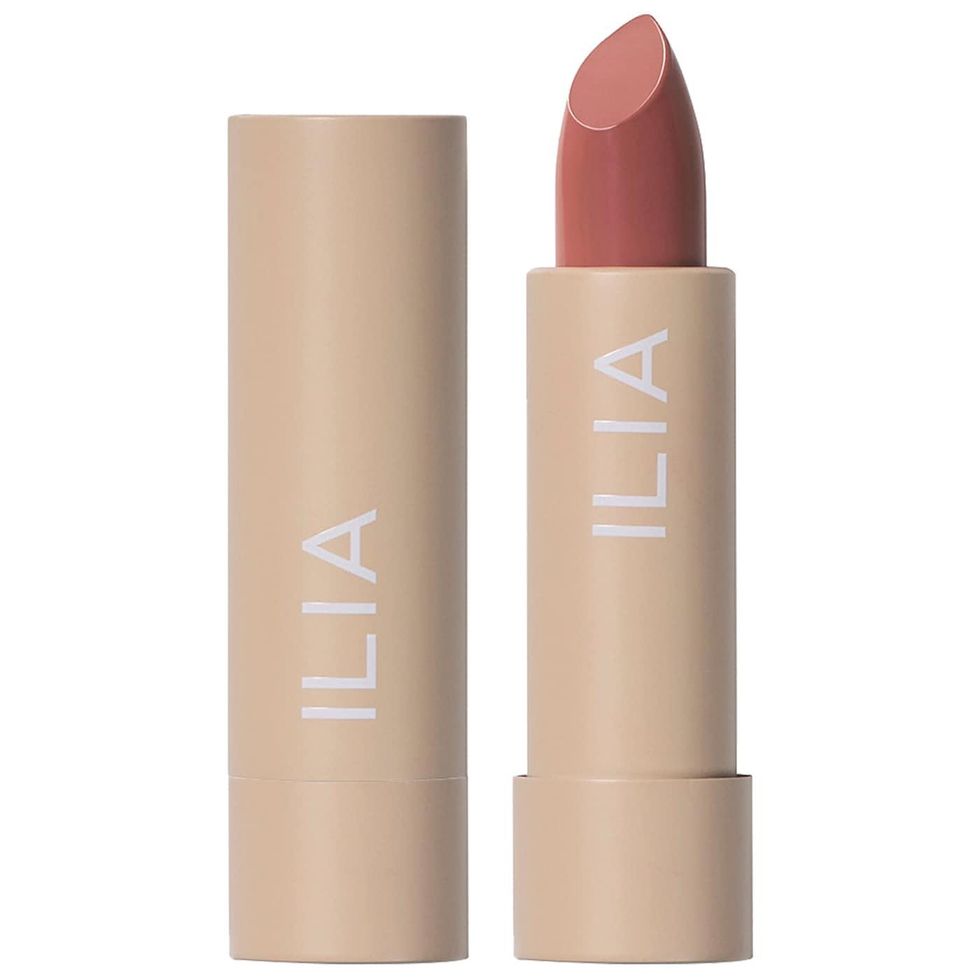
Before getting into the nitty-gritty of applying this lip look, it's essential to understand the tools you need to rock a look that'll have even Tyra Banks wondering about your makeup secrets. Given that this makeup trend is on the natural side, you'll want to find a nude lipstick close to your lips' natural color. And if you end up with a slightly lighter lipstick than the natural colors of your lips, that is completely fine, too. Dalton-Brush mentions, "It doesn't have to be a perfect match," since this look is the overall illusion of a gradient that becomes slightly darker towards the outer perimeters of your lips.
As far as which lipstick formula to purchase, you'll be glad to know that you can work with virtually any lipstick that's already living in your current collection. However, Kristina warns, "I wouldn't recommend using a liquid lipstick for this because it doesn't blend easily. Every other type of lipstick works."
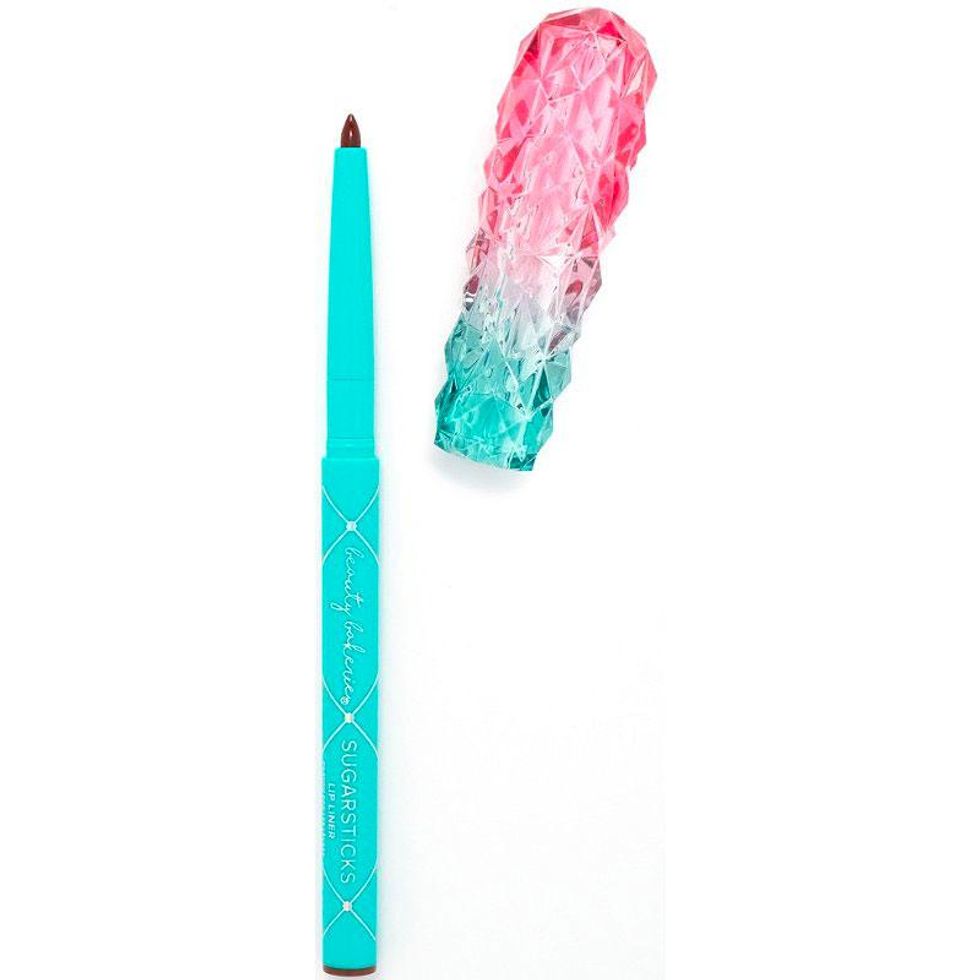
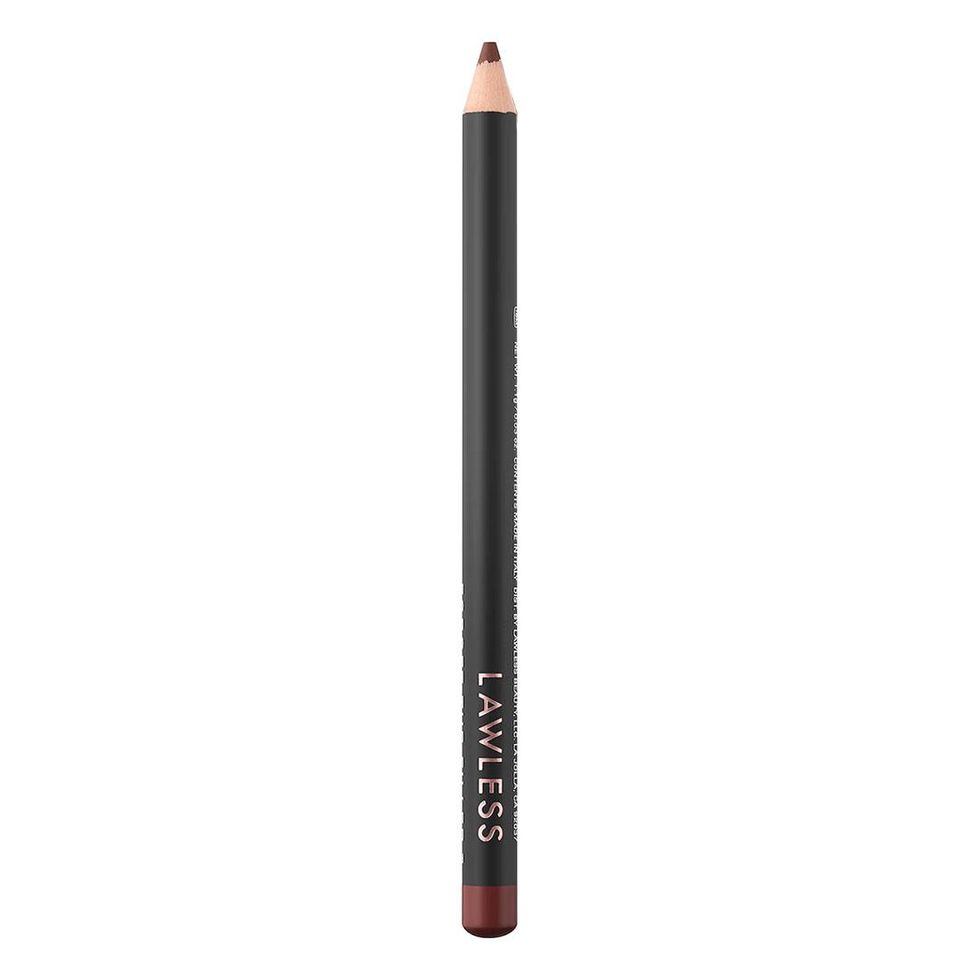
Additionally, you will want to make sure that you grab a lip liner to tie into this look's gradient feature. Says Kristina, "You definitely want [there to be a] noticeable difference [in the look's gradient], so a lip liner at least three shades darker than your lipstick is a good place to start."
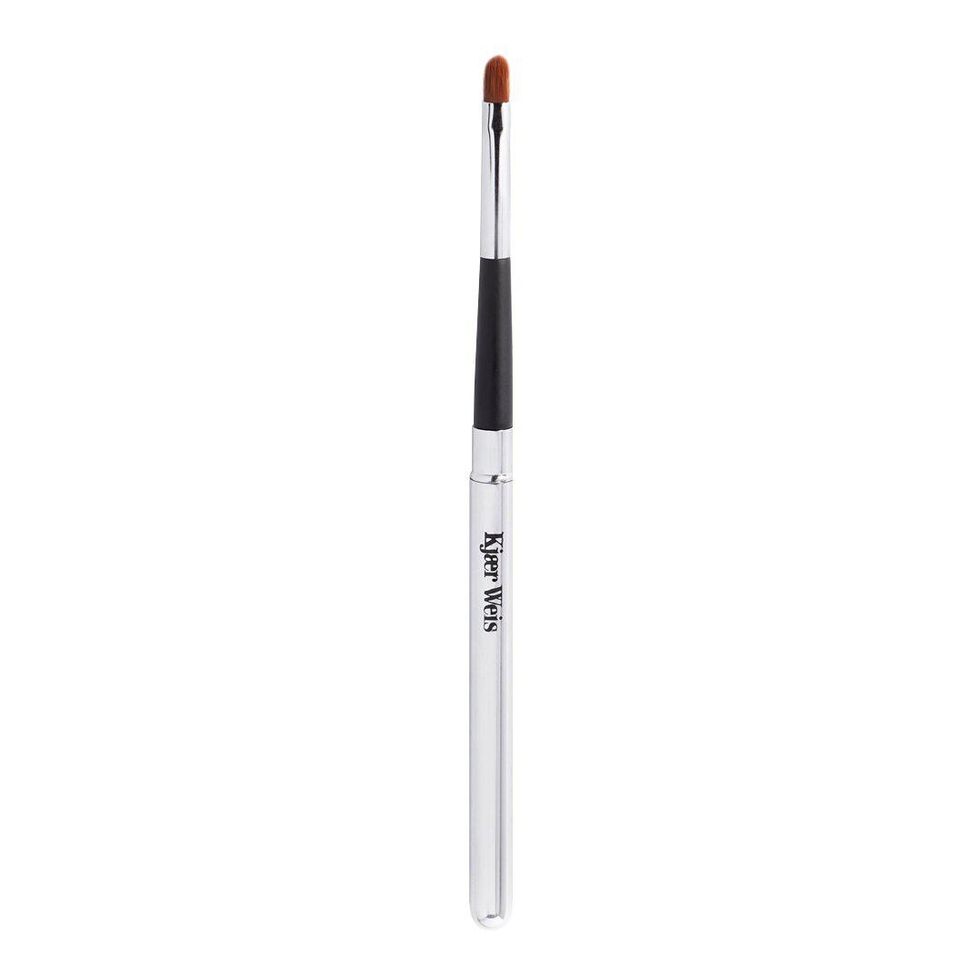
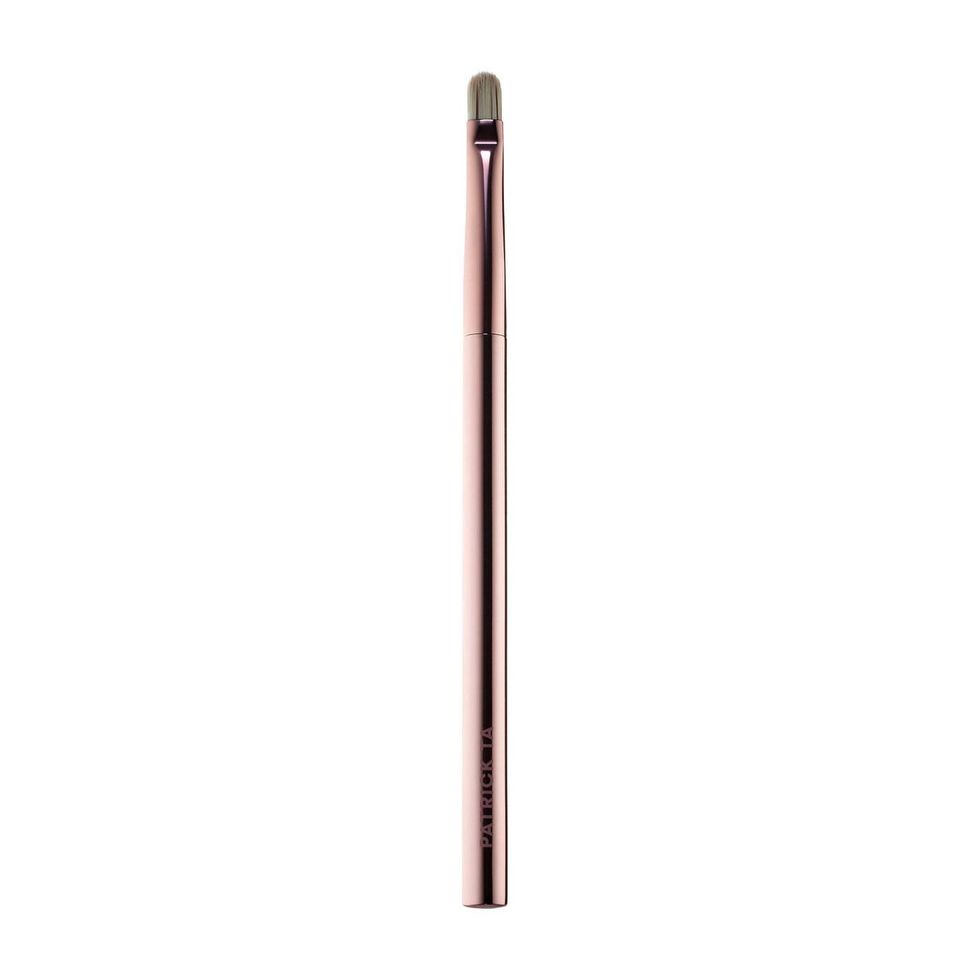
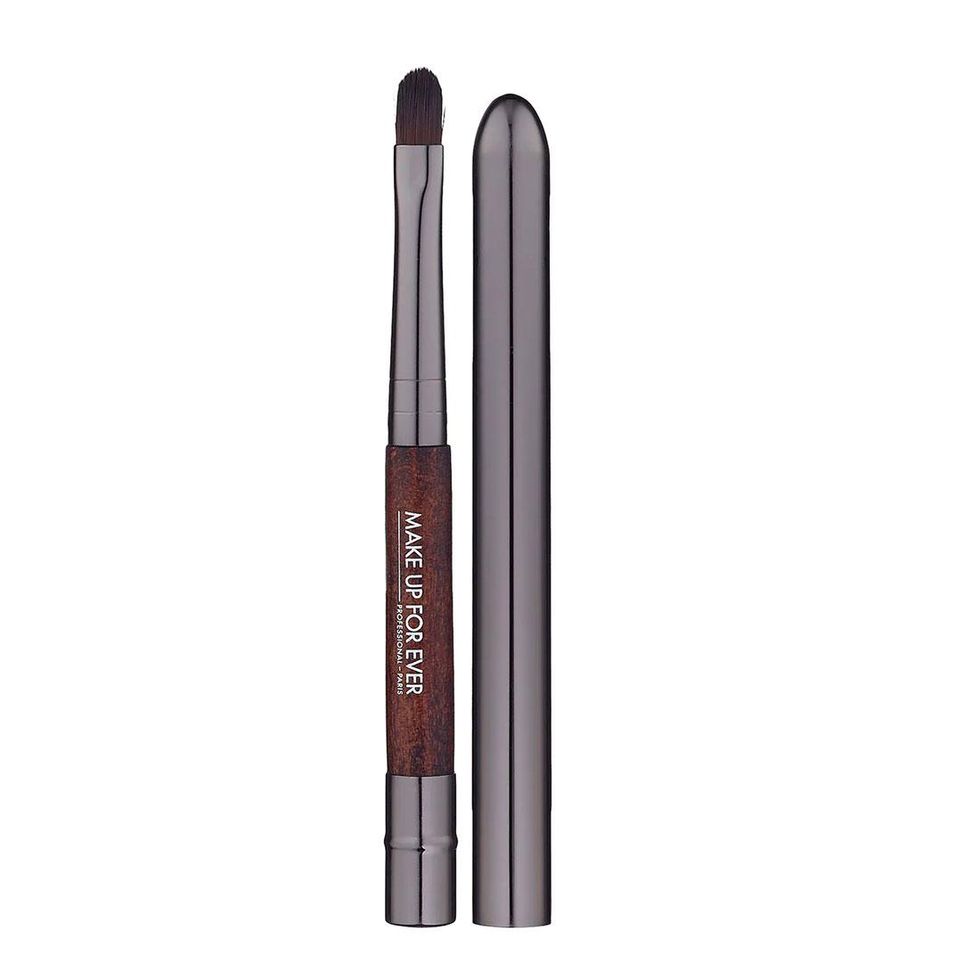
And finally, make sure to grab some tissues for blotting and a brush for blending. Says Kristina, "A soft lip brush or tapping with your finger [should be enough for blending the products into a seamless gradient look]."
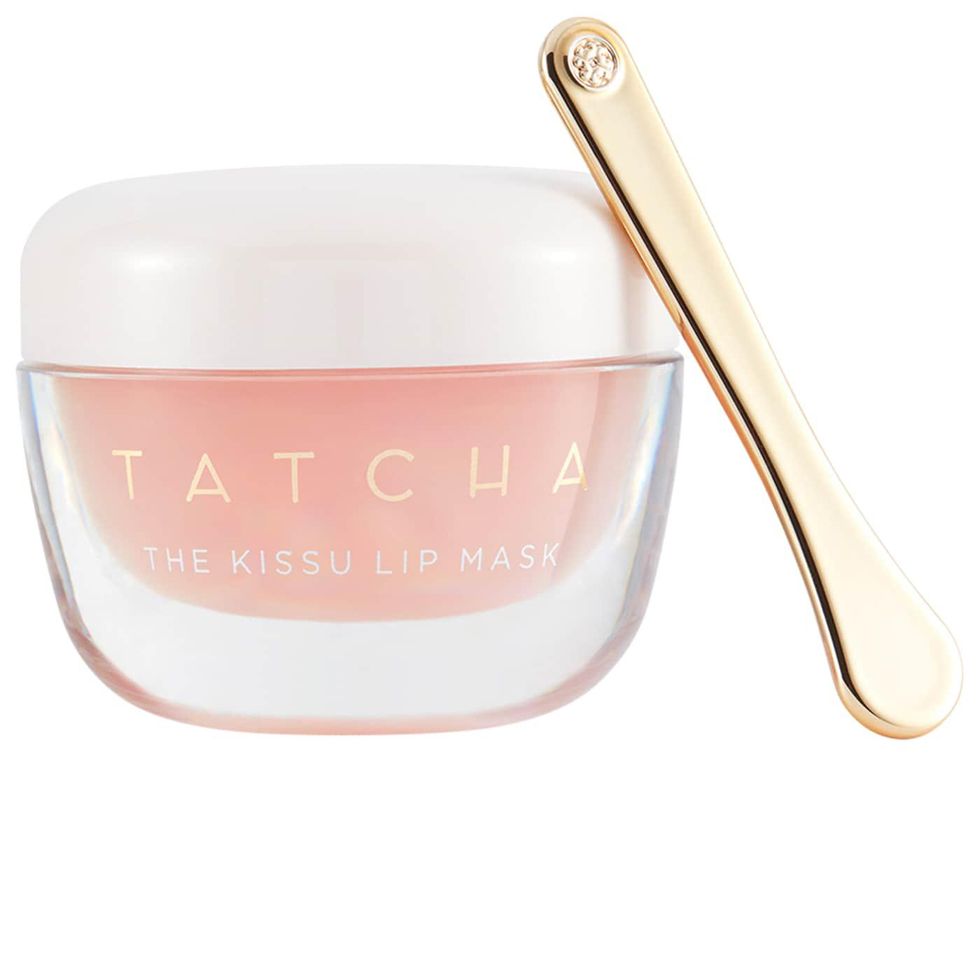
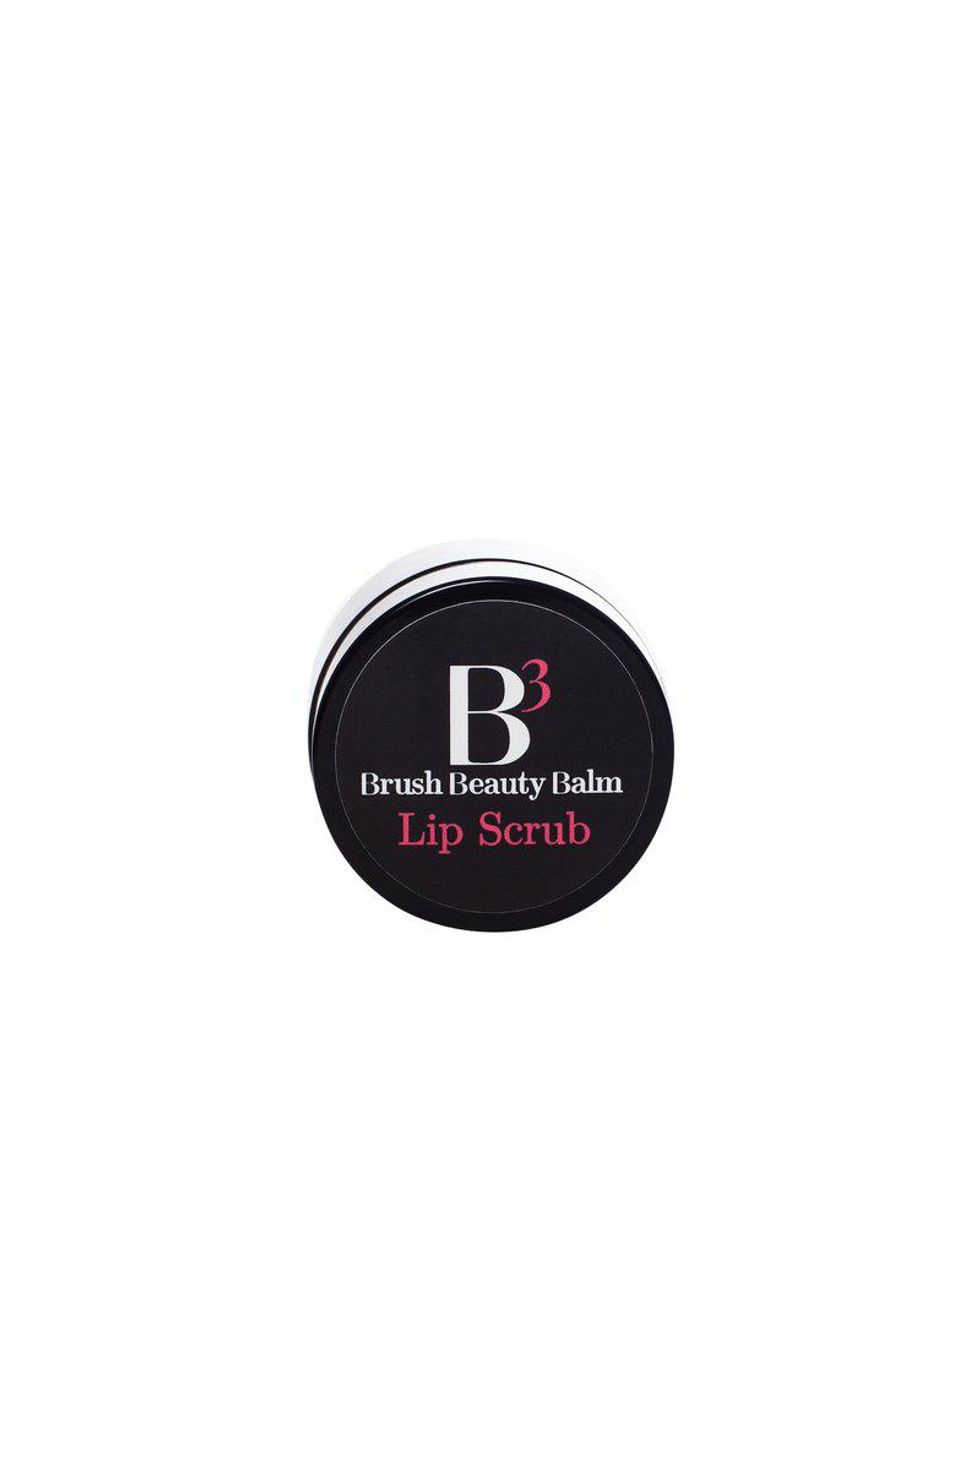
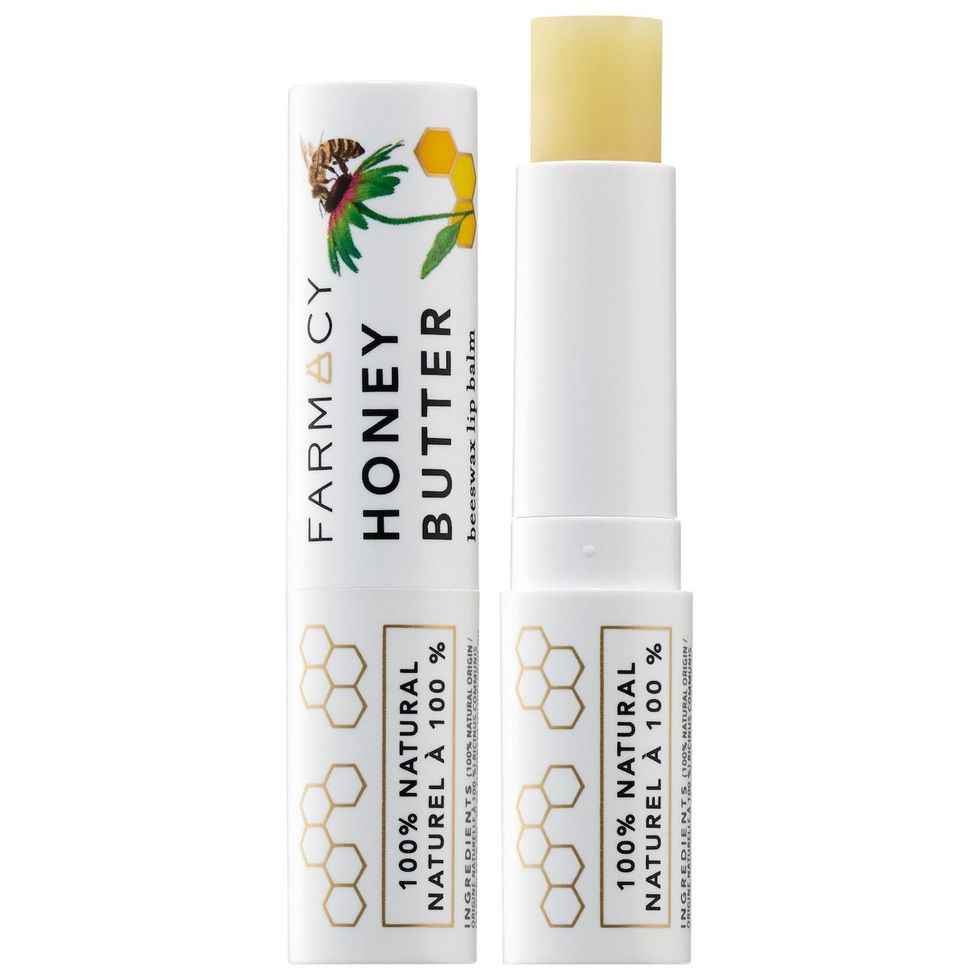
Step 1: Exfoliate and Moisturize the Lips
Before delving into any makeup routine, a good skin-care base is a *must* for having a prepped and primed canvas that will hold the makeup for hours on end. Dalton-Brush reveals to Coveteur, "Because this look shows your natural lip, you want to make sure you [get] rid of all dead skin from the lip." Starting with a good scrub or lip peel should suffice. Kristina adds, "Lip hydration is always important [before makeup application]. It's just like how you wouldn't do your face makeup without [first applying] your moisturizer." Consider looking for a lip balm that moisturizes the lips without leaving behind a too-shiny residue.
Step 2: Apply Lip Liner
"Apply liner first. I like to apply the liner on [the pencil's] side so that the line is a bit thicker. This helps the blending process," mentions Kristina. You can also overline your lips during this step for an even poutier appearance. For this, overline at the center of the top lip near the Cupid's bow, and gradually bring the liner to your natural lip line as you reach the corners of your mouth. Then overline the center of your bottom lip and bring the line to your natural lip line as you reach the corner of your mouth. This will ensure that the overlining looks as natural as possible.

Step 3: Apply Lipstick
Both makeup artists agree that to achieve this look, apply the nude lipstick to the center of the lips, making sure not to cover the portions of the lip that have liner on them.
Step 4: Blend, Blot, & Repeat
Dalton-Brush states, "You want to use a brush that can gently blend without leaving any hard lines," so grab a lip liner and begin to blend the lipstick into the lip liner. And no worries if this does not look complete after the first application—says Kristina, "You definitely want to apply this look in layers." After the first layer is complete, blot the lips with a piece of tissue paper, apply the lip liner, lipstick, and blend again. Repeat this process until you are satisfied with the final look.
Et voilà. You are now rocking the '90s lip trend that had everyone's heads turning as the world's stars graced the red carpet during the hottest events. And don't be afraid to play your favorite TLC album while doing your makeup—there's no reason you should *not* fully immerse yourself in the nostalgia of the '90s.
Top photo: Courtesy of Instagram/@frezrr
Want more stories like this?
Add to Cart: 15 Bright & Bold Lip Colors
The Top 9 Liquid Liners for a Clean, Sharp Line Every Time
Ask a Makeup Artist: How to Apply Blush for Your Face Shape