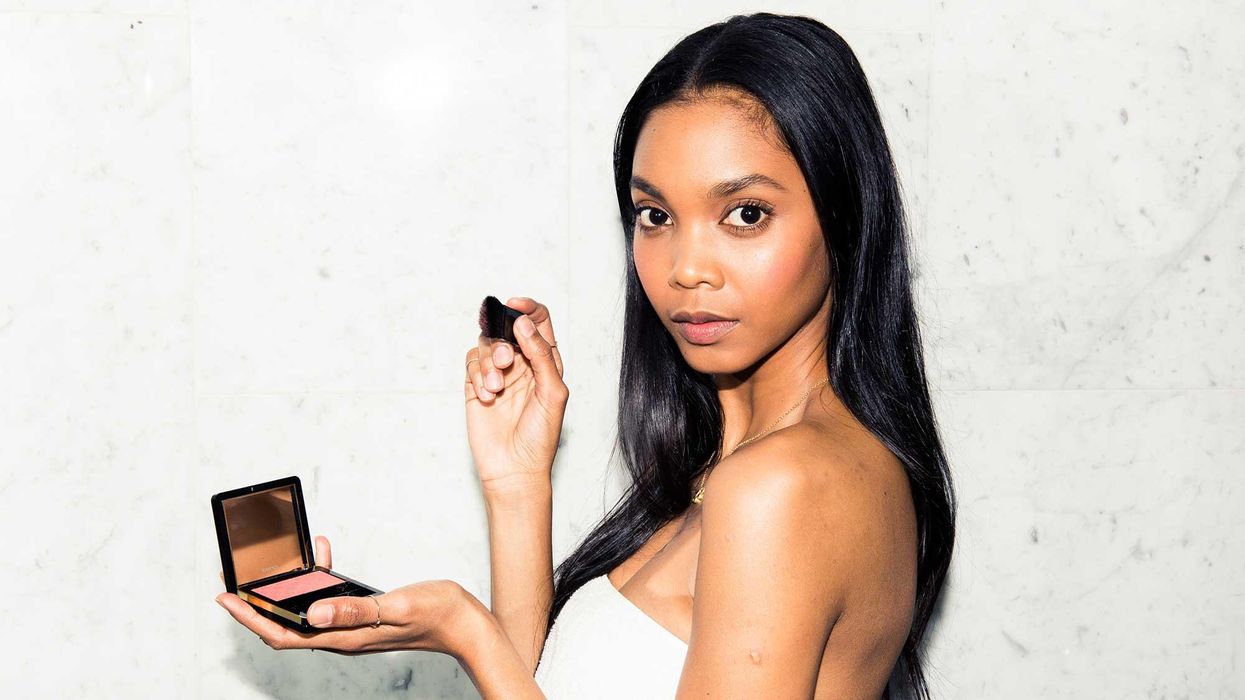
In today's world, to up the radiance of our complexions, we typically flock to the highlighters that can provide us with a dewy, glass-like glow. Now, we're not here to discredit highlighter or its ability to make us look like we've had our morning serving of a liter of water. But one of the best ways to boost the look of vitality in one's complexion that's often overlooked is blush. With spring in full bloom, what better way to add a flush that suggests you've been out in the sun, or just had a killer workout, than some rosy pigments upon your cheeks?
Of course, everyone is different, which is why it's important to apply blush that best suits your face shape for a sun-kissed complexion that can accentuate your features, too. Celebrity makeup artist and founder of Westman Atelier Gucci Westman, celebrity makeup artist and founder of Jenny Patinkin Cosmetics Jenny Patinkin, NY-based makeup artist Ashley Rebecca, and celebrity makeup artist Jenna Kristina share their best-kept secrets for applying blush to each specific face shape.
Before getting into the nitty-gritty regarding which application techniques you should try for your face shape, it's best to discuss the tools necessary to carry out this process. All makeup artists agree that a cream or liquid formula will be your go-to when it comes to applying blush that blends in seamlessly with the rest of your makeup. Kristina reveals to Coveteur, "I love the watercolor effect they tend to give to your skin. They can be layered for a more opaque effect, or lightly dabbed on to give the illusion that this isn't the first bit of vitamin D you've received this year."
Rebecca mentions, "If you have dry skin, choose creamier formulas versus powder. And if you're oily, you can apply cream blush and add a touch of powder blush to set it for a long-lasting finish."
Now that you have your products ready, here's exactly how blush can accentuate your face shape. Patinkin states, "With any face shape, blush placement is all about finding balance in the anatomy and breaking up the planes in a way that gives the appearance of more lifted, sculpted cheekbones."
Here are a few ways the experts love applying blush for...
Round Face Shapes
These face shapes tend to have plump cheeks that round out the structure of one's face shape.
"Usually, round-shaped faces have beautiful, round cheeks, [and there's] no need to shy away from that. Amplify it by popping some rosy tones on the apples of your cheeks. This is a very youthful-looking application, which is an added bonus. [Consider popping] a bit on your chin as well." —Kristina
"On a round face, I like to use a flat/fluffy-shape brush to apply a soft, upwards streak on the outer part of the cheek bones, lined up under the outer corner of the eye, and then blend and soften the edges while leaving a little more intensity in the center. I use my Luxury Vegan Cheek Brush for this technique." —Patinkin
"To add lift and contour for a round face shape, apply blush in an upward motion, extending towards the ear right above the apple of your cheeks. Blush brushes, fingers, or your favorite blending tools are suitable for this." —Rebecca
Oval Face Shapes
Oval face shapes are similar to round face shapes, as one of their main characteristics are plump cheeks. Yet these face shapes tend to be longer, creating a more oval appearance.
"I like to apply blush slightly past the apple of the cheek and blend it outward when working with an oval face shape. A nice, fluffy blush brush is great for this technique, buffing and blending as you go." —Rebecca
"On an oval face, diffusing the blush in an upward angle from the center of the apples directed towards the temples creates the illusion of lift. I like to use my Luxury Vegan All-Over Face Brush for this so that the color gets softly feathered and doesn't look like a stripe." —Patinkin
"Overall, I tend to apply blush on the highest part of the cheekbone and more on the outer edges of the face. Of course, there are always exceptions, but I find this helps to brighten and open the face." —Kristina
Heart-Shaped Faces
A heart-shaped face tends to narrow down to a pointed chin.
"[Applying blush to a heart-shaped face] is somewhat of a blend between focusing on the apples of your cheeks, but also lifting it up into your hairline." —Kristina
"Since a pointy chin is the most prominent angle on a heart-shaped face, applying blush right on the apples of the cheeks draws the eyes up and creates a softer, less angular appearance. For this look, it's nice to use the 'butt' of my smaller Pure Luxury Makeup Sponge to gently press a cream blush into place." —Patinkin
"For heart-shaped faces, I usually apply blush to the apple of the cheek and blend in an upward-lifting motion. When working with cream formulas, I'll use my fingers to layer the color." —Rebecca
Square-Rectangular Face Shapes
These face shapes are most known for their striking, strong jawlines.
"On a square face, it looks really pretty to start your application on the apples of the cheeks, but then direct it upwards towards the temples. This breaks up the plane of the face and gives a horizontal balance to a more vertical anatomy." —Patinkin
"I [like to] stick to right above where their cheeks indent (where most people contour) and dust across the nose." —Kristina
"Following the same protocol as the oval face, I'll apply [blush] slightly off-center from the apple and blend upwards." —Rebecca
Although these application techniques will work for most people with their specific face shape, there is a reason why most makeup artists will tell you to stick with applying blush to the apples of the cheeks. Says Westman, "For me, I find that working in a horizontal oval that stretches along the tops of the apples and back toward the upper ear is flattering on almost everyone. It recreates the kind of flush you get from being super oxygenated after a good workout or being outside all day. You can keep the color more rounded on the apples to soften your angles, or work upward along the cheekbones for more contour and definition."
Additionally, it's important to remember to apply blush that is best suited for your skin. For mature skin, Westman explains, "Our faces change over the years, and it's important that over time we change the placement of our blush. Generally, you need to apply it a bit higher up on the cheekbone, which lifts your face up naturally."
And don't be afraid to pop some color onto the other parts of your face too–this is your makeup routine, after all, and despite what feels like following a list of rules, you should have fun with it. Westman reveals, "For a flushed, rosy effect, dab the tiniest bit of color across the bridge of your nose." Kristina adds, "I love dusting a bit on the bridge of the nose, across the eyelids, and a bit on the temples. This really adds depth and dimension to the face."
Want more stories like this?
9 Dewy Cream Blushes to Help Liven Up Your Winter Complexion
Ask a Makeup Artist: The Industry Secrets to That Glass Skin Glow
Ask a Makeup Artist: How to Shade Match Your Foundation Online