
This $25 Lash-Lifting Kit Gave Me Better Results Than the Salon
I didn’t even know my eyelashes were this long.
As much as I enjoy some zen me-time while getting ready in the morning, if there’s something I can skip in favor of an extra slap of the snooze button, I’m game. That’s how I found myself making regular lash-extension appointments for the last two years. If my lashes are already done when I wake up, it’s likely that I’m ending my routine before it’s even started. Unfortunately, this habit started to take a toll on the length and health of my lashes, so I made the executive decision to cut ties with extensions and opt for the au-naturel route. After nursing my lashes back to health with the help of a little growth serum, I booked an appointment for a lash lift—I wasn’t ready to go back to the lash-curler-and-mascara life.
I’ll admit—the experience wasn’t exactly pleasant. During the 45 minutes I spent wondering if I was being blinded by the chemicals (which are used to effectively perm your lashes), I told myself it would be worth it once I saw the results. However, to my disappointment, my lashes actually looked shorter than when I just used a lash curler. The curve of the individual hairs was too gradual and lacked that eye-opening, vertical lift I was hoping for. Sure, they looked better than their straight, nearly downward-sloping natural state, but I still found myself reaching for my eyelash curler to get my preferred effect.
Of course, not everyone has the same lash-lift experience as I did, but regardless, I chose not to have them done again and forgot all about lash lifting—then quarantine hit and my social media feeds were packed with DIY beauty treatment demonstrations. The allure to ditch as much makeup as possible was stronger than ever, so after watching a series of convincing TikToks, I finally added the $25 Iconsign Lash Lift Kit to my Amazon cart.
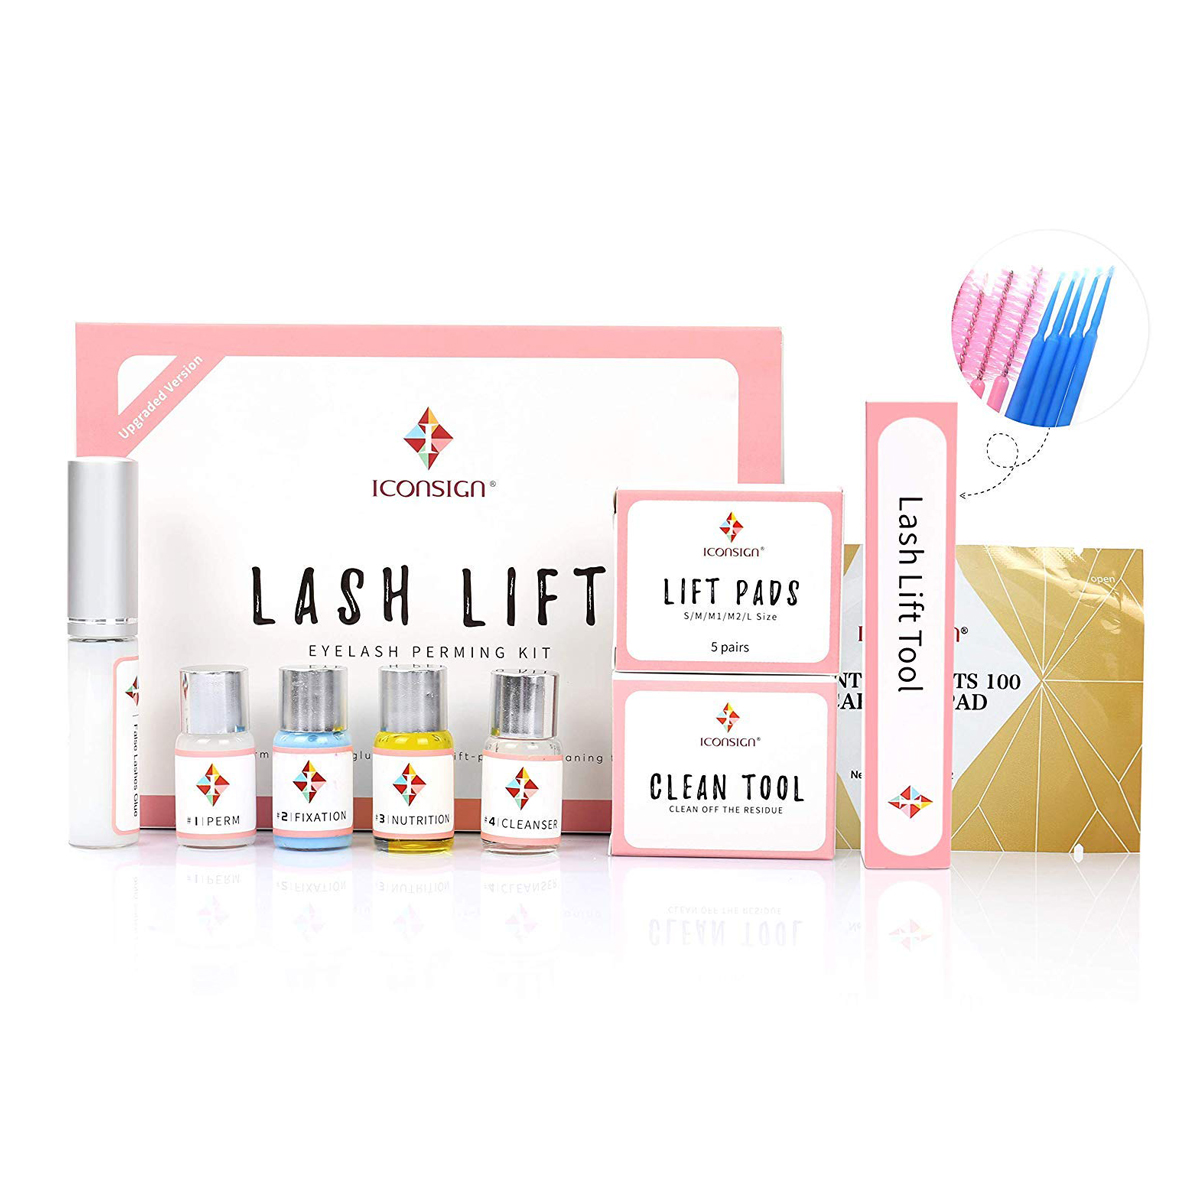
What’s Included
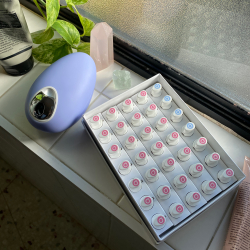
The kit comes with everything you need to DIY a lash lift at home: five pairs of lift pads, three plastic “Y-brush” cleaning tools, a box of lash-lifting tools and spoolies, perm and fixation solutions, nutrition oil, cleanser, and lash glue. The kit also includes plant-extract eye pads to place on your under-eyes to protect them from the chemical solution, but personally, I didn’t feel the need to use these.
The Process
When you’re getting a professional lash lift, the aesthetician will work on both eyes simultaneously, but you’ll definitely want to complete one at a time when attempting on yourself (you need to see). Once you’ve ruled out any possible allergies with a patch test, begin by using a cotton round with the cleanser to remove any makeup, dirt, or oil from your eye area.
If you’re using the plant-extract eye pads, place them on your under-eyes after cleansing; however, unless your application is extremely messy, you likely won’t get the solution anywhere near this area.
Next, you’ll need to select your lift-pad size. These come in small, medium, medium one, medium two, and large. Find the size that fits your lids best, but also keep in mind the degree of curl each will create. The smaller the pad, the more vertical your lift, and the larger the pad, the more rounded and gradual the lift. Because I wanted the most dramatic, eye-opening effect possible, I chose to use the smallest size.
Then apply the lash glue to the lift pad, paying extra attention to the inner and outer corners. It’s the same stuff we use to apply false lashes and adheres best in its tacky state, whether you’re using it for falsies or lifting pads. Give it a few seconds to reach the perfect texture.
Next, you’ll stick the pad to your eyelid—I found it easiest to begin at the inner corner and work outward from there, pressing the pad to the skin. To ensure that the pad wasn’t going to slip, I held it on with my fingers and waited for about thirty seconds before letting go.
Once the pad is good and stuck to your lid, use the glue to lay your lashes down on the pad. I coated both the underside and the tops of my lashes and pressed them securely (I had to go over the hairs several times before they really stuck). Even though this isn’t the perming step, it’s really difficult to move the hairs once they’re glued to the pad, so be sure they’re not facing any weird direction and are laid exactly how you want them to perm. Before moving on from this step, I checked my eye’s profile from each side, looking for any hairs I may have missed.
After waiting one minute, per the instructions, I used the lash-lift tool to apply the perming solution to my lashes. Then I covered my eye with plastic wrap and set a timer for 10 minutes. I was a little nervous about the burning I experienced before, but thankfully, the solution wasn’t irritating at all—most at-home beauty kits aren’t as strong as those that are available to professionals, so you’re less at risk of hurting yourself.
When the time was up, I used the Y-brush to scrape off any excess perming solution and replaced it with the fixation solution. Another plastic-wrapped 10 minutes later (still no burning) and it was time to remove everything with the cleanser and Y-brush. I used the cleanser (you can also use micellar water) on a Q-tip to remove my lashes from the lift pad and cleansed my entire eye area. To finish, I dipped a spoolie in the nutrition oil and gave my lashes a thorough coating.
The second eye was a lot easier to complete—I had practice on the previous eye, after all. Once both eyes are finished, you’ll need to keep the lashes dry for 24 hours while the curl sets (and to prevent the solution from deactivating). To keep the hairs conditioned and in their best shape, use a conditioner or oil on a spoolie to comb out the hairs daily.
... View More
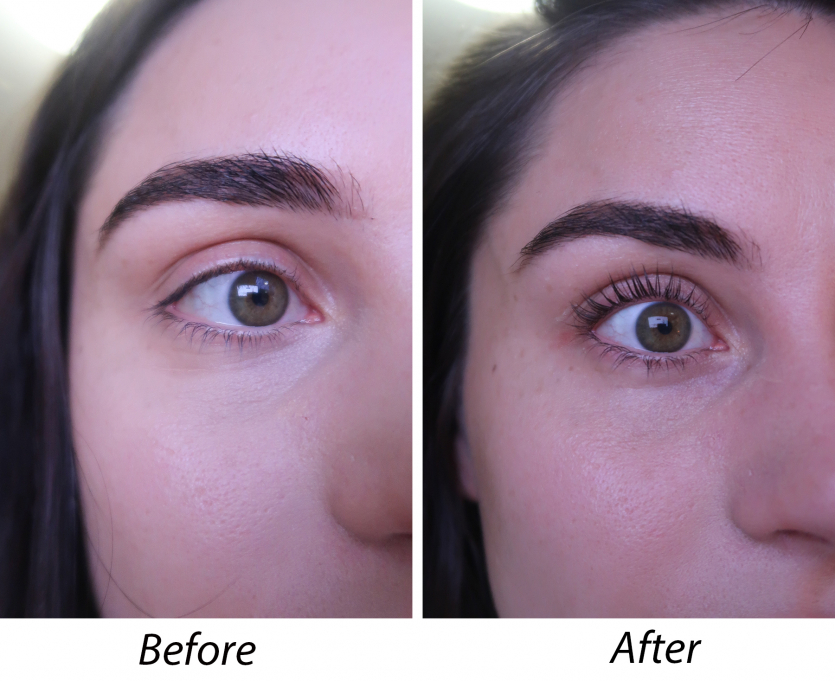
The Results
Surprisingly, I much preferred the outcome using the at-home lash-lifting kit over paying more than double the price for a professional treatment. While it may have taken a bit more time and effort to complete them myself, I didn’t experience any eye irritation whatsoever—plus, my lashes came out looking much longer than they did in-office. In fact, I didn’t realize how long my eyelashes really were before lifting them. The results look like I just took a curler to some really long, healthy lashes—which is exactly what I was going for. If you’re curious about trying a lash lift at home, consider this a strong endorsement to go for it.
Want more stories like this?
I Tried Tinting My Eyebrows with Beard Dye
3 Gorgeous Holiday Makeup Looks If You’re Not Into Glitter
Thread Lifts Are the Hottest Thing in Plastic Surgery—But Are They Worth the Hype?