Kaitlyn McLintock
As a beauty writer and serial product tester, I thought I had tried everything in the name of preventative skin care. Over the years, I habitually reached for microcurrent tools, studied the art of facial massage, and applied various vitamin C and retinol serums to my skin. Basically, I was game for anything that could keep dullness, sagging, and signs of aging at bay.
Lately, however, I’ve been trying something that doesn’t involve strong active ingredients at all, and my skin is better for it. I’m talking about facial cupping, which is an effective holistic practice that can lead to a more lifted, sculpted, and radiant complexion (I am proof). The practice, which has its roots in traditional Chinese medicine, can be practiced safely and efficiently at home as long as you have the tools and the know-how. “The practice of cupping originated in traditional Chinese medicine,” says Karina Sulzer, founder of Skin Gym. “It was originally used as a method in traditional Chinese surgery but evolved into a more therapeutic practice over time.”
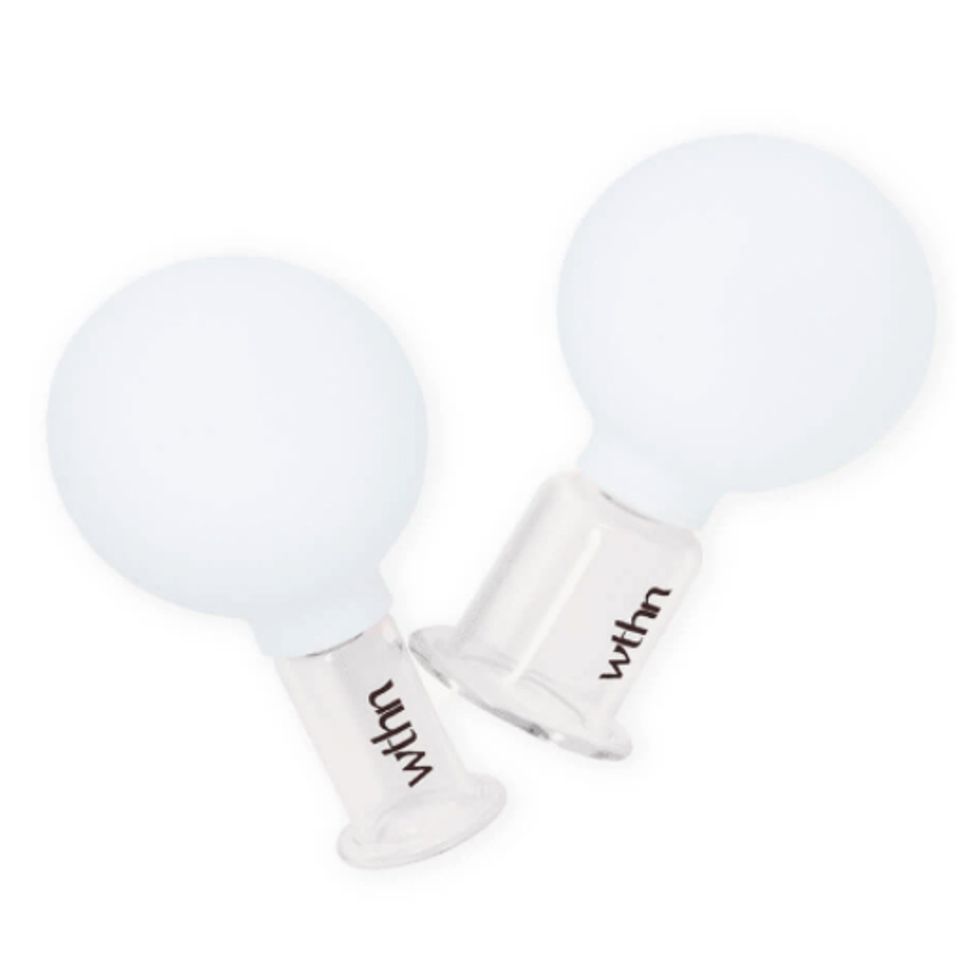
Like body cupping, facial cupping involves adhering small glass or rubberlike cups to the skin via suction—except, for the face, the cups don’t sit motionless on the skin. Instead they’re kept in perpetual motion, being swiped across specific areas of the skin in upward and outward motions. So, no, you don’t have to worry about deep purple bruises blooming across your skin…
According to Sulzer, facial cupping involves a little bit of everything when it comes to skin benefits. It encourages lymphatic drainage, boosts circulation, reduces muscle tension, brightens skin, decreases puffiness, and lifts and sculpts your face. I’ve only been practicing it for a few weeks, but I can see a visible improvement in the look of my skin. Not only are my expression lines faded, but my cheekbones and jawline appear firmer and more sculpted.
Dr. Ava Shamban, the owner of SKINFIVE, AVAMD, founder of The Box by Dr. Ava, and co-host of the Gist, says the science behind cupping’s efficacy has to do with the skin’s connective tissue, called the fascia. “The slow movements of cupping grab and lift the fascia that is hugging our muscles,” she explains. The fascia can interfere with “optimal circulation and metabolic functions, like drainage,” which is why grabbing and lifting it a small distance away from the skin can be beneficial.
“As you move cups, it promotes drainage of any excess fluids stored in the cells, which reduces facial puffiness,” Shamban says. “As circulation improves, the skin oxygen levels increase,” which gives the added benefit of glowing skin.
“My favorite benefit of facial cupping (besides how relaxing it is) is the glow that it warrants,” says celebrity aesthetician Candace Marino, better known as the L.A. Facialist. “The increased circulation allows for oxygen-rich blood to re-energize the cells, giving that ‘lit from within’ type of glow.” The other benefits she lists include improved tone, regulated oil production, and even improved product penetration.
Lately, however, I’ve been trying something that doesn’t involve strong active ingredients at all, and my skin is better for it. I’m talking about facial cupping, which is an effective holistic practice that can lead to a more lifted, sculpted, and radiant complexion (I am proof). The practice, which has its roots in traditional Chinese medicine, can be practiced safely and efficiently at home as long as you have the tools and the know-how. “The practice of cupping originated in traditional Chinese medicine,” says Karina Sulzer, founder of Skin Gym. “It was originally used as a method in traditional Chinese surgery but evolved into a more therapeutic practice over time.”
Like body cupping, facial cupping involves adhering small glass or rubberlike cups to the skin via suction—except, for the face, the cups don’t sit motionless on the skin. Instead they’re kept in perpetual motion, being swiped across specific areas of the skin in upward and outward motions. So, no, you don’t have to worry about deep purple bruises blooming across your skin…
According to Sulzer, facial cupping involves a little bit of everything when it comes to skin benefits. It encourages lymphatic drainage, boosts circulation, reduces muscle tension, brightens skin, decreases puffiness, and lifts and sculpts your face. I’ve only been practicing it for a few weeks, but I can see a visible improvement in the look of my skin. Not only are my expression lines faded, but my cheekbones and jawline appear firmer and more sculpted.
Dr. Ava Shamban, the owner of SKINFIVE, AVAMD, founder of The Box by Dr. Ava, and co-host of the Gist, says the science behind cupping’s efficacy has to do with the skin’s connective tissue, called the fascia. “The slow movements of cupping grab and lift the fascia that is hugging our muscles,” she explains. The fascia can interfere with “optimal circulation and metabolic functions, like drainage,” which is why grabbing and lifting it a small distance away from the skin can be beneficial.
“As you move cups, it promotes drainage of any excess fluids stored in the cells, which reduces facial puffiness,” Shamban says. “As circulation improves, the skin oxygen levels increase,” which gives the added benefit of glowing skin.
“My favorite benefit of facial cupping (besides how relaxing it is) is the glow that it warrants,” says celebrity aesthetician Candace Marino, better known as the L.A. Facialist. “The increased circulation allows for oxygen-rich blood to re-energize the cells, giving that ‘lit from within’ type of glow.” The other benefits she lists include improved tone, regulated oil production, and even improved product penetration.
Your Guide to Facial Cupping
1. Cleanliness is key. “Always start with a gentle cleanser on the face,” Shamban says. “Be sure the cups are clean with cleanser or micellar water.” Only then should you apply a skin-care product to reduce friction between the cups and your skin. Sulzer suggests applying facial oil or serum as the first step, since this will reduce friction and prevent bruising, especially when you’re just starting out and getting used to the practice.
2. With sweeping strokes, “guide the facial cup upward and outward,” Sulzer instructs “You will use a squeeze-and-release technique to glide your facial cup along your skin. Use your free hand to anchor the skin behind the cup for a smoother glide and to prevent pulling.”
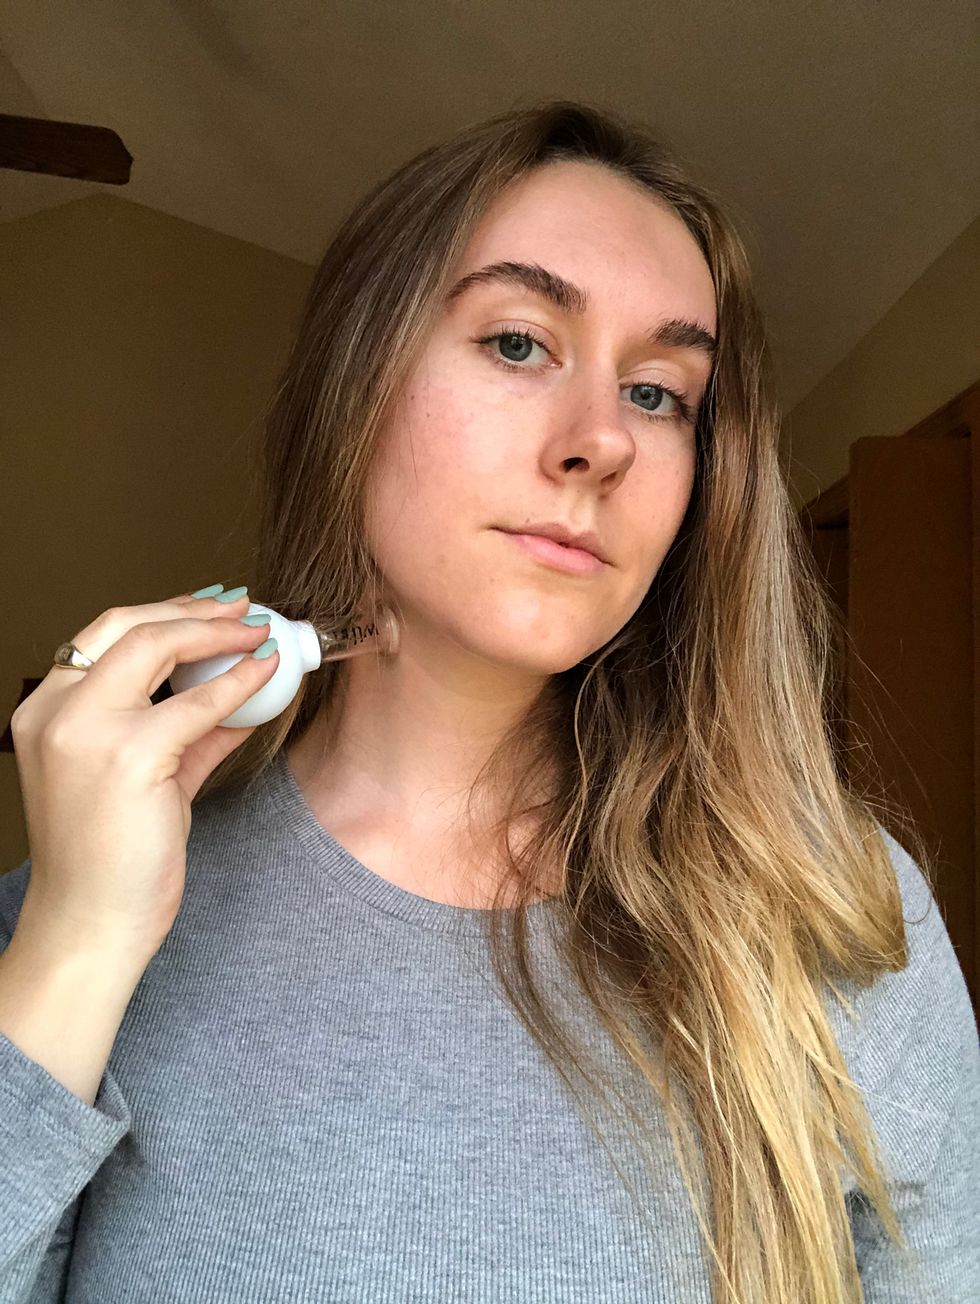
3. Begin at the base of the neck by the collarbone. Sulzer recommends leaving the cup suctioned in place for no more than five seconds before gliding it upward toward the jaw. Repeat this motion several times on both sides before bringing the cup up to the jawline. (I suffer from a particularly stubborn case of tech neck, so I focus on this area in order to reduce the appearance of my deep-set neck lines).
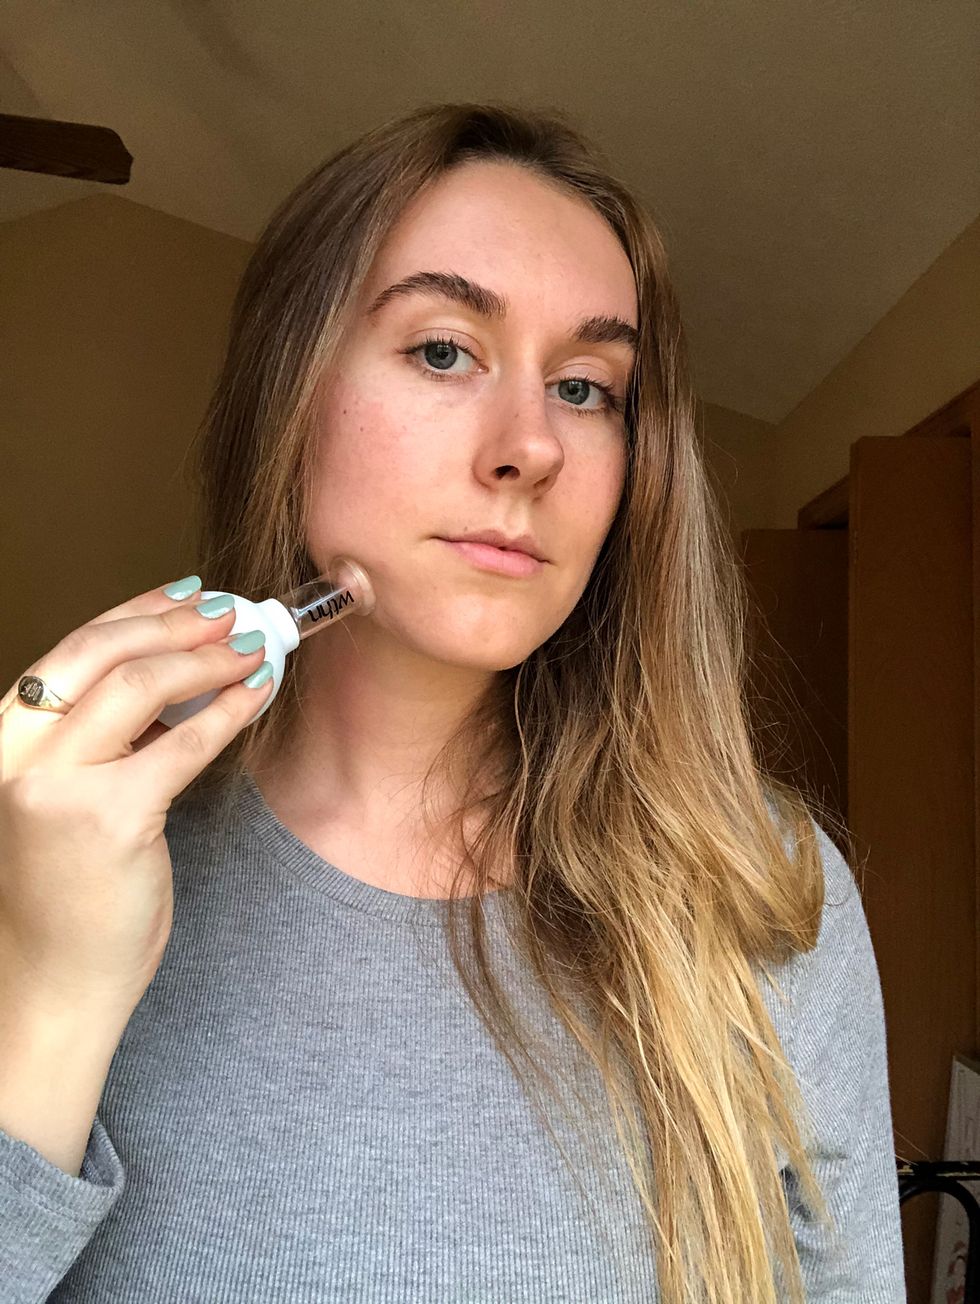
4. At the jawline, use the same technique. This time start the cup by the chin before gliding it upward along the jawline toward the ear. Repeat on both sides of the face. Personally, I notice that after just three to four strokes, my jawline looks more sculpted than before, which is something of a personal revelation for me, since I’m always looking for ways to fake a firmer jawline. According to Shamban, this makes sense because cupping “is best used around the lower face, neck, and jawline” to separate the skin and fascia, thus lifting it to “temporarily present the appearance of being more taut.”
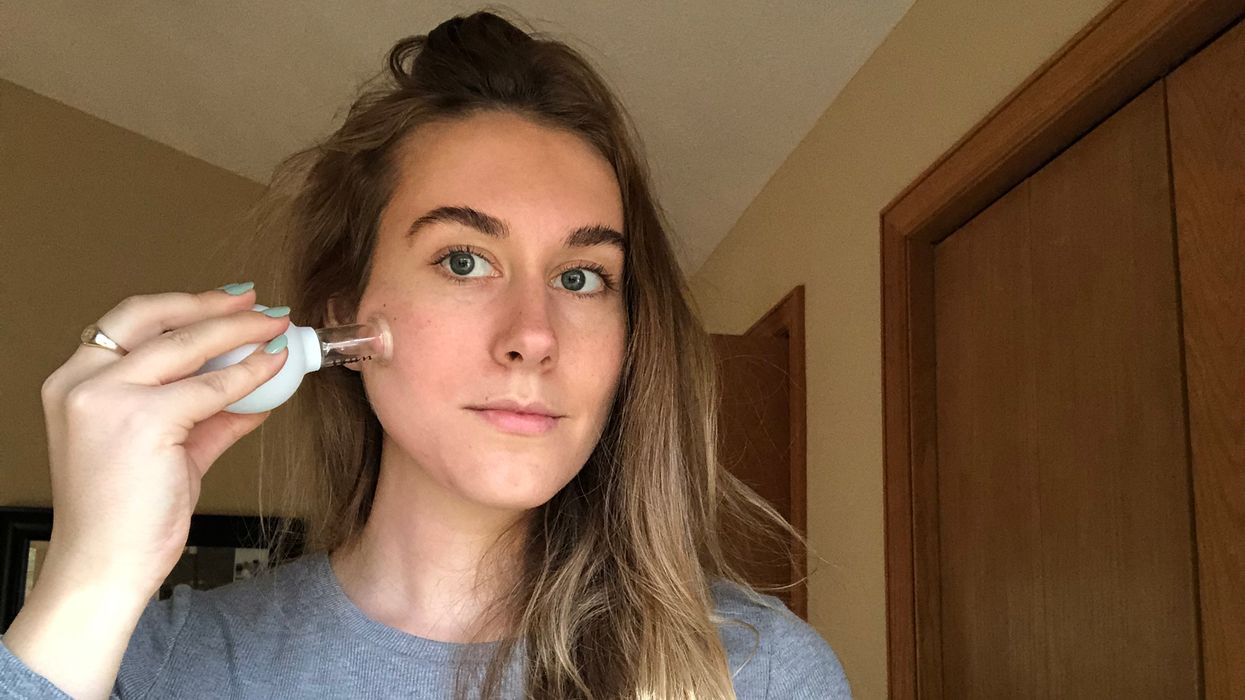
5. Continue to move the cup up your face, focusing on the cheek and under-eye area next. “Using the smallest cup, you can target your eye area to help decrease puffiness,” Sulzer says. “Gently glide the cup outward towards the ear.” Just be sure to use a gentle hand here. The skin around your eyes is notoriously delicate, so make sure you’re not pulling or tugging—just a smooth, gentle swiping motion.

6. Finish your facial cupping practice with the forehead. Start in the center of your forehead and move the cup outward towards the side of your ear. Just like before, repeat this motion a couple of times on both sides. This part is great for those pesky horizontal forehead lines that result from raising and furrowing the brow.
7. The last step in an effective cupping routine is to apply moisturizer to “soothe the skin and reduce redness,” Sulzer says. “You may notice a little bit of redness and irritation after, but this will go away.”
Shamban says, while it’s safe to be done at home, people with specific skin conditions should be wary. “Do not perform on any broken or injured skin or during an outbreak of eczema, psoriasis, or active acne,” she says. “Rosacea patients and highly sensitive or reactive patients may want to pass on facial cupping or [perform] a patch test [beforehand].”
“That said, cupping could be done as part of a weekly ritual, making it a part of your self-care Sunday—or any time you need some facial tension relief, instant cheekbone booster, or depuffing.”