Your Damage-Free Guide to Blowing Out Natural Hair
With these tips, you'll nail the look every single time.

With natural hair, one of its best features is its versatility. You can wear it in voluminous curls or a sleek blowout. And while heat-styling your hair is a process that may seem simple at first glance, if you're not careful, you could end up with some major heat damage. A shiny blowout shouldn't cost you the health of your hair, so in order to make the process as smooth as possible, we reached out to Al Campbell, an artist and educator for Mizani, and Kendall Dorsey, a celebrity hairstylist and an ambassador for Dark & Lovely. Keep scrolling for the products and the steps you'll need to keep in mind in order to maintain the integrity of your curls while blowing out your natural hair.
What Tools and Products Do You Need to Blowout Your Natural Hair?
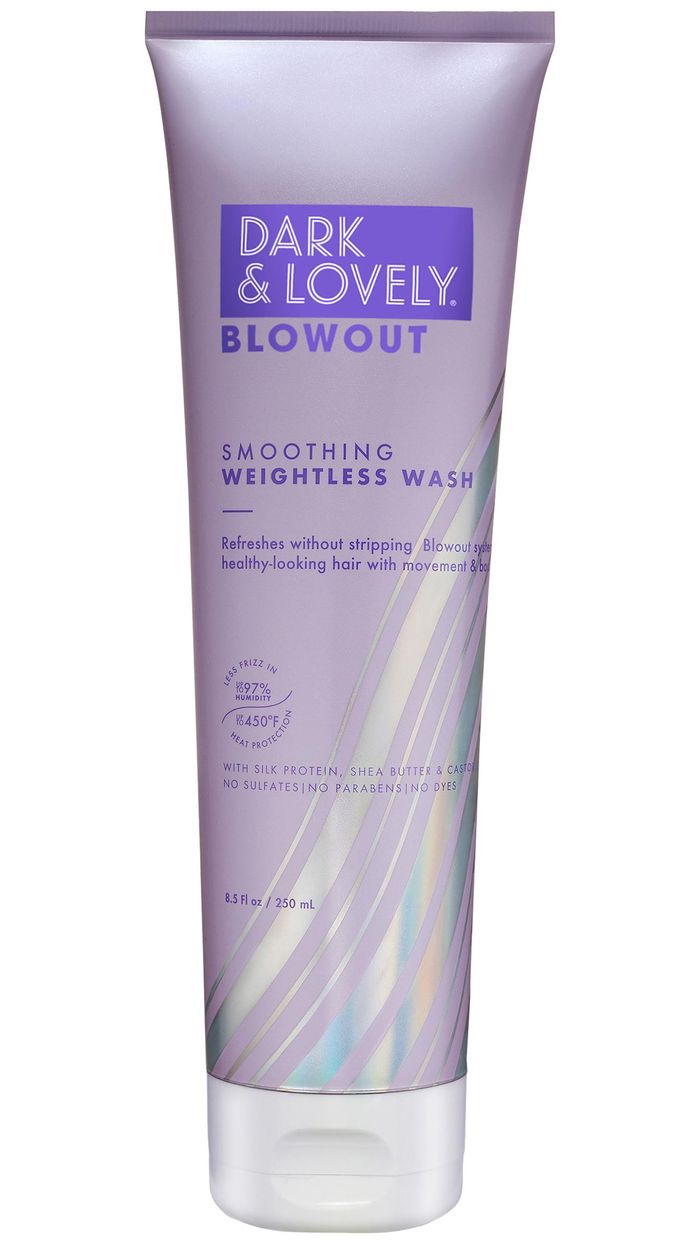
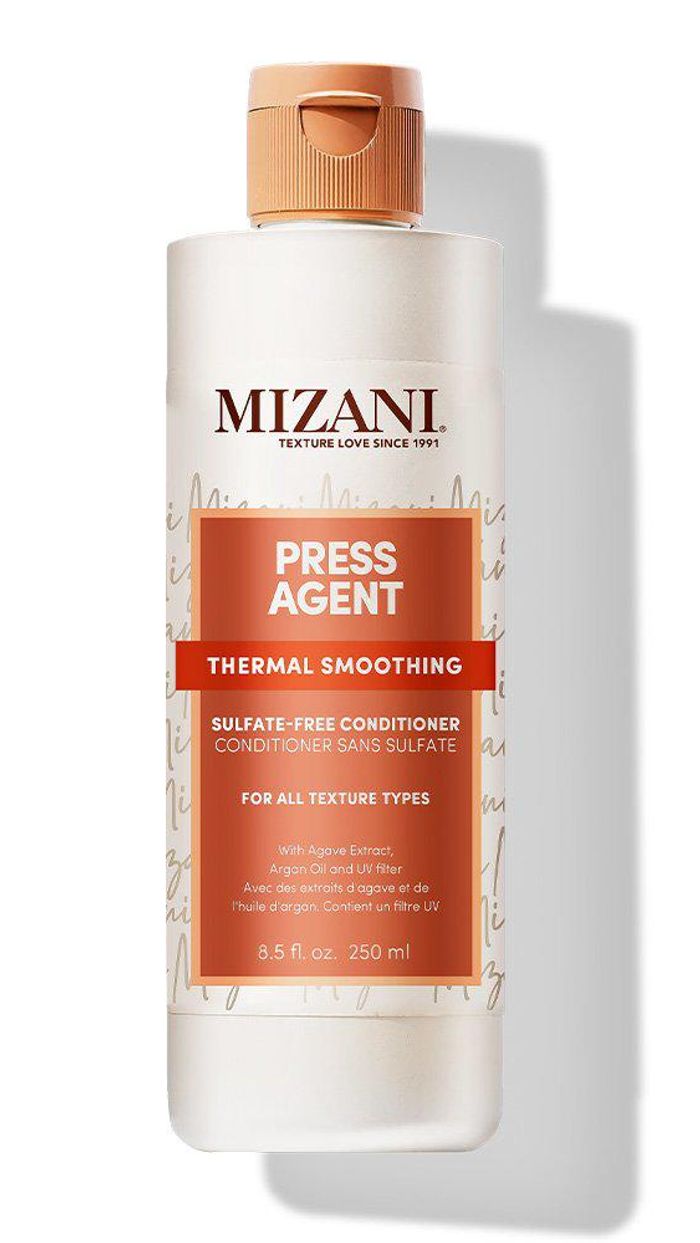
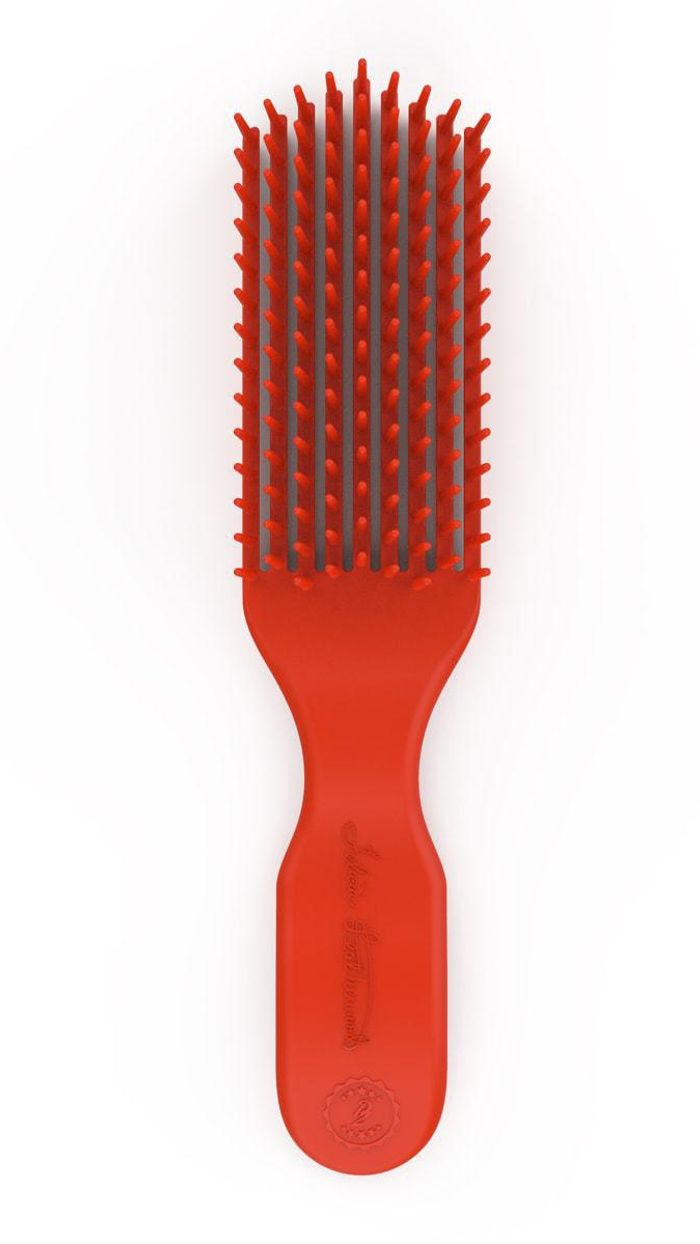
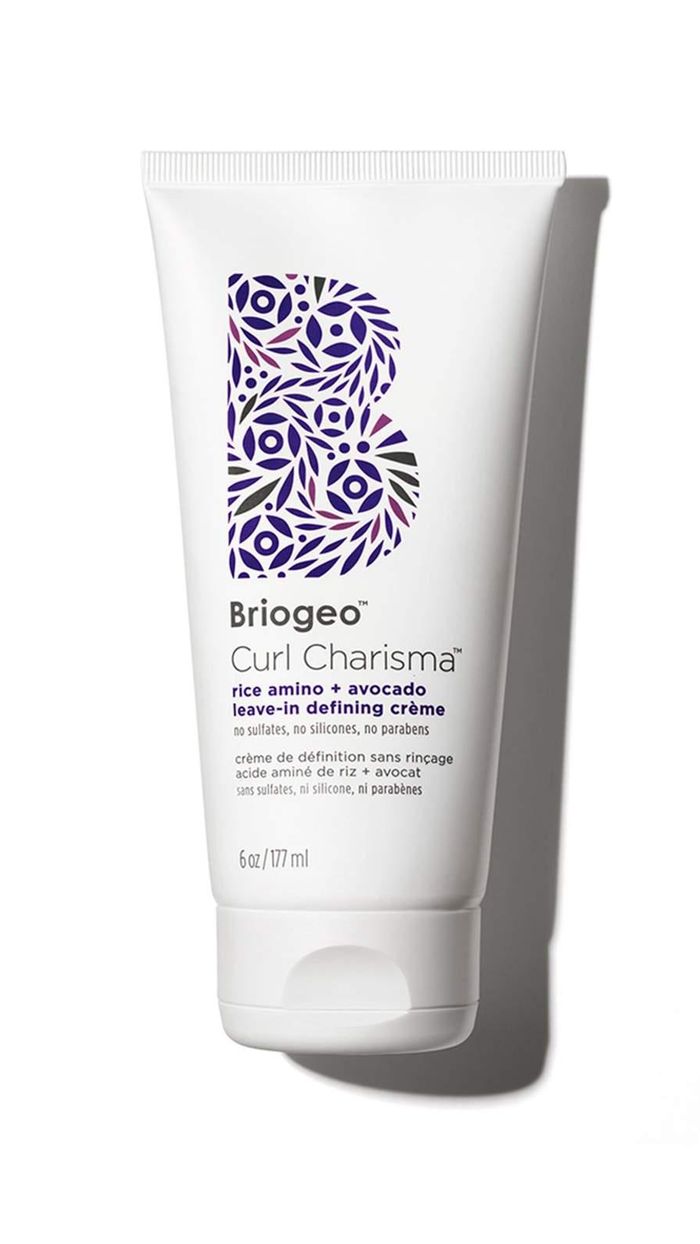
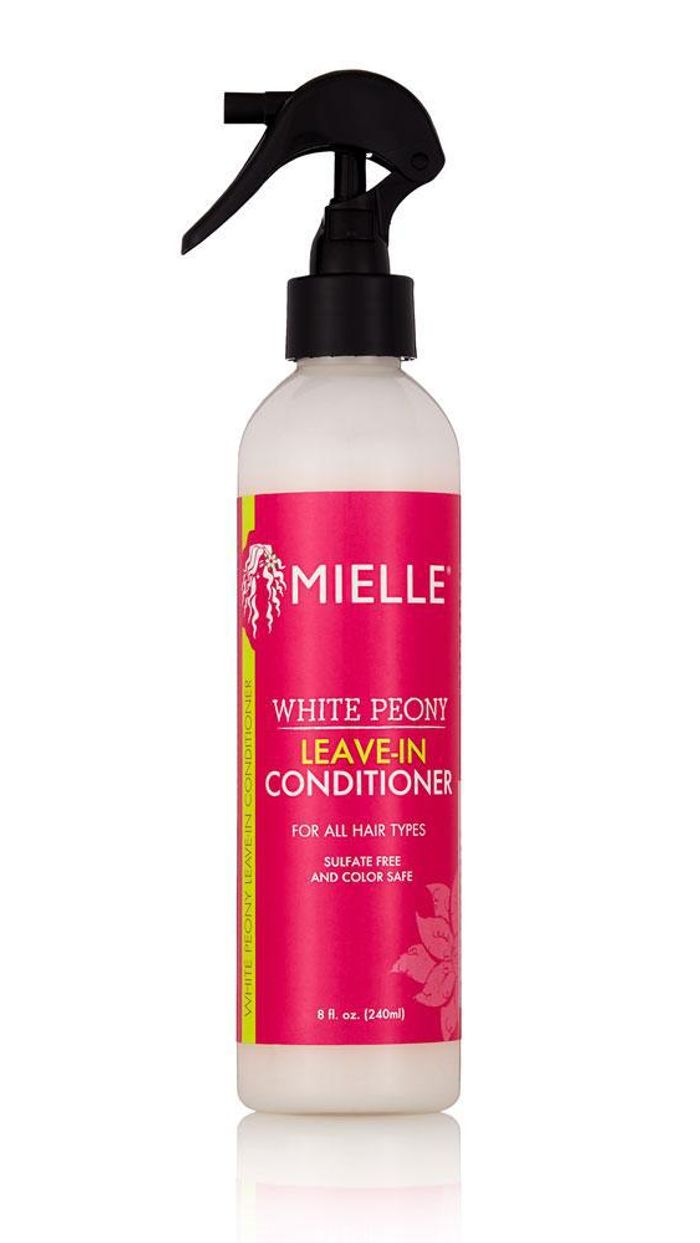
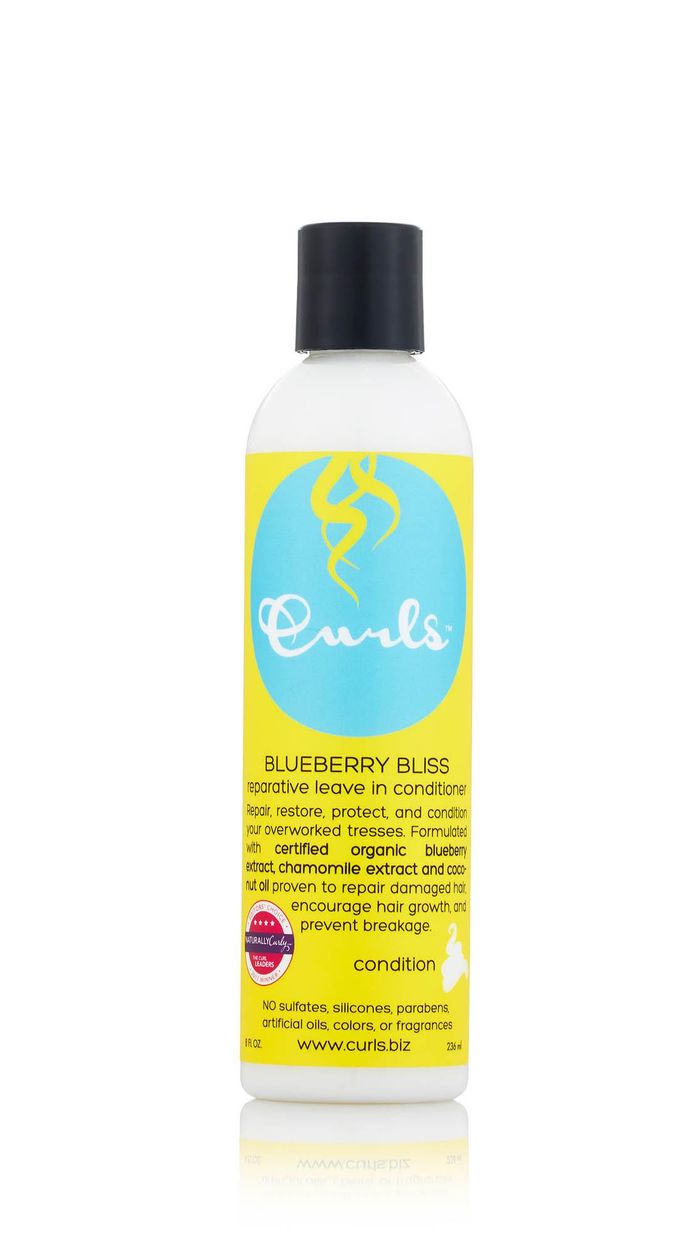
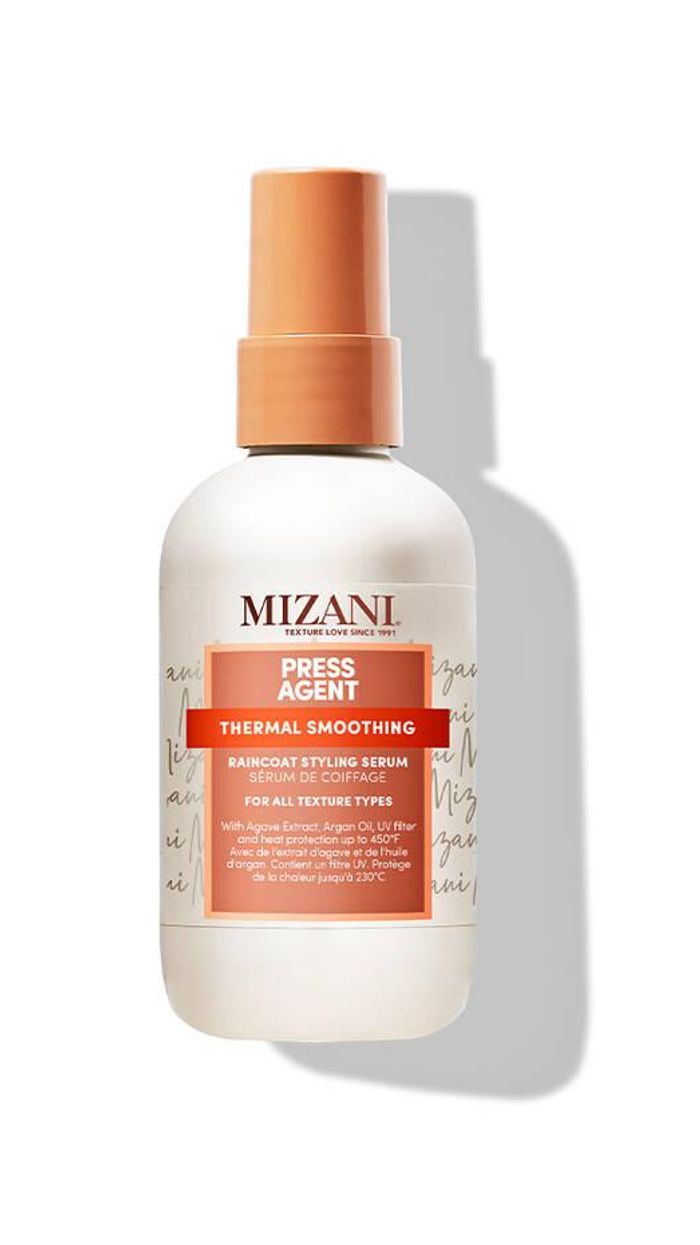
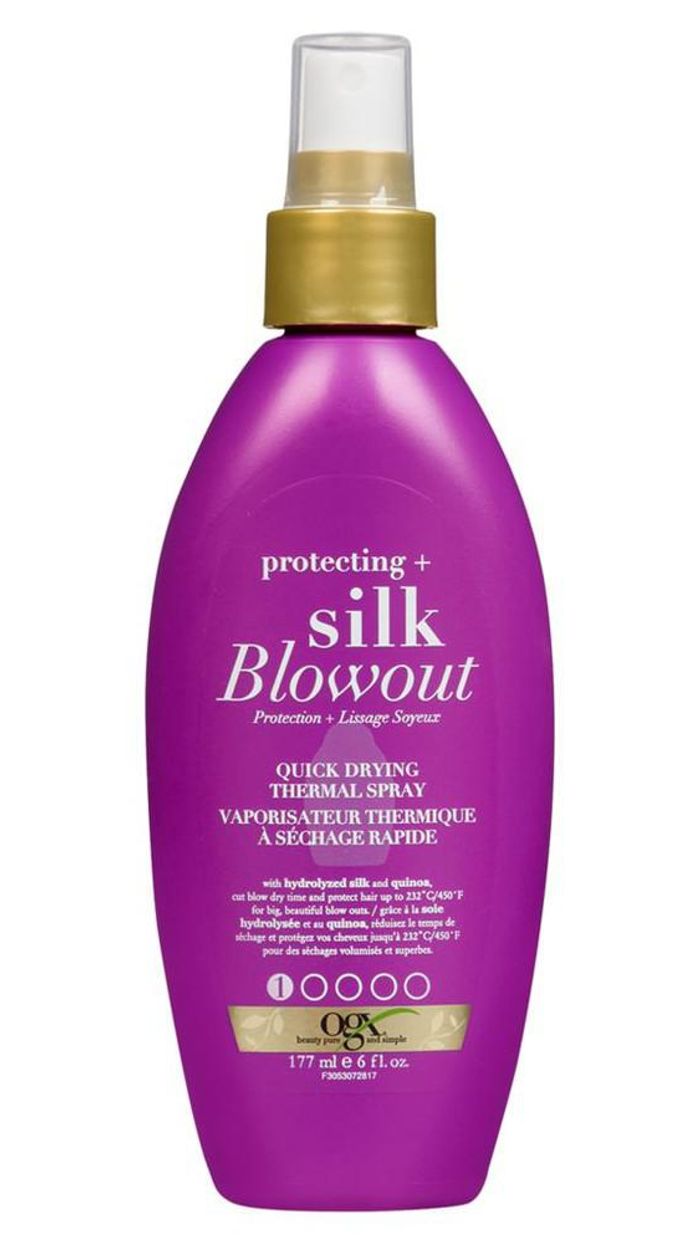
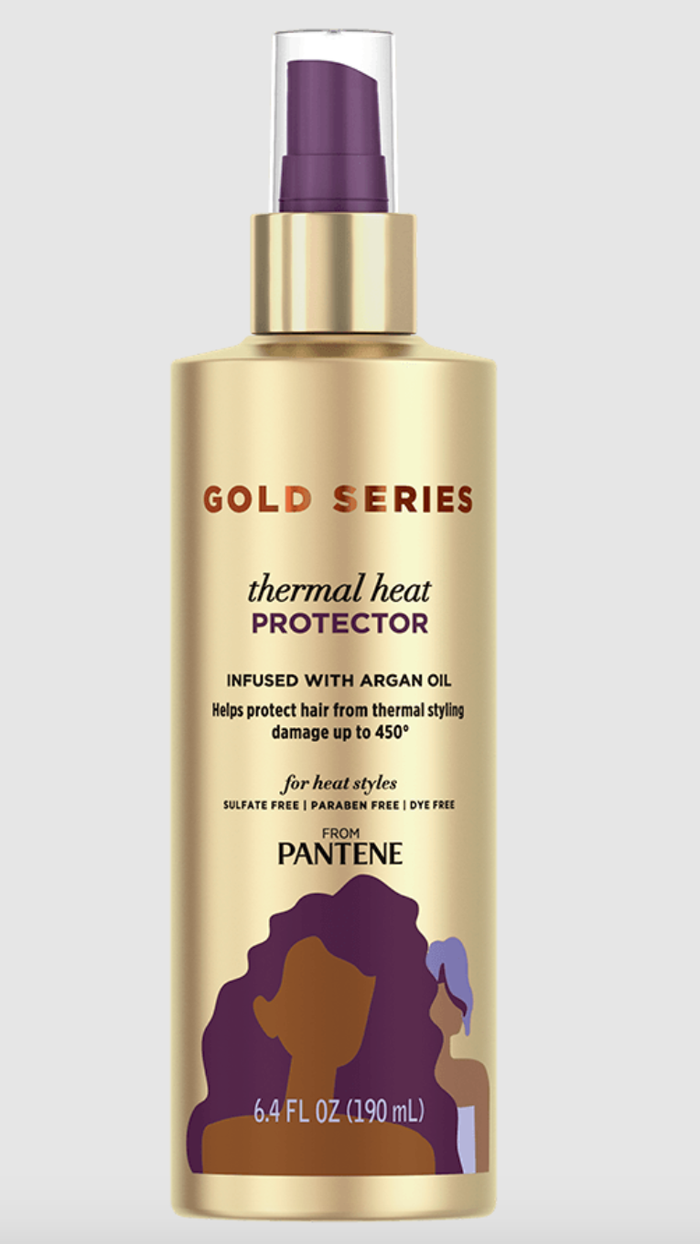
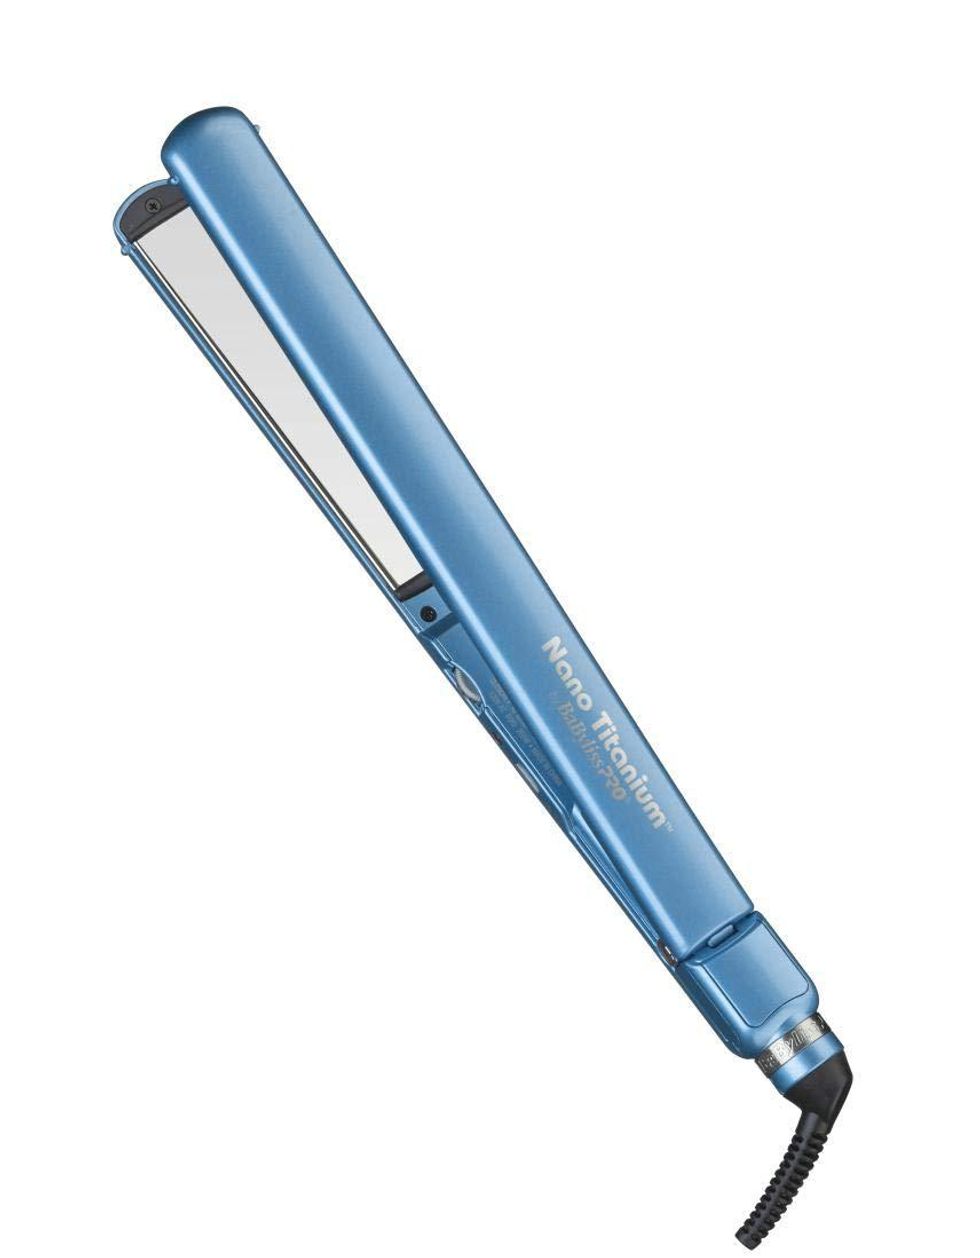
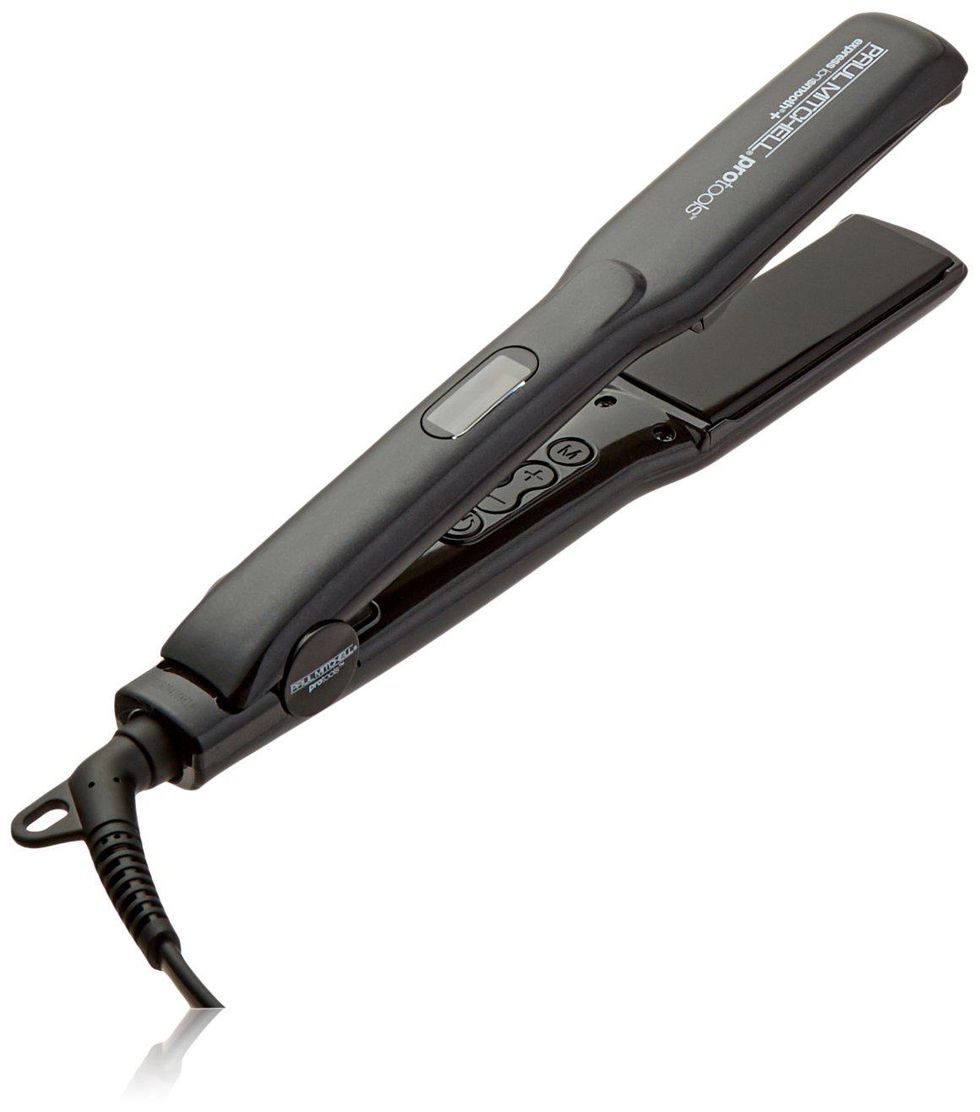
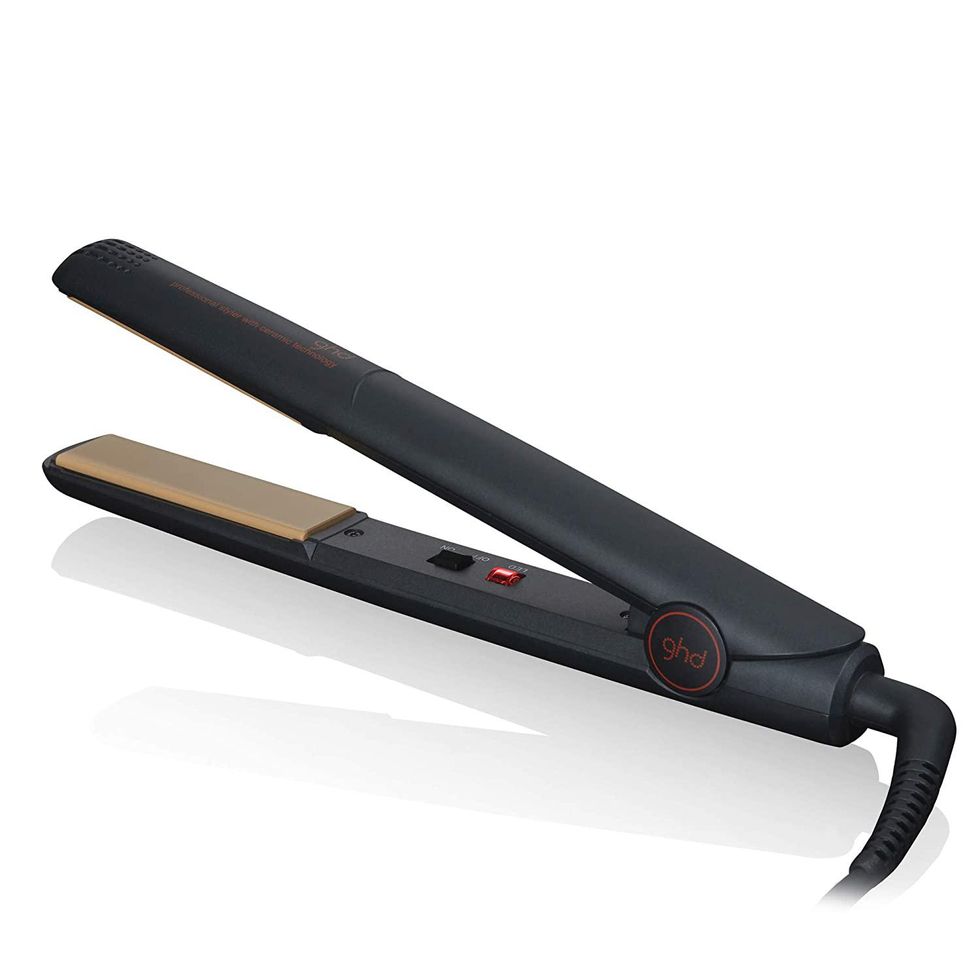
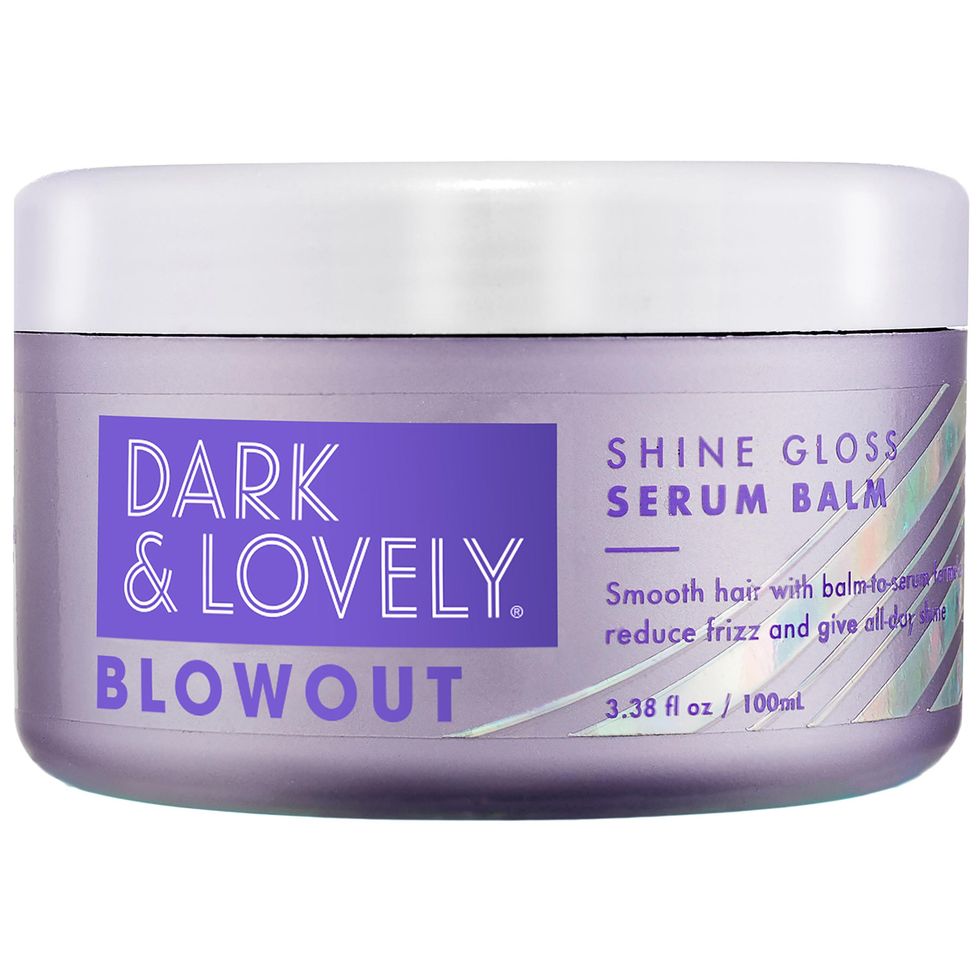
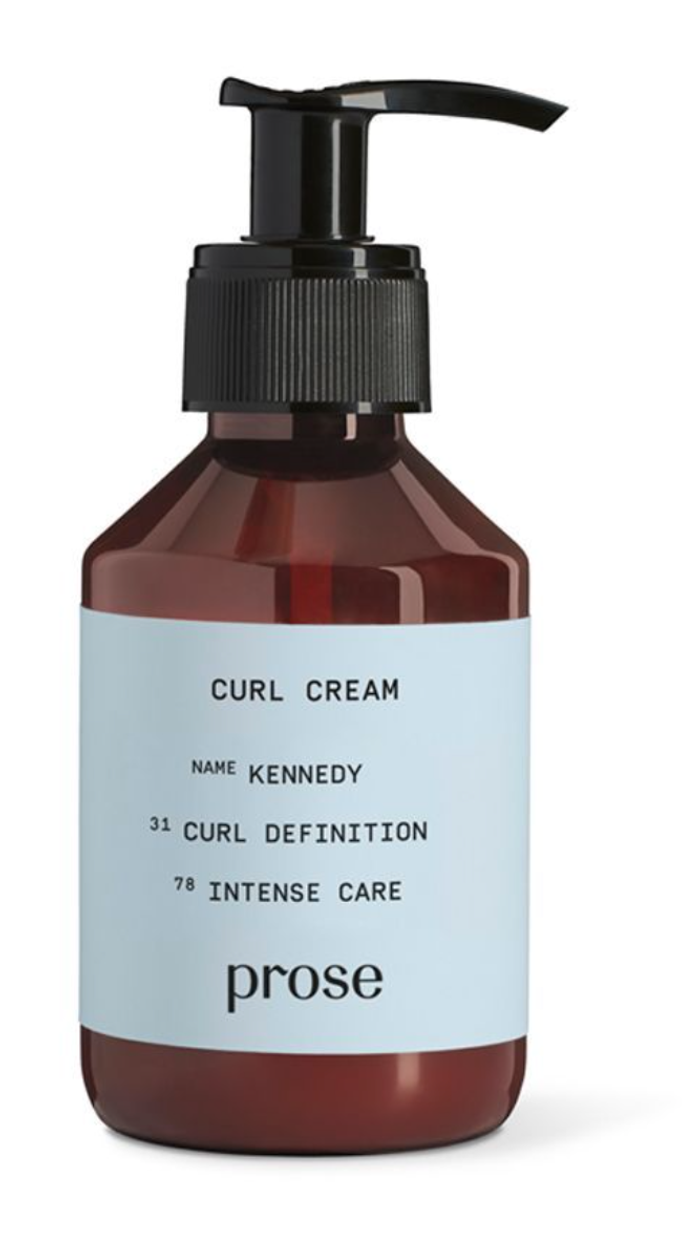
According to Campbell, you'll need the below in order to execute your blowout.
How Do You Blowout Your Natural Hair?
Step 1: Cleanse and condition your hair
It's important to start off with freshly washed and conditioned hair. While you're working conditioner through your hair, Campbell recommends detangling your hair with a paddle brush.
Once you're tangle-free, rinse thoroughly with warm water, then end with a cool shot before towel-drying, says Campbell.
Dorsey suggests shampooing your hair about three to four times. "I put the shampoo on dry hair at first at the root, then I scrub it in before I add water," says Dorsey. "Then I add water and scrub to release the buildup. I do that at least three times." Old product buildup can make it more difficult to achieve a soft and smooth blowout, so the cleaner your hair is, the longer your blowout will last.
Step 2: Apply leave-in conditioner
Post-rinse, work a leave-in conditioner through your hair while it's still damp. Then separate your hair into four to six sections. "While you're working on one section, make sure the other ones are tied up into Bantu knots," says Campbell. "This ensures that your hair stays moist throughout the process."
Step 3: Apply heat protectant and blow-dry your hair
Campbell recommends applying product and blow-drying your hair one section at a time to "ensure even distribution and control." First, coat a section of hair with a heat protectant serum. Then it's time to blow-dry. Campbell suggests holding the nozzle attachment at a 45-degree angle and about two to four inches away from your hair; gently run through the section while holding your hair taut, starting at your roots and finishing with your ends. You'll want to repeat this step for each section.
Step 4: Pass a flat iron through your hair
Once you're done blow-drying, you'll want to separate your hair into four parts. Working section by section, smooth the hair with a flat iron from the base to your ends, says Campbell. Pro tip: Campbell suggests placing a heat-resistant comb in front of your flat iron while you're passing it through your hair—this helps to stretch your hair while you straighten it for a smoother and more consistent finish.
Step 5: Style your hair
To control flyaways and add shine, Campbell suggests adding a dime-sized amount of a styling serum through your hair. If you want a bit more volume and body, you can opt to do a braid-out, a twist-out, or pass a curling iron through. Otherwise, you're good to go!
How Long Does a Blowout Last?
Your blowout will last you anywhere from a week to two weeks, says Dorsey. "It all really depends on your hair type and texture, the environment, and your lifestyle," Campbell adds. To keep your look sleek for as long as possible, be sure to wrap your hair in a silk or satin bonnet to keep any potential friction at bay.
Photo: Courtesy of Instagram/@tatianaelizabethh
Want more stories like this?
What to Expect After You Begin Transitioning to Natural Hair
This Highlighting Technique Is a Game Changer for Curly Hair
These Deep Conditioners Will Breathe Life Back Into Your Curls

