While we’ve somewhat resigned ourselves to the overgrown bramble patch on our heads (RIP, our haircut appointments), we can’t quite accept letting our brows become similarly out of hand. We’ve dabbled in using beard dye to quickly and easily dye them darker, but now that salon reopenings are still a few weeks (if not months) away depending on where you live, we thought we’d take it to the next level. Brow wizards Bob Scott and Melanie Marris shared how they’d recommend tinting your own brows from the safety of your bathroom, using semi-permanent brow dye and henna, respectively.
Semi-Permanent Brow Dye
Bob Scott is a legend in the beauty world for creating fresh, dewy, and fierce looks on everyone from
to Padma Lakshmi and favors a precise brow-tinting technique that will have you feeling like a professional in no time. “I use a semi-permanent brow and lash hair dye made by RefectoCil. It’s my favorite brand because the colors blend well, allowing me to mix custom colors for my clientele to give them the brow color best suited for their complexion. The formula is soft on sensitive skin, is available in a range of natural-looking facial hair shades, and lasts about five to six weeks typically.”
What you need
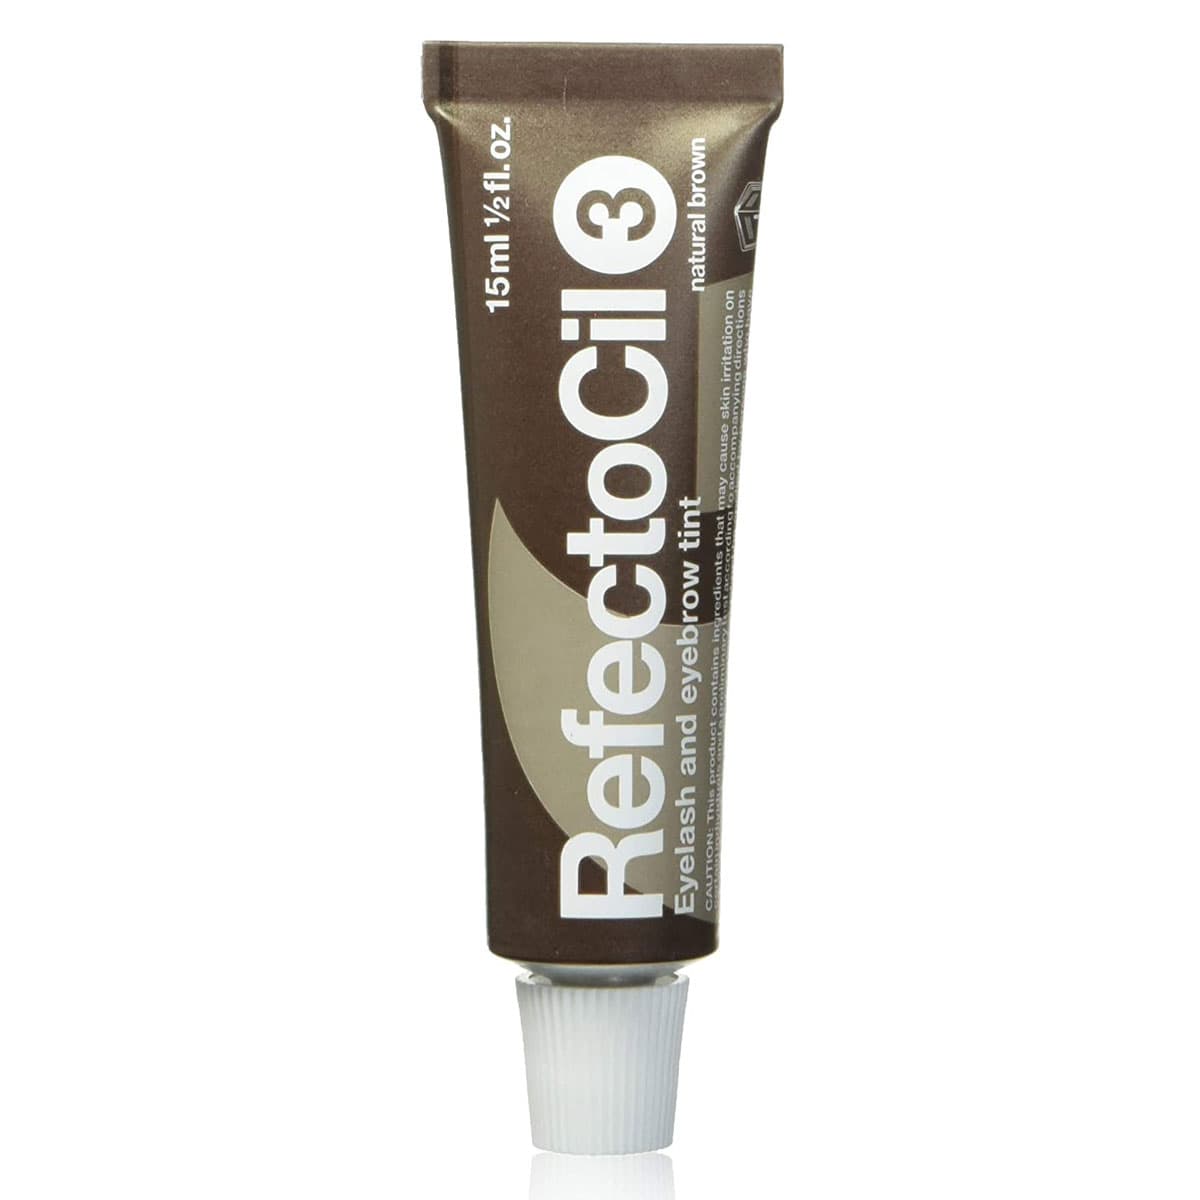
Cream Hair Dye
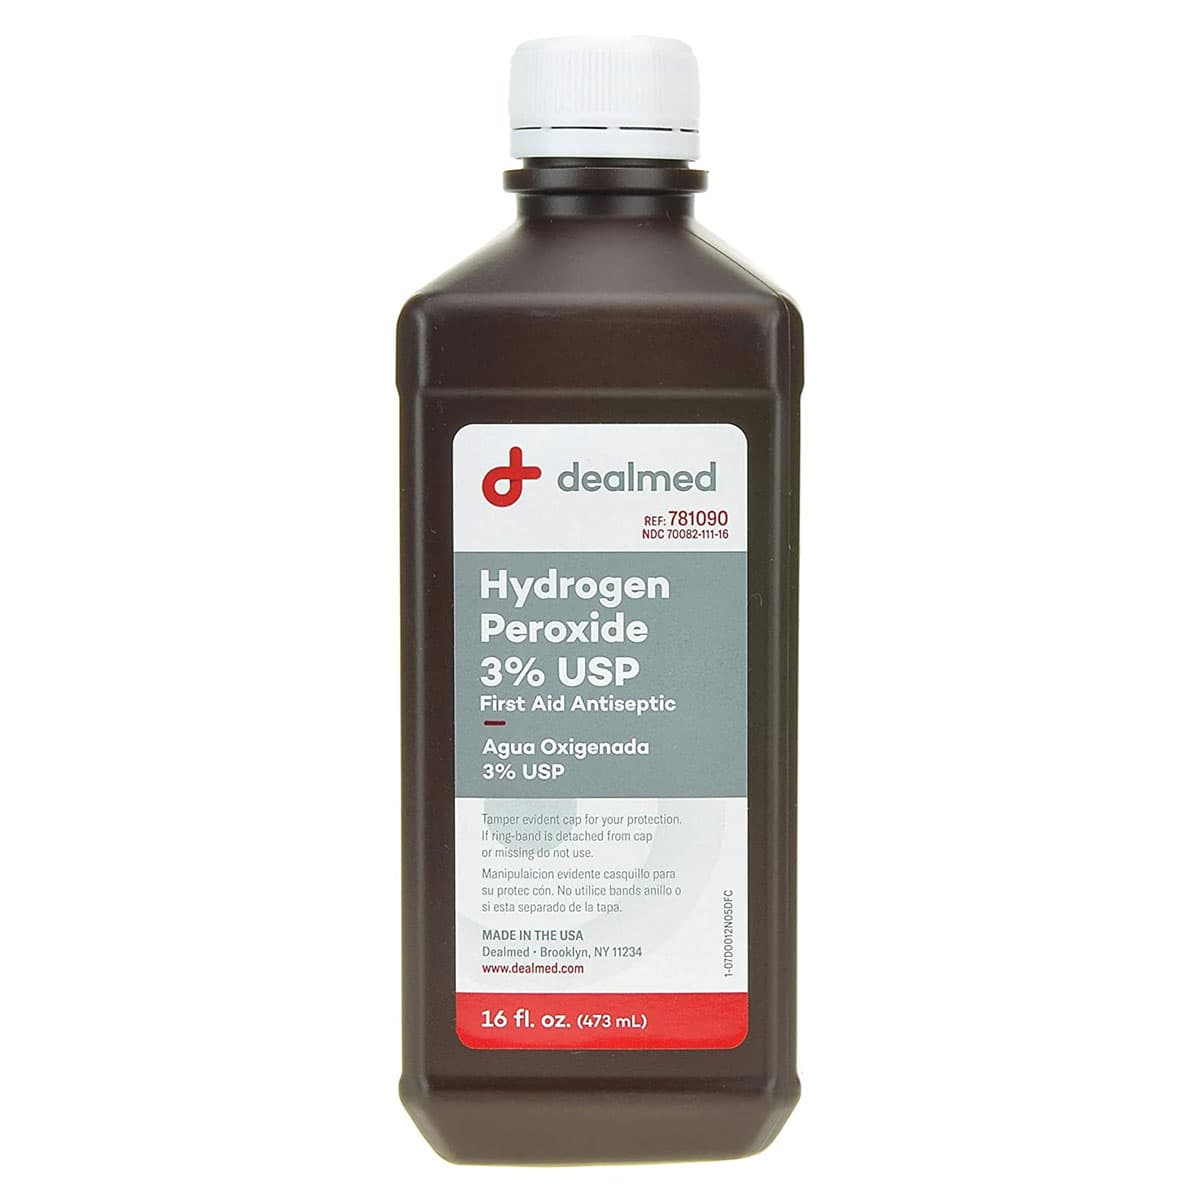
Hydrogen Peroxide 3% USP
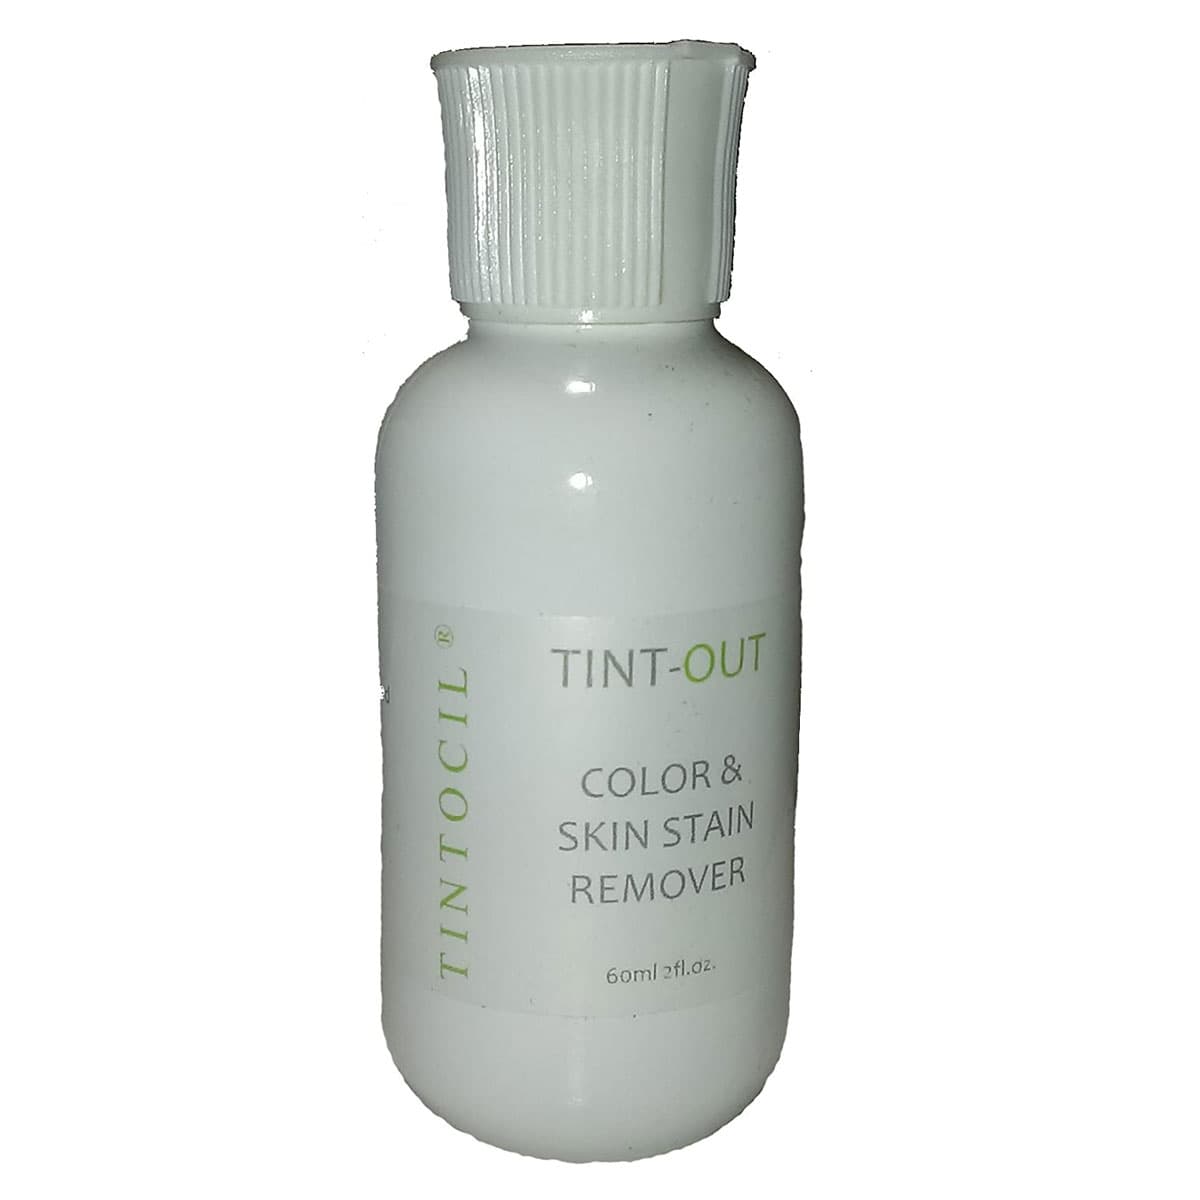
Tint-out Color & Skin Stain Remover
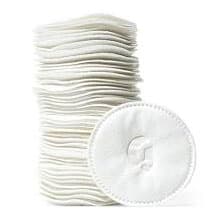
Cotton Rounds
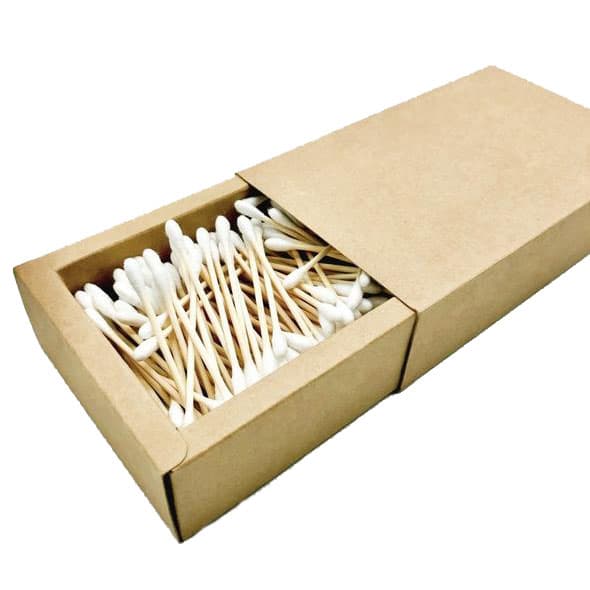
Bamboo Cotton Ear Buds
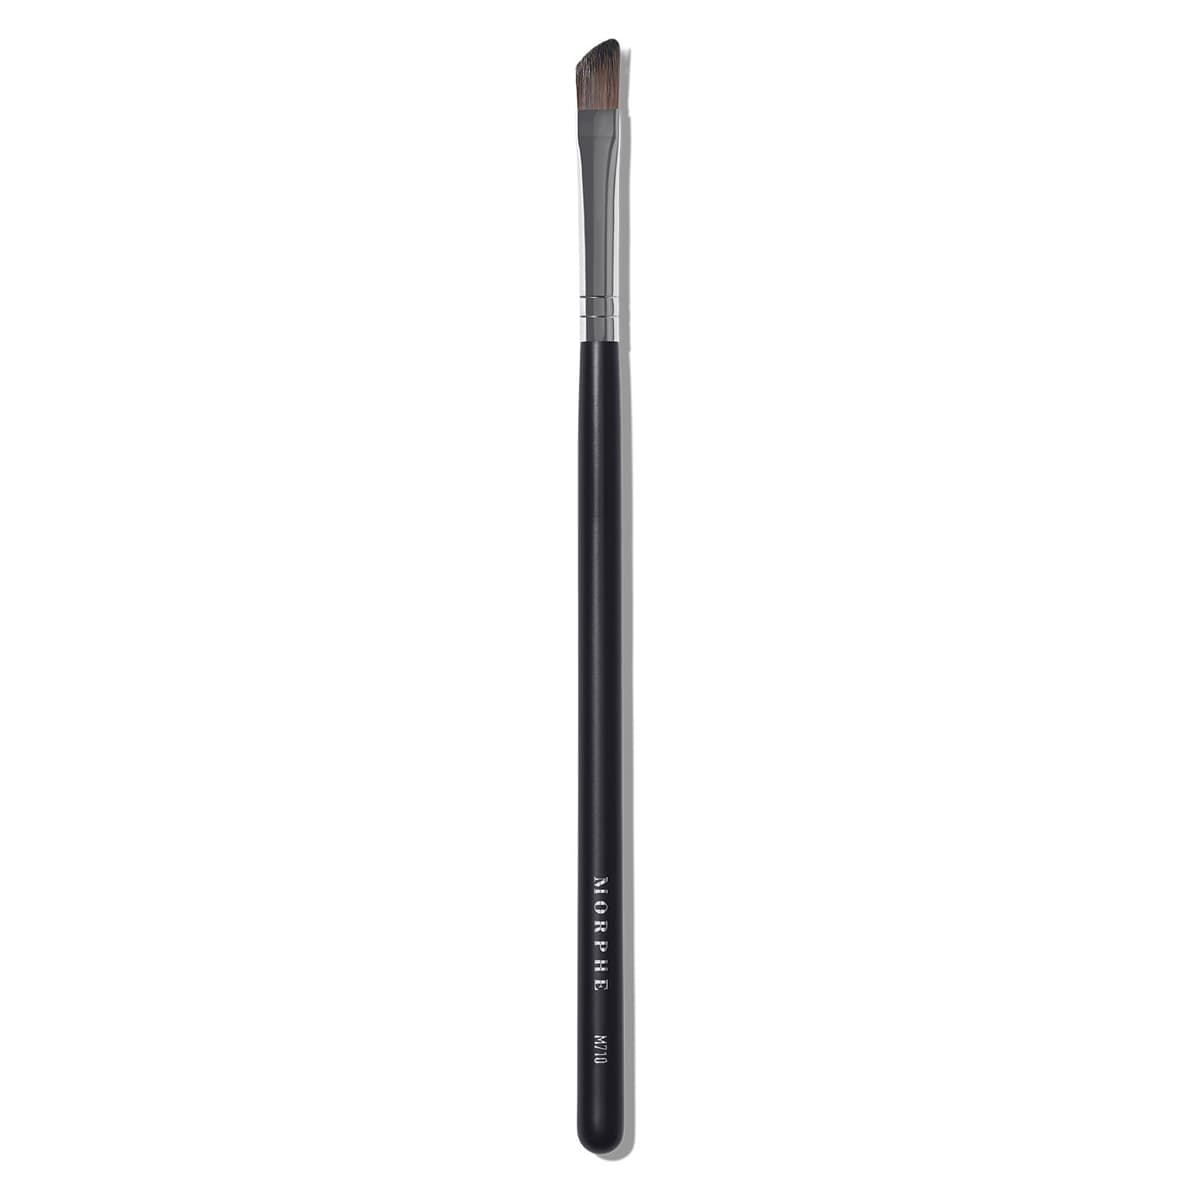
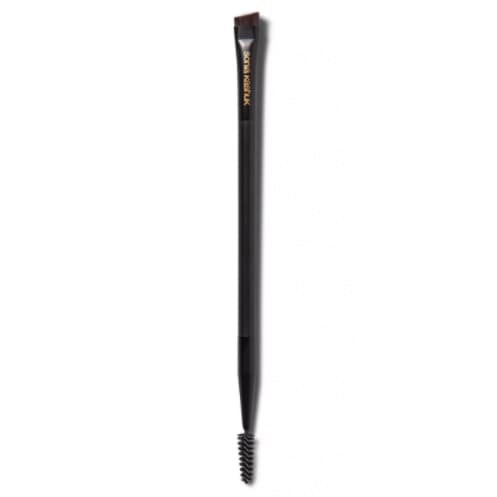
M710 Angled Lip Brush
Technique
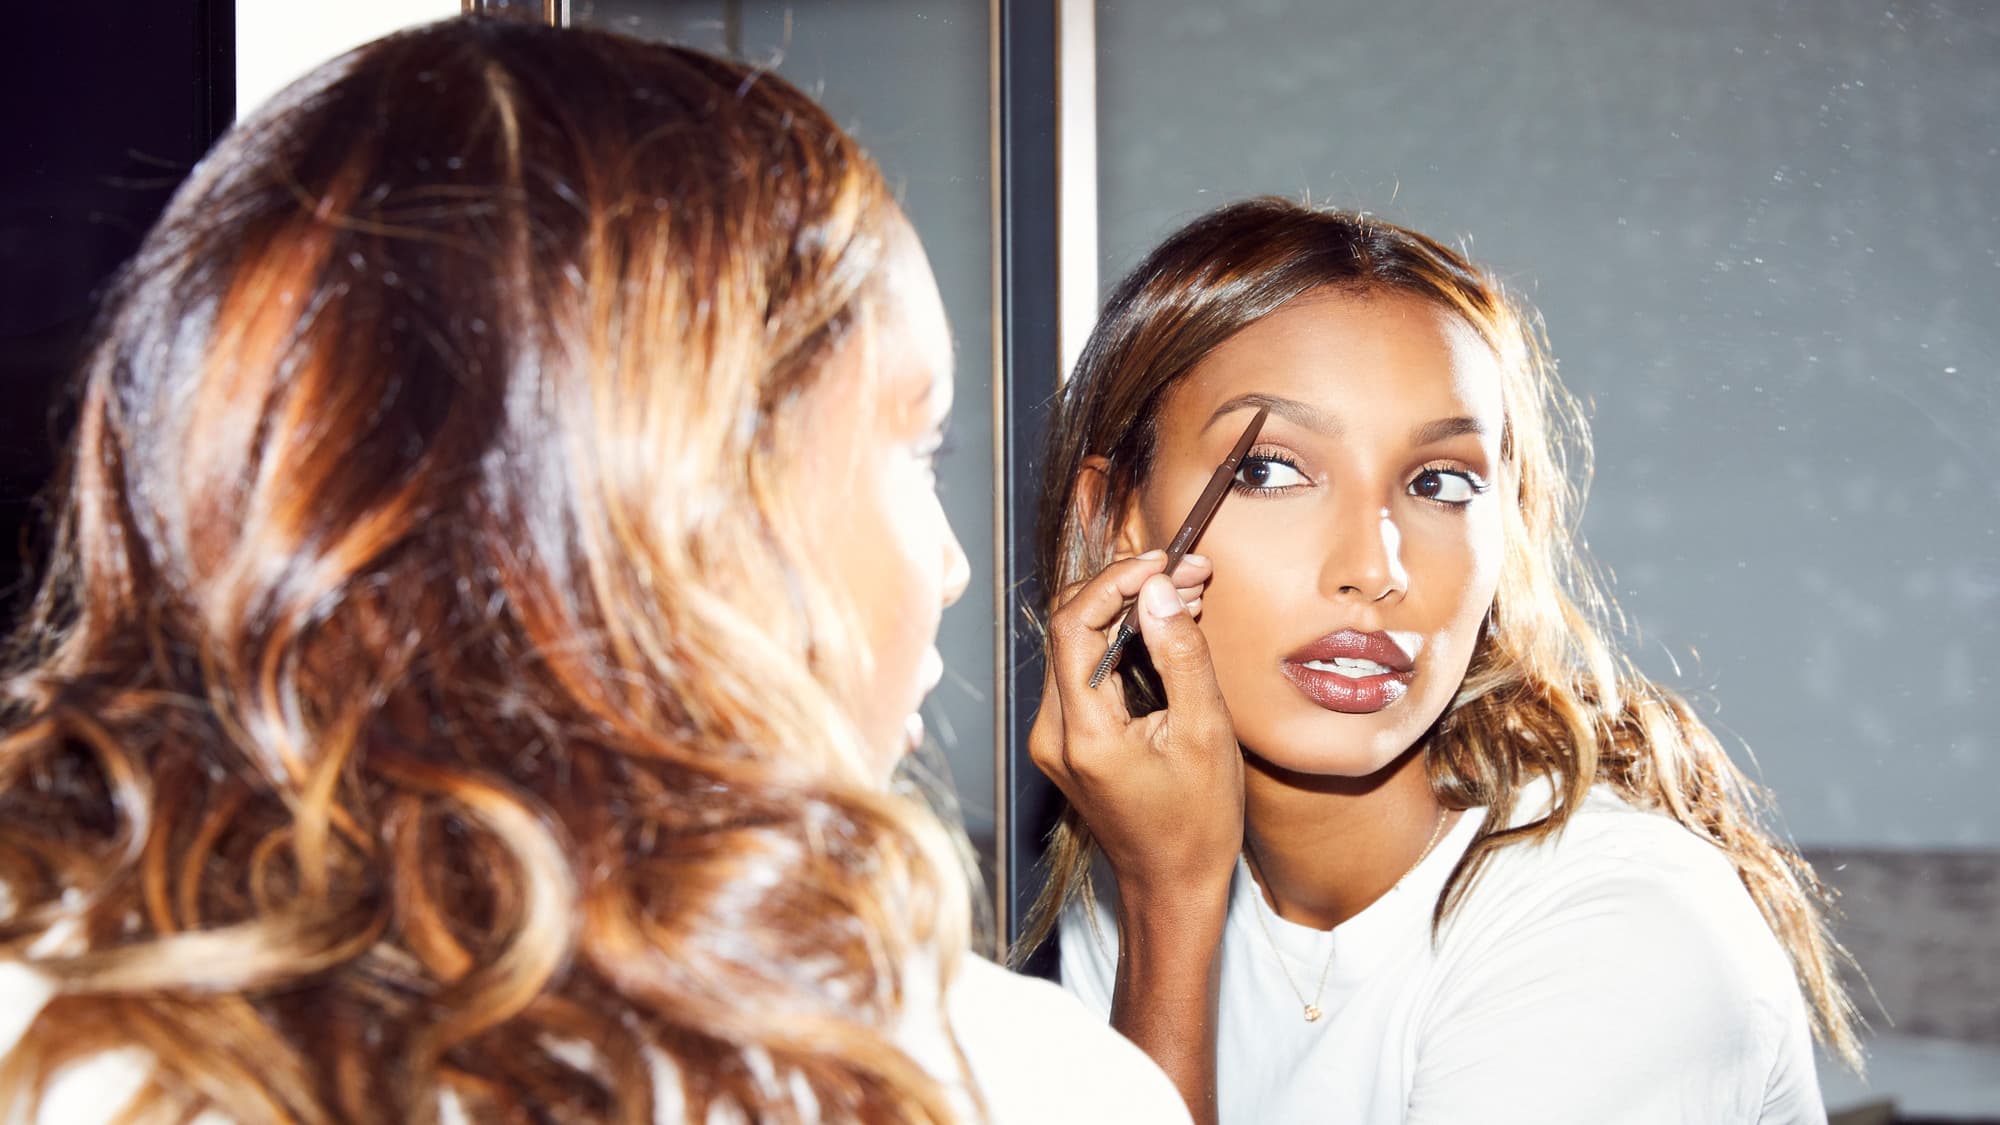
Brow tinting usually lasts about five to six weeks, depending on how much sun exposure you receive or if you’re using a particularly strong face wash. In terms of technique, Scott advises that you should only put the tint mixture where you see hair, and to only tackle one brow at a time—that will ensure you don’t have any timing issues. Also be sure that your skin is moisturized (but dried) before you start tinting to avoid staining your skin.
1. “Apply an even coat of the mixture to your entire brow [with the brush]. You can put a thin layer of tint remover on the skin surrounding the brow before you apply [to avoid staining].”
2. “Use a cotton bud to clean any excess off the skin. What remains should be the shape of your brow or slightly thinner.”
3. “Leave the tint on for four minutes—not any longer.
If
you want your brows darker than they are after your first pass of color (and after they’ve dried and the color has settled), then you can always make them darker by doing another pass of color. If you leave the color on too long and your brows end up too dark, it will take bleach to reverse what has been done.”
4. “After you have allowed the color to process, use your shampoo-water solution on a cotton pad to remove the tint and to stop the chemical reaction or stop your hair from taking on more color. In dense brows, some tint can remain in the hair and on the skin and can continue processing if you don’t remove it all.”
Tips
Scott also recommends sticking to one color rather than mixing a blend of two or more tint shades. “That requires experience, trial and error, and finesse. I would recommend anyone trying this out for the first time to buy one shade that is either the same shade as their hair or just slightly lighter.”
Once you’re finished tinting, then you can go in and tweeze any errant hairs. Says Scott, “You will be surprised what hairs become more present and add structure to your brow that you might have been removing pre-tint.”
They also advise not to be afraid to mess up with your brows—unlike an over-tweezing session, color can be corrected for the most part. “If you end up having to bleach your brows, have fun with them while they’re bleached! Then put them back on with a shade lighter than the brow you had before any tinting happened, because a bleached brow will absorb a lot more color than an untouched brow.”
A note on bleaching your brows, should you make a mistake: “If you mess up your brow color and think you need to bleach them, wait at least an hour to let your skin settle. If you can wait a few days, even better, because even though you may be shocked by your new brow color, they will fade noticeably in the first day or two as the color comes off the skin. Fresh eyes will also help you. The safest way to bleach your brows is nearly the same as how you applied the tint. Put some castor oil or a balm like Aquaphor on the skin surrounding your brow to keep the bleach off your bare skin.”
Henna Brow Dye
Melanie Marris is an internationally known brow stylist and the founder of Brow Code, offering both tinting and henna services at her salon. For those unfamiliar with henna, Marris explains, “Henna is derived from plants, making it a natural hair dye alternative, and is activated with rose water. Brow tints are a vegetable-based dye mixed with a peroxide in order to activate.” If you find that you’re sensitive to the stronger chemicals used in traditional brow tinting, henna might be a great alternative.
What You Need
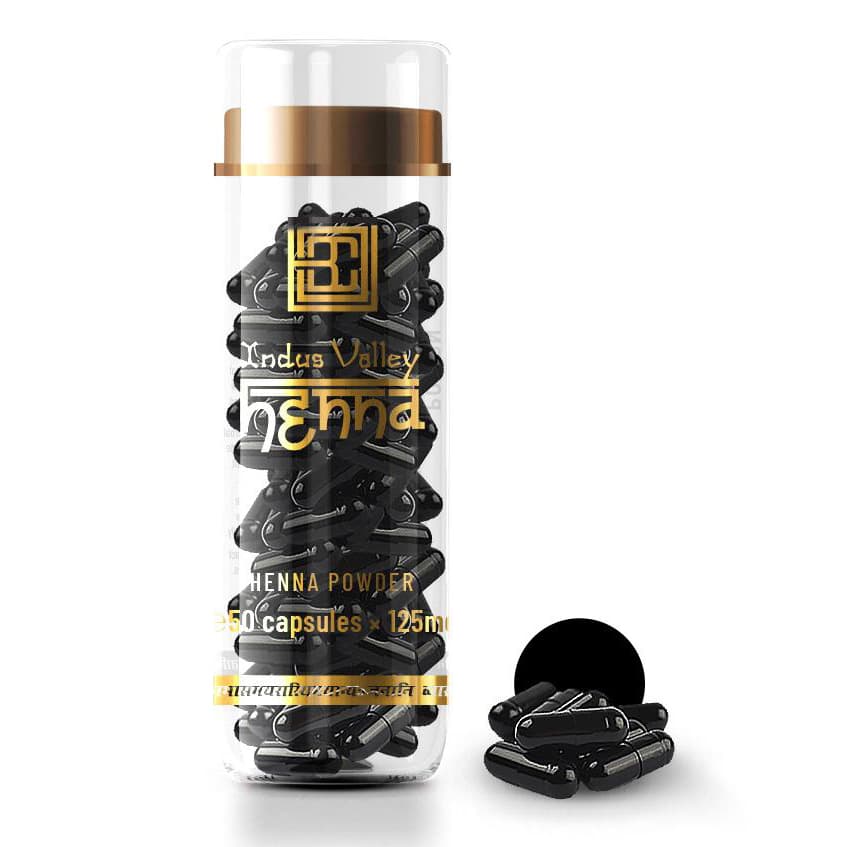
Henna Powder
Professional Angled Brow Makeup Brush with Spoolie No. 301
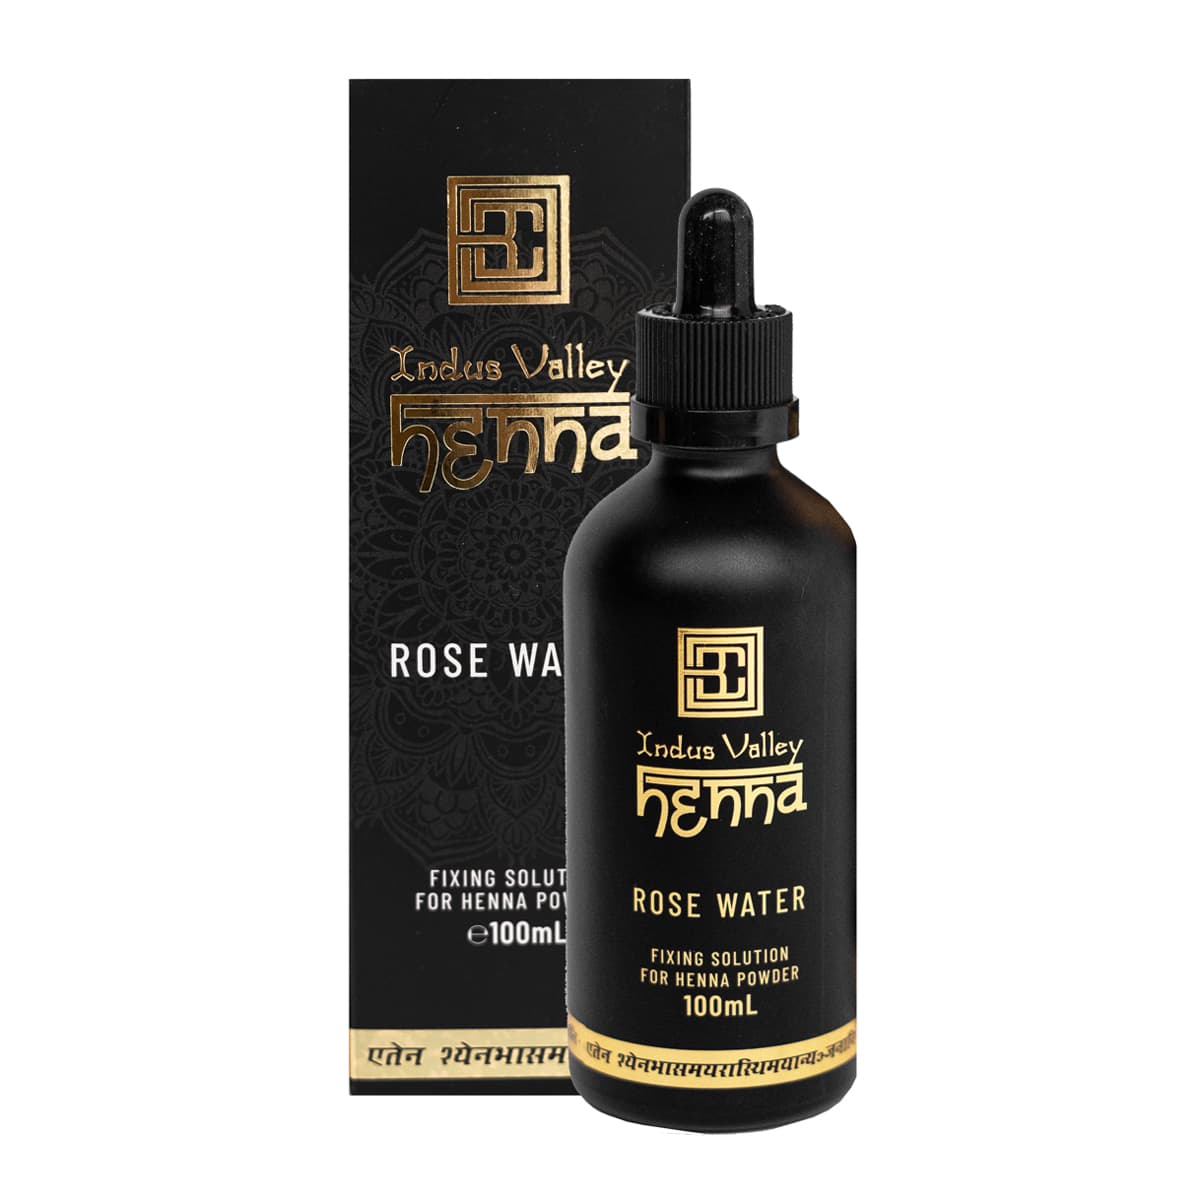
Rose Water Fixing Solution
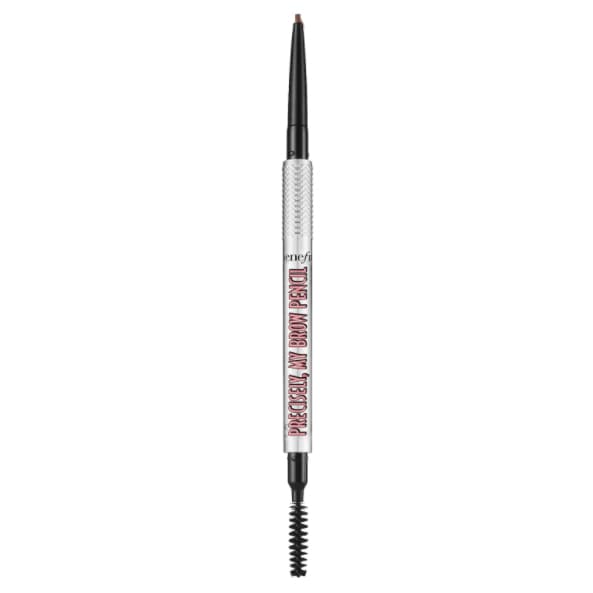
Precisely, My Brow Pencil Ultra Fine Shape & Define
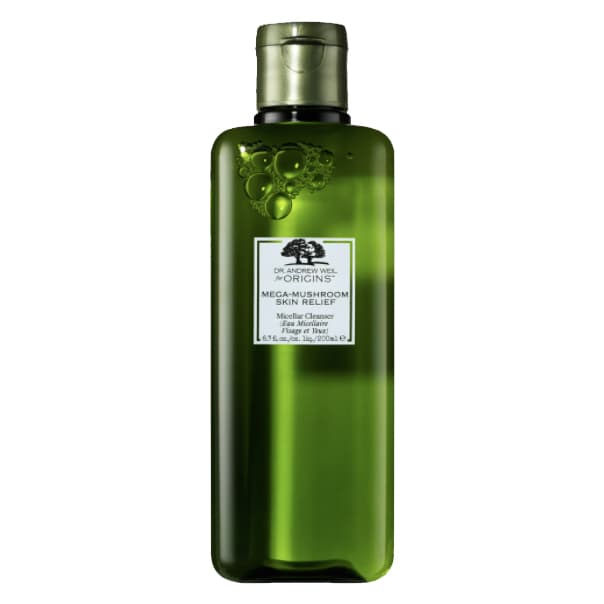
Mega-mushroom Skin Relief Micellar Cleanser
Technique
Marris recommends using the same products for henna at home as you would typically find at a salon. The most important thing is to adequately prep your skin to ensure that dead skin is removed and the color will apply evenly. Use a gentle physical exfoliator, then apply moisturizer, making sure it is thoroughly dried before applying the henna mixture.
1. “Mix 14 drops of rose water into the henna powder mixture, and set it aside in order to activate it, forming it into a paste.”
2. “Outline your desired shape with a brow pencil before you begin; that way you are prepped and you keep the product within your lines.”
3. “Use an angled brush to apply the henna powder in thin, even layers. Use shorter strokes, ensuring all areas of the brow are covered evenly and that you have the desired shape you are looking for.”
4. “Apply two to three layers, and let each layer dry for eight to ten minutes before moving on to the next one. You have to wait until all three layers are completely dry before removing.”
5. “Keep a cotton bud tip soaked in micellar water close by to ensure any mistakes are quickly touched up. If you go outside your desired shape, the key is to fix it right away before any stain begins activating.”
6. “Once the layers are dry, you remove the dried henna by soaking each brow with a dampened cotton pad using the rose water. After you wipe away the excess henna, you can go over it with a cotton pad soaked in micellar water. Always remove the product in line with your shape, keeping it neat and precise.”
7. “Follow up the henna application with a brow serum, like the
, which we recommend applying every night after to promote and stimulate hair growth, lock in and prolong the color, and nourish the hair and skin.”
Tips
Although Marris acknowledges that henna application takes longer to perform, it can last at least six weeks on the brows. She also advises that there are few risks to using henna, but you should still perform a patch test 48 hours prior to brow tinting to ensure that you’re not sensitive to the mixture. In terms of shades, there are a variety to choose from, and she does endorse mixing them together to formulate your own color. She says that of the five shades her company offers, “our most popular combination is the medium brown, which is a combination of light and dark.” When in doubt, err on the lighter side, as you can always add another layer to deepen the color.
Want more stories like this?