Makeup
Expert Tips for Creating Natural-Looking Brows
For over-plucked brows, thick brows, and everyone in between.
07 January, 2021
10 November, 2021
Our brows have been through quite the ordeal over the years. The early 2000s brought us paper-thin tattoo brows, whereas the later part of the decade placed an emphasis on sharp arches floating above a highly accentuated brow bone. Then came about the thick, angular Instagram brows of the 2010s, which were desperately tricky to get right without looking too “done.” For 2021, our resolution is this: Make brows look like brows.
So what’s our definition of natural-looking? It’s brows that look feathery and wispy, but not so overgrown that it seems like months since you’ve last seen your brow technician. Full, but not like you painted them on. They essentially look like the brows that you already have, but better.
Yet with so many of us conditioned to believe that we have to heap tons of product onto our brows in order to get the look we want, we need a little help to unlearn some of the lessons of the last decade. In order to set ourselves up for success on the path to a more subtle brow shape, we turned to the professionals. Here’s what they had to say.
Brow Prep
Everyone is guilty of having a tweezer-happy moment or accidentally trimming errant hairs too short. In order to keep your brows looking natural, it’s best to err on the side of caution with routine maintenance.
Brow expert Azi Sacks reveals to Coveteur, “Only disconnect the unibrow area in the center of your brows—do not clean too close to the starting points of your brow. Allow that area to be natural and grown out. When hairs are brushed up, this section of the brow actually sets the tone [for a natural-looking brow]. Tweeze [stray hairs] only on the brow bone and below it. I wouldn’t recommend going any higher.”
If you do have brow hairs that seem *too* long when you brush them up, Sacks recommends a less-is-more approach. She states, “To trim one’s brows at home, brush the brow up and only snip where the hair begins to curl. Snip the tip off very slightly, leaving the hairs long. Cutting one’s brows too short can alter the angle, thin the width, or create choppy lines. Choppy lines can make the brow appear as if you have holes or enhance sparse areas of the brow.”
Choosing Your Product
The market is *flooded* with all sorts of brow products in all different shapes, shades, and sizes. That’s why you should identify what product can achieve the results you want before diving into the technique.
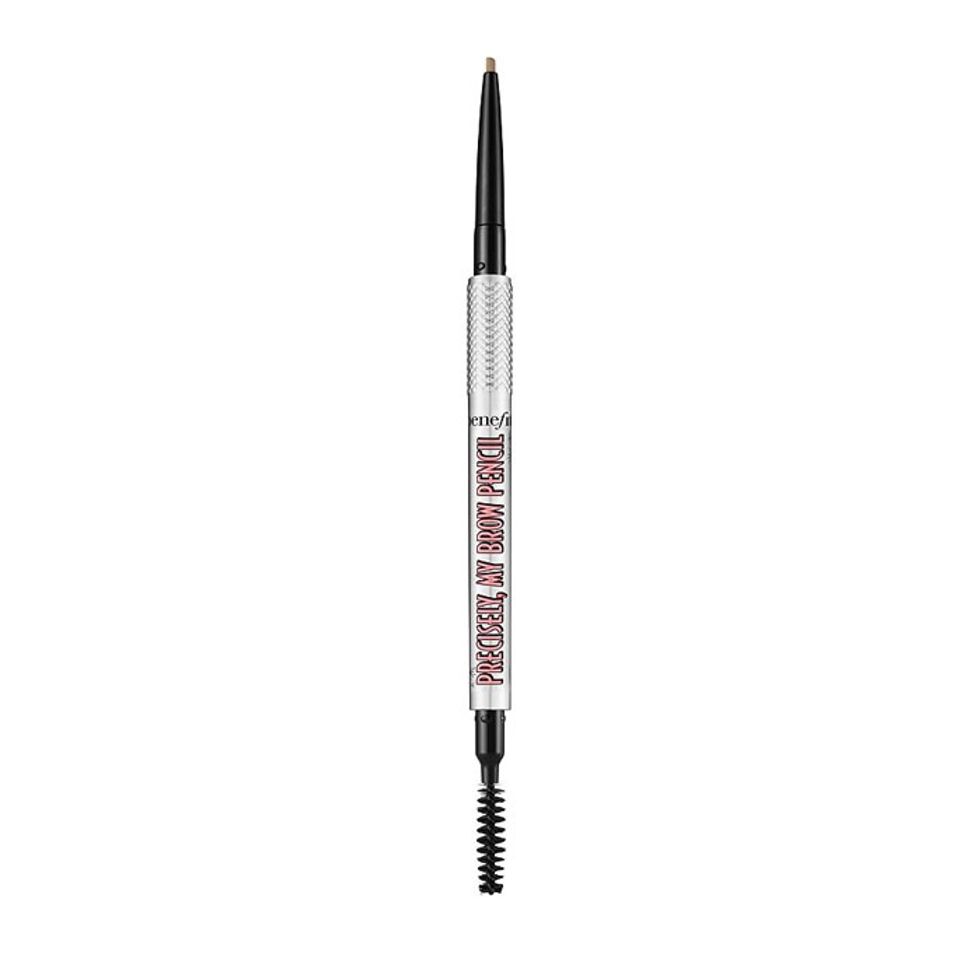
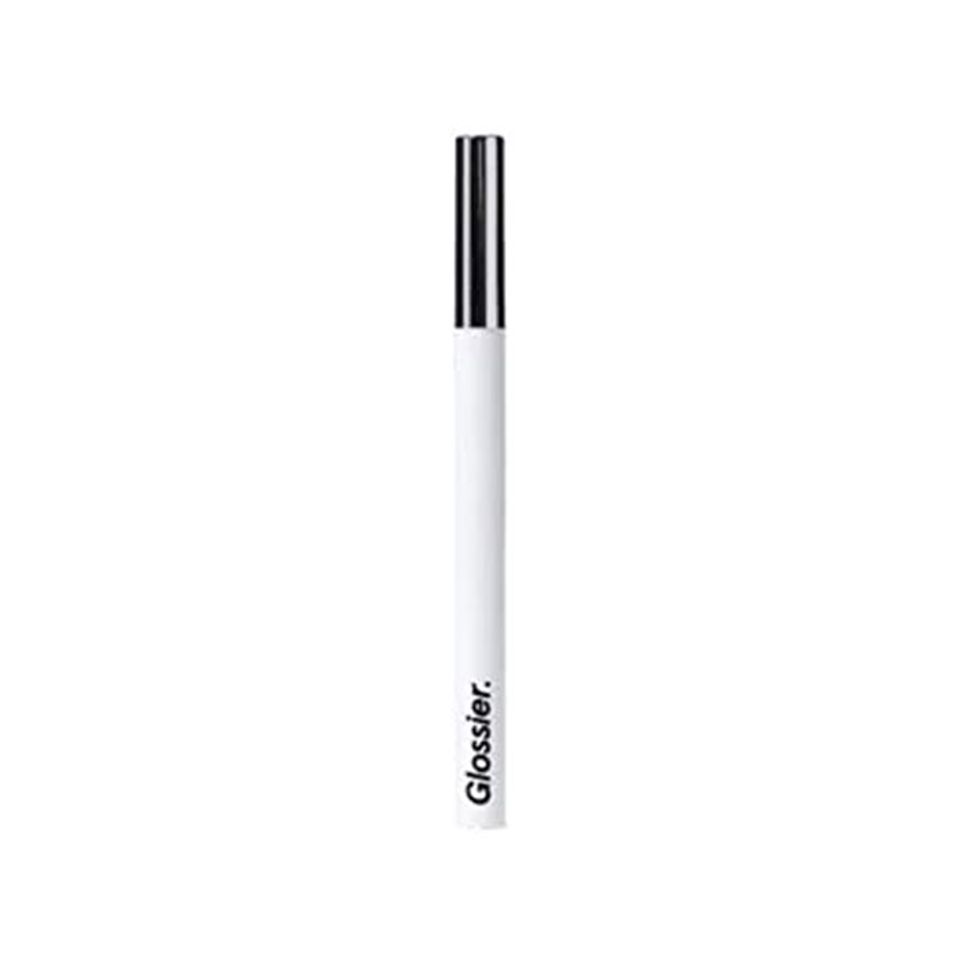
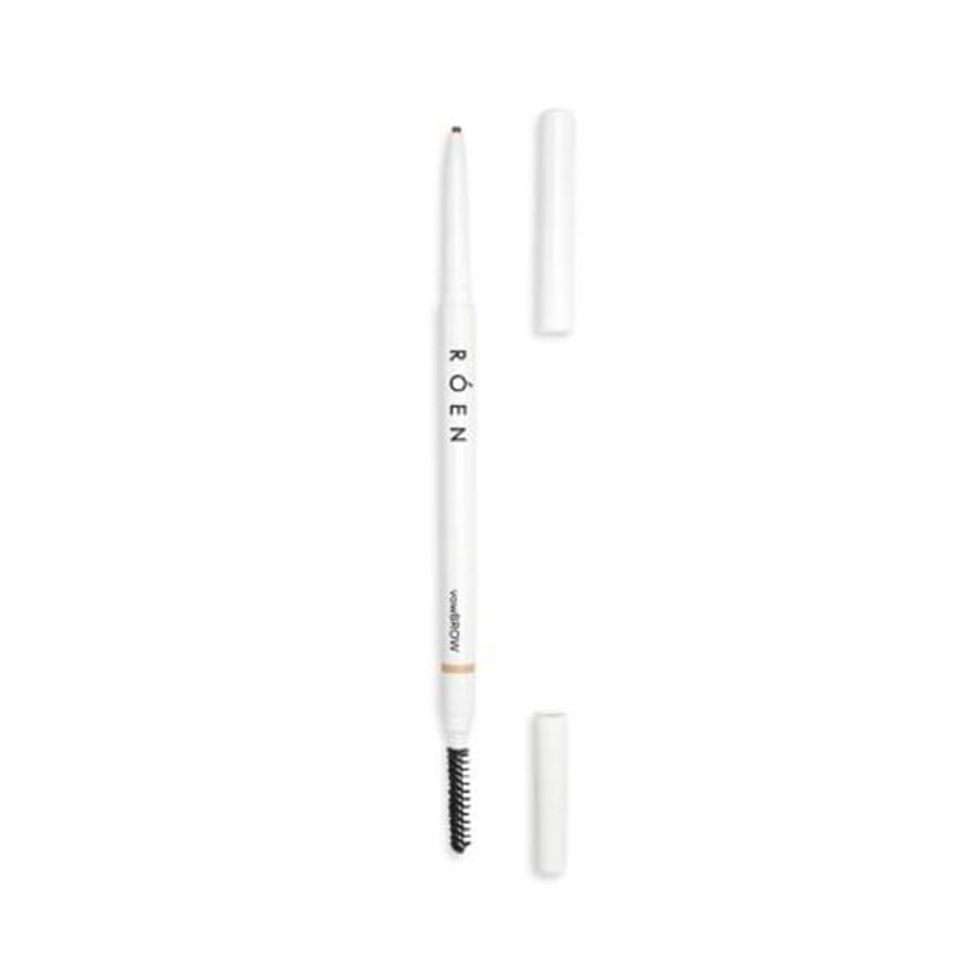
Celebrity makeup artist Shayna Gold reveals her secret to creating natural, hair-like strokes: “Most often I will fill the brow with a wider, angled pencil to softly cover more ground (if necessary), then go in with a precision pencil or brow liner to layer hair-like strokes. Having both widths and different textures makes it look most natural, in my experience.”
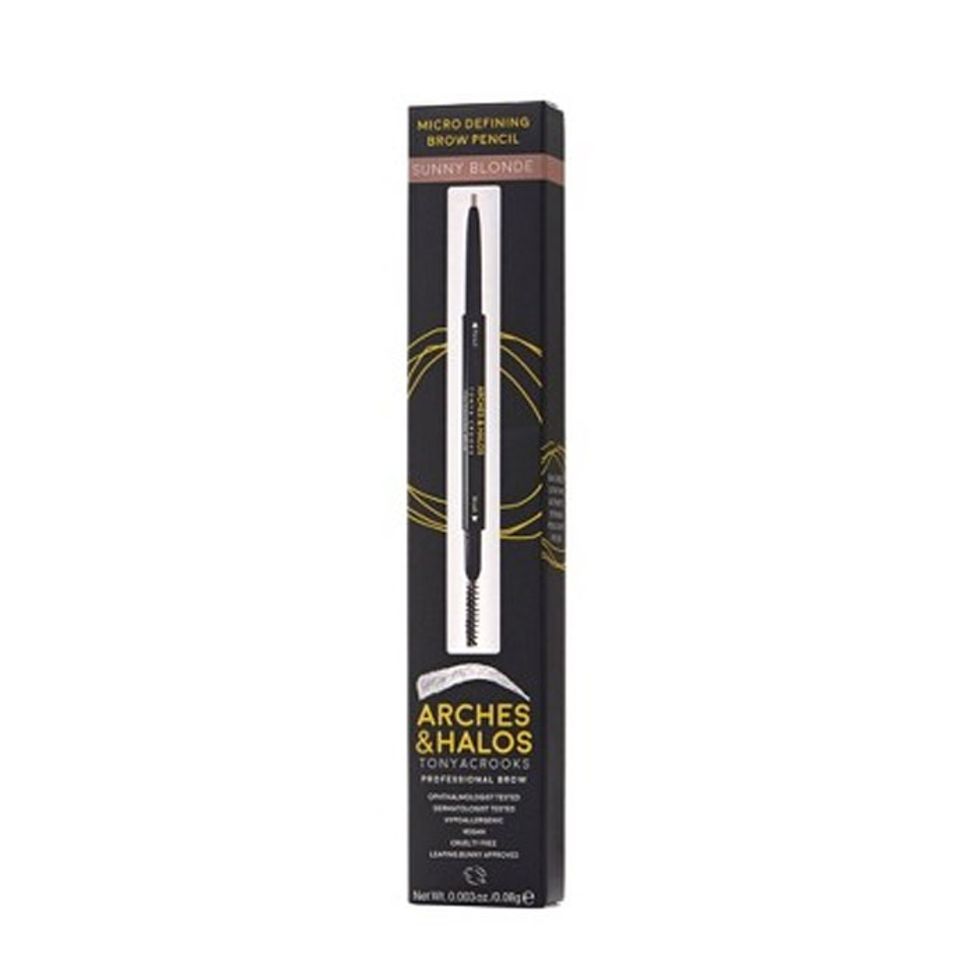
Global Brow Expert at Benefit Cosmetics Jared Bailey reveals that his go-to brow product is a micro-lining brow pencil, as it works with all different brow types, whether that be fine and thin, or thick and full. Additionally, you will want to choose a shade that fits your specific needs. Says Bailey, “If you have very sparse brows and just want to add more structure, I recommend using your exact shade match. If you have fuller brows and want to add dimension, I recommend choosing a shade that’s one or two levels darker than your natural brow hair color.” Regardless of where you land with your shade match, Bailey recommends to always match the undertones of the pencil with the undertones of your hair for a natural finish.
Mastering the Flick
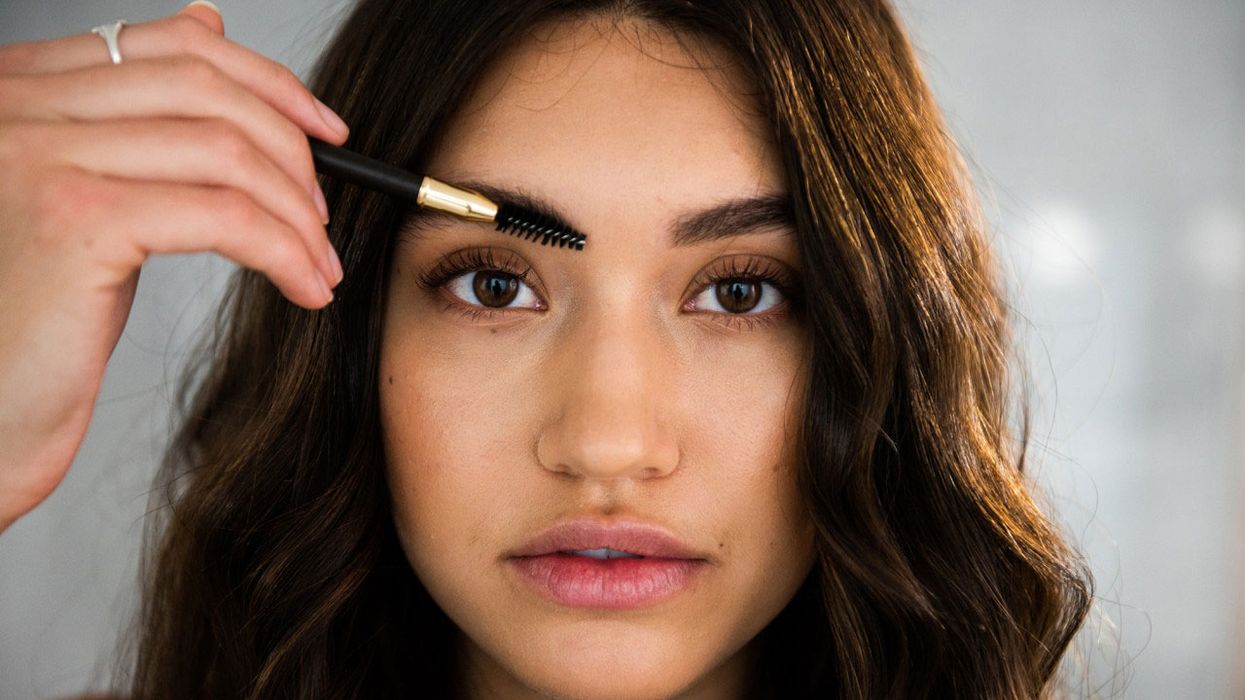
Says Bailey, “When applying, be sure to flick the pencil through your brow using light pressure to create tiny, hair-like strokes. The lighter the pressure you use equals the thinnest possible marks each time. Leave a bit of space in between each stroke so you still see pops of skin. That is key in creating a believable, natural brow.” Celebrity makeup artist Kate Synnott reveals that going with the flow is key to creating hair-like strokes. As she explains, “Follow the hair growth; for example, [at] the start of the brow, the hair is usually pointed up, then [the hairs turn] to the side, and then the arch is pointed down. So follow that while filling your brows in.”
Hope for Thin Brows
Unfortunately, some of us are still rocking the residual thinness from our days of overplucking. Worst is that filling in these sparse areas can look more like a botched brow tattoo than hair-like strokes. The trick to filling in these sparse areas is to create dimension.
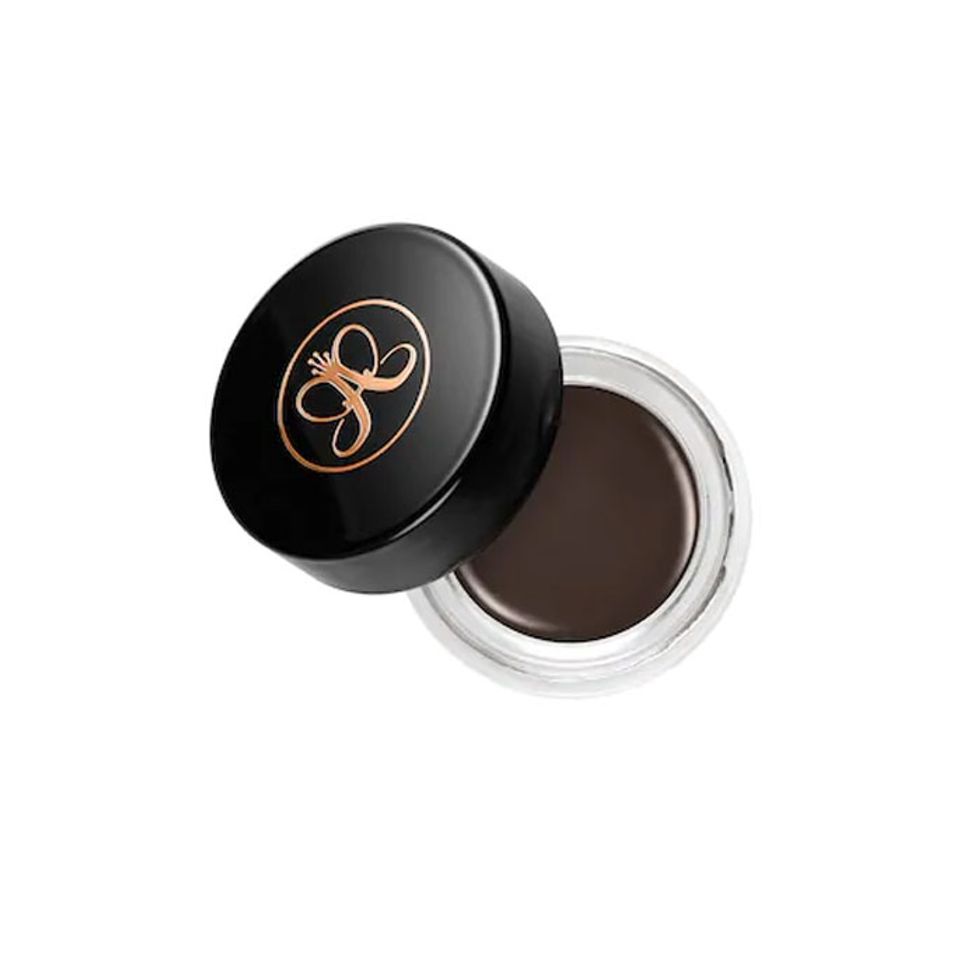
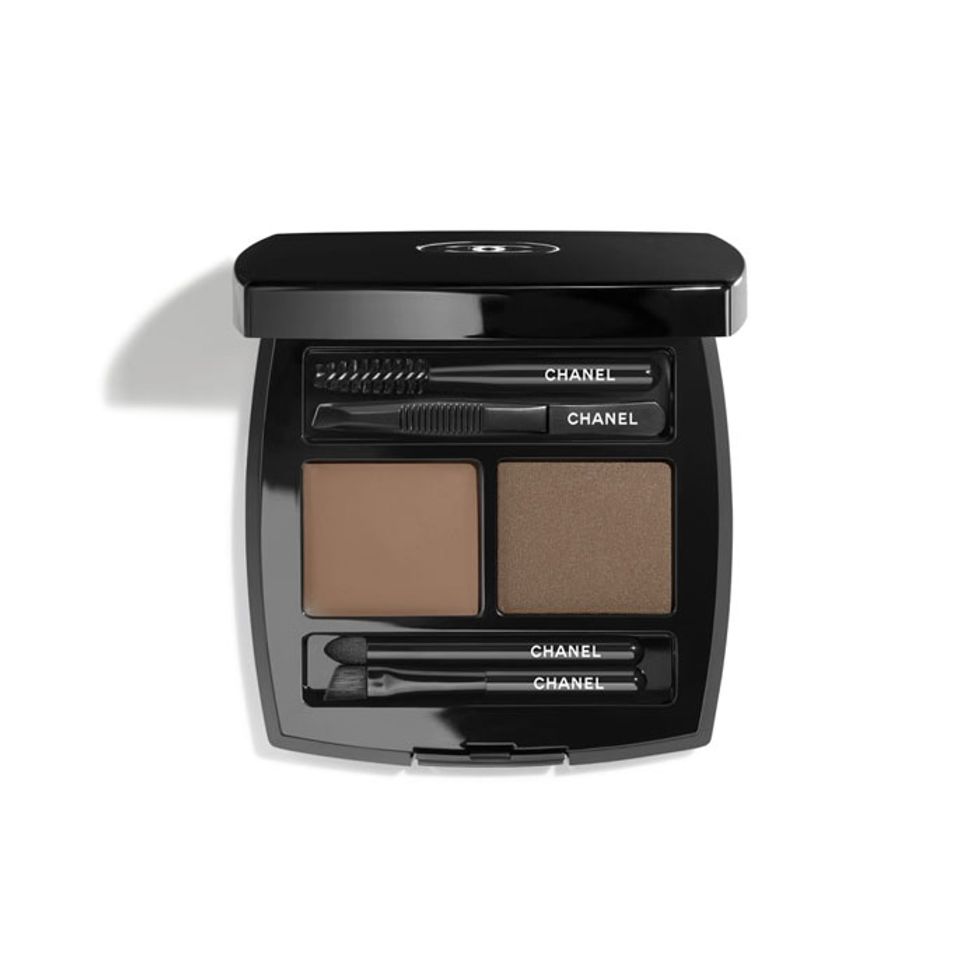
Says Gold, “I’ve found success by using something like a brow pomade first to softly build out the shape with a brush. This product has texture by itself, so its provides a non-reflective 3-D finish. Going back in and layering strokes with a brow pencil or brow liner after then achieves the dimension closer to what hair looks like.” If you are skeptical about adding a pomade into your routine, Bailey recommends creating this base with a brow powder. Make sure that the pomade is a few shades lighter than your brow pencil or liner to create a natural-looking shadow for your faux brow hairs.
Enhancing Thick Brows
If you’re lucky enough to already have naturally full eyebrows, you can still enhance your brows’ shape. Bailey recommends using a fine brow pencil to fill in any sparse areas or scars in the brows, and finishing the look off with a brow gel to hold thick hairs in place throughout the day.
But Gold likes to take it a step further when filling in thick brows. She states, “The most common trick is to just dot a brow pencil where the gap is and only where the gap is. However, my favorite trick for an already full brow is to comb the brows down towards the eye and only softly fill the spots visibly missing in the upper line of the brow, then comb back up into place. The top line is what carries the shape and, when polished often, makes the brows uniform without having to fill elsewhere.”
Clean and Set
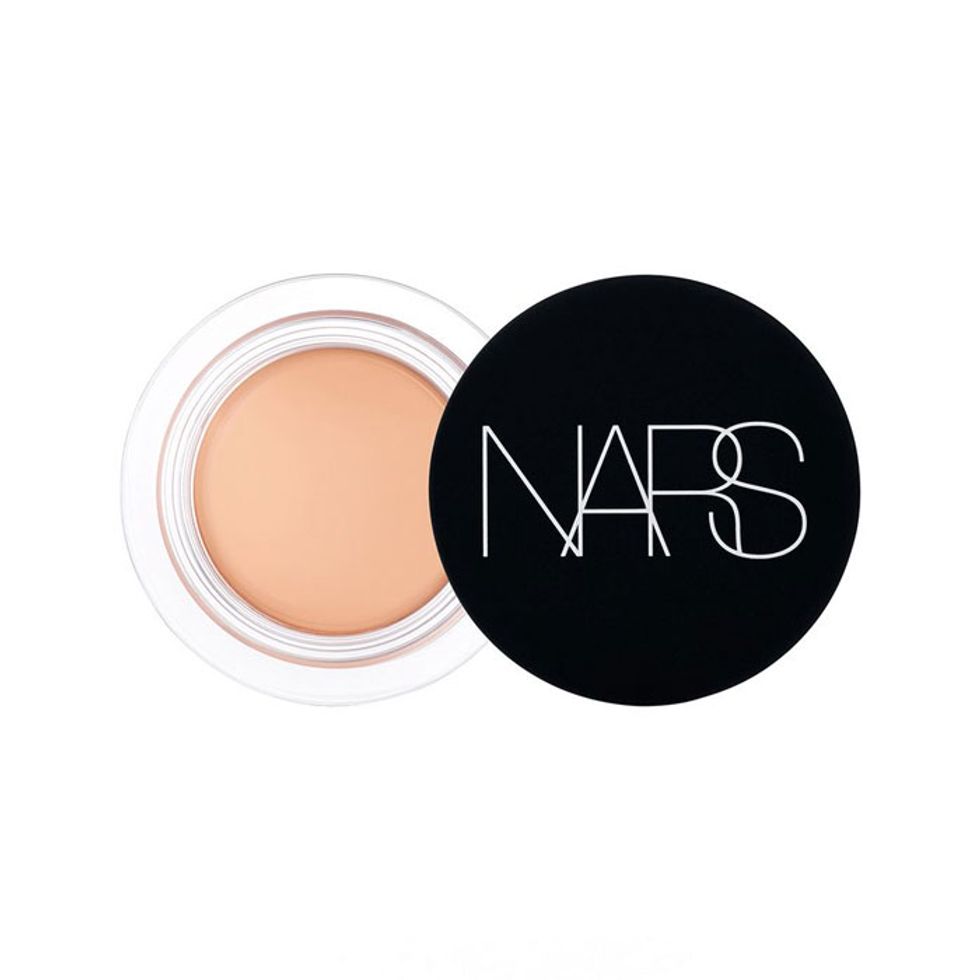
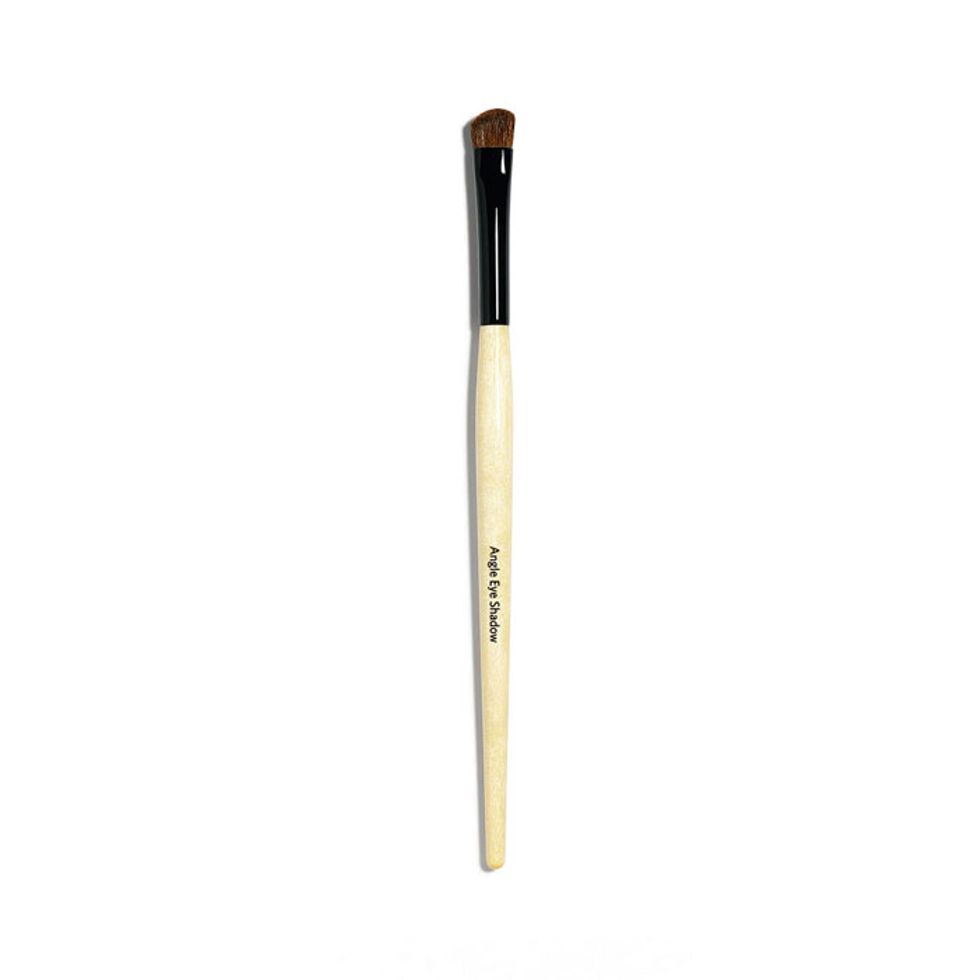
A common practice after filling in brows is to clean the area up with concealer to define the shape. Unfortunately, sometimes the lines of concealer we place above and below our brows to define them are a bit too sharp, resulting in a shape that *screams* unnatural. Synnott states, “It’s so important what brush you use [for this technique]. Thin liner-like brushes will create sharp edges, so always use a thick, fluffy-edged brush with your concealer to get a softer edge.” Simply load a fluffy-edged brush with your favorite concealer and lightly brush above and below your brows for natural-looking definition.
And finally, what is arguably the most important step of this entire process is setting the brows with a gel. Says Bailey, “Look for gels that have a comb-style wand versus a brush or spoolie. Brushes tend to flatten out the brow hairs, whereas comb wands redirect and let the hair have a bit more natural lift to them.” Start by ridding the comb of any excess product, and brush your hairs in their natural direction, going upward towards the start of the brow, sideways towards the middle of the brow, and downward towards the end.

