A Butt-Lifting Spin Class You Can Do At Home
Bring SoulCycle to your bedroom for 45 email-free minutes.
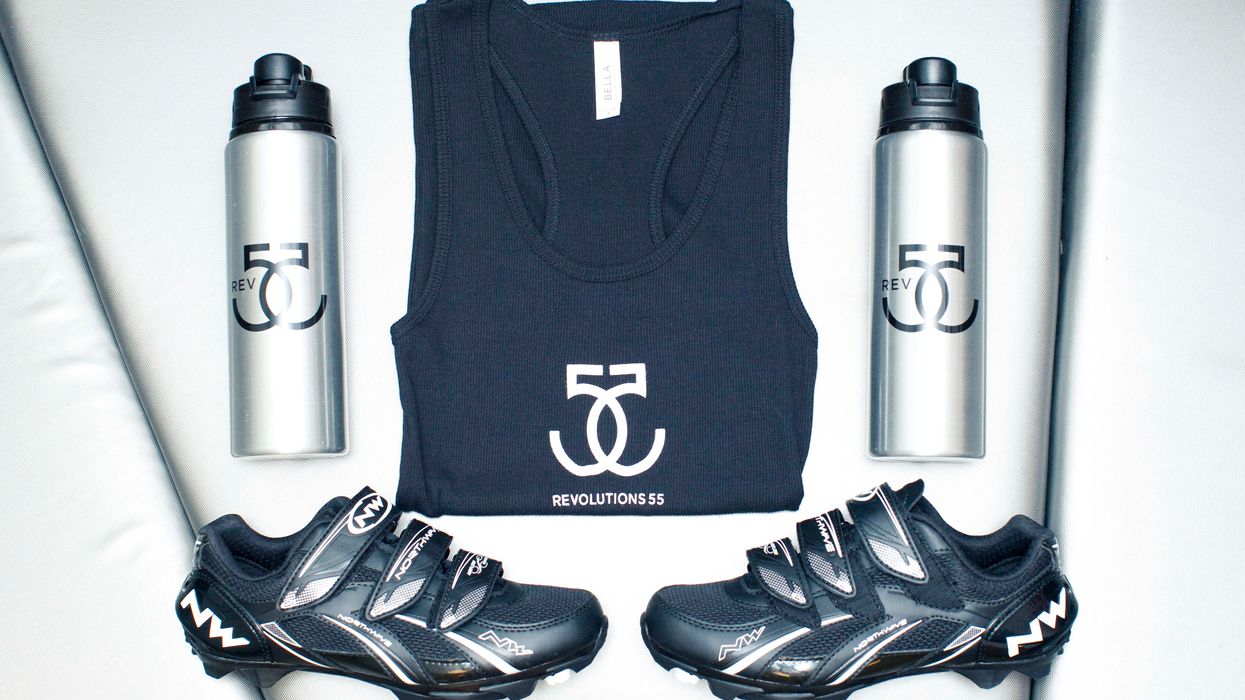
We're all aware that getting our borderline lazy asses to the gym can be a serious struggle and we've got excuses aplenty. Summer = too many outdoor activities and rosé. Winter = way too cold and we have a permanent date with our couch. Currently? The IRL nightmare in which every time slot on our Google calendars is packed with events that aren't exactly aligned with our fitness goals. Buttttt remember that whole, "I wish I didn't go to the gym, said none ever" thing? It's actually the realest. Each and every time we lie down on the yoga mat, lace up our sneakers for a run, or sweat it out at barre, we feel immensely better and immediately make an endorphin-fueled mental vow to come back again next week. A.K.A exactly what happened to us after nearly an hour on the bike in our gym. Which only happened because we begged the newest boutique cycling studio Revolutions 55's Shayne Staley, to show us some moves we could do on any old cycling bike—even the one collecting dust in your parent's basement. Between the music (there's no judgement in solo spin) and monotonous (in the best way) movement, we actually forgot about the chaotic state of our inboxes slash lives at the moment. When we left the gym we grabbed our phones and reserved a spot in our calendars to do it again next week.
Move #1
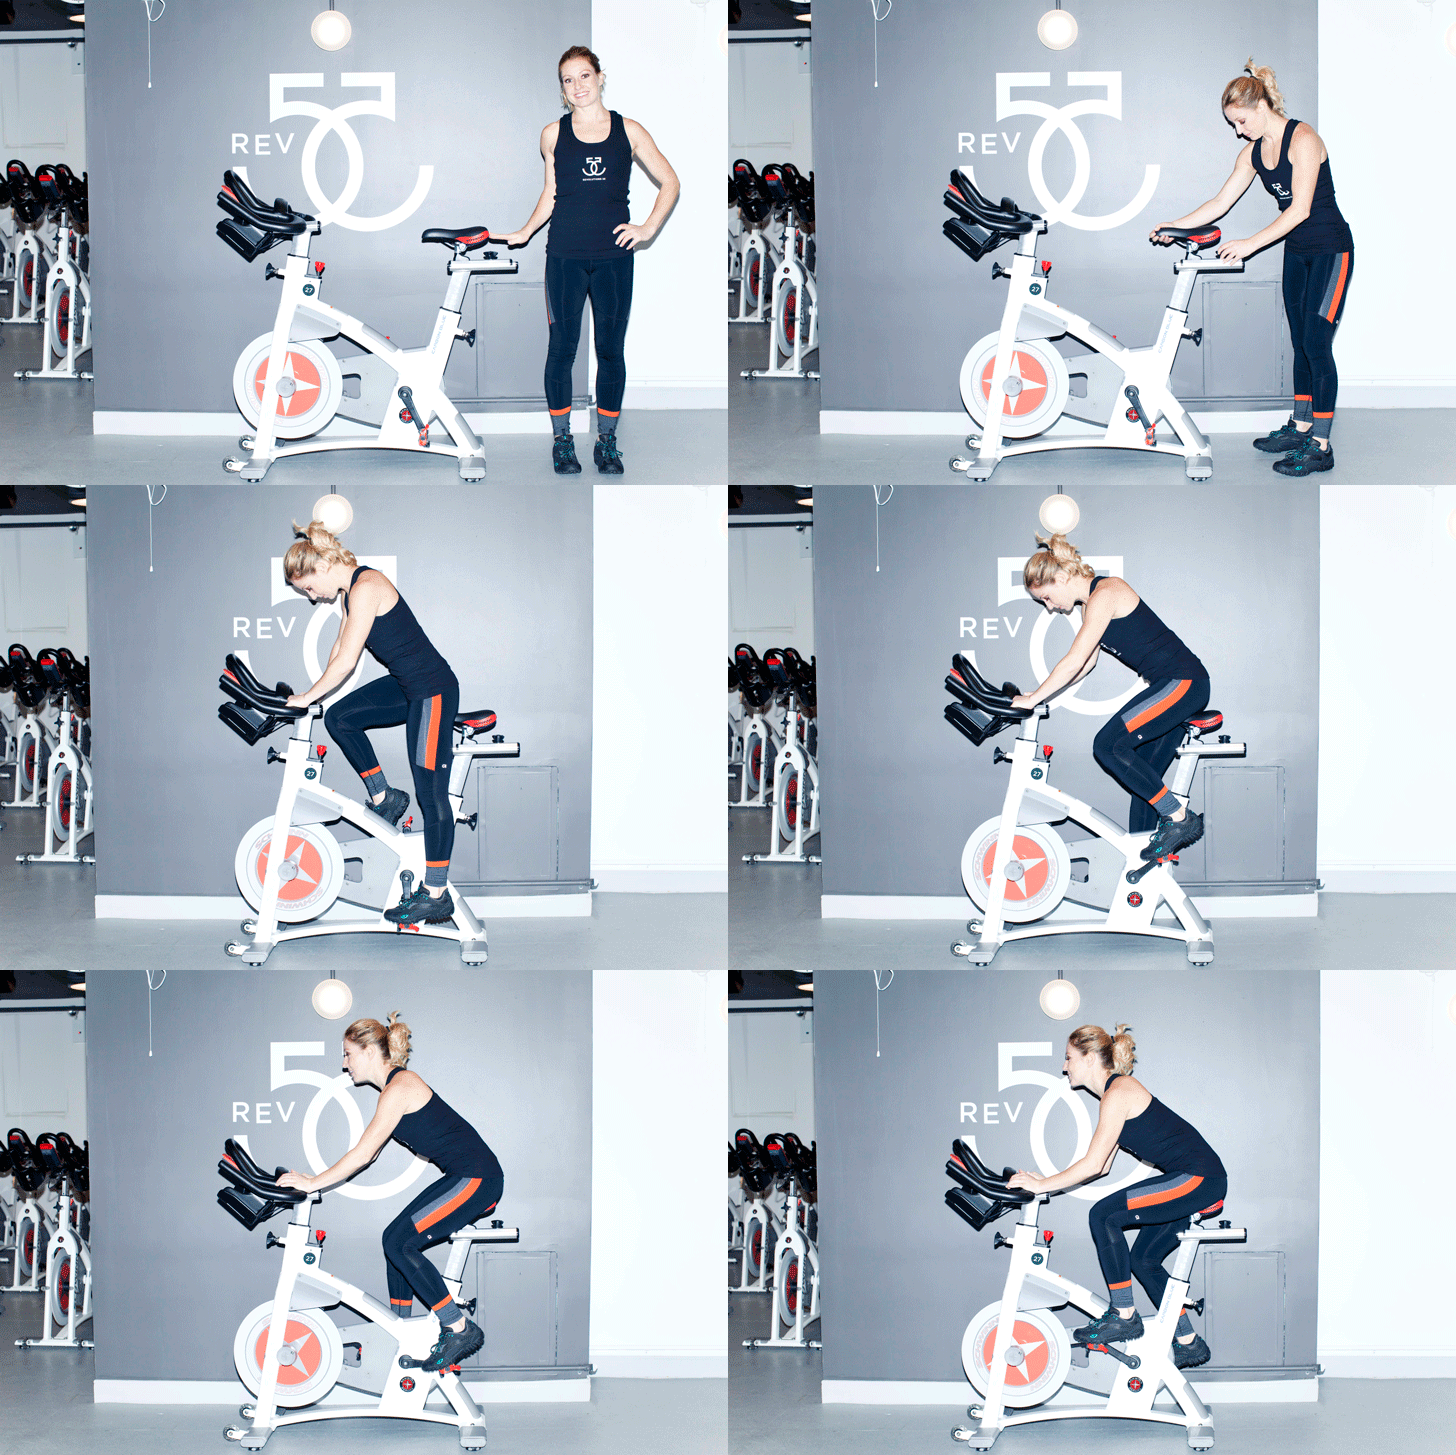
Bike set up
Adjust seat height a little higher than hip height.
Adjust seat front to back so that when your feet are stopped parallel to the floor, your knees are at about a 90* angle (not forward over toes).
Handle bars should be no lower than your seat; the higher they are, the less pressure there is on your lower back (beginners are recommended to raise handle bars all the way for their first few classes).
Revolutions 55 supplies spin shoes with SPD clips, but our pedals also accommodate LOOK clips; slide the toe part into the clip, and then press down to lock in the back part of the clip; to unclip, send heels out laterally, away from the midline of the bike.
Move #2
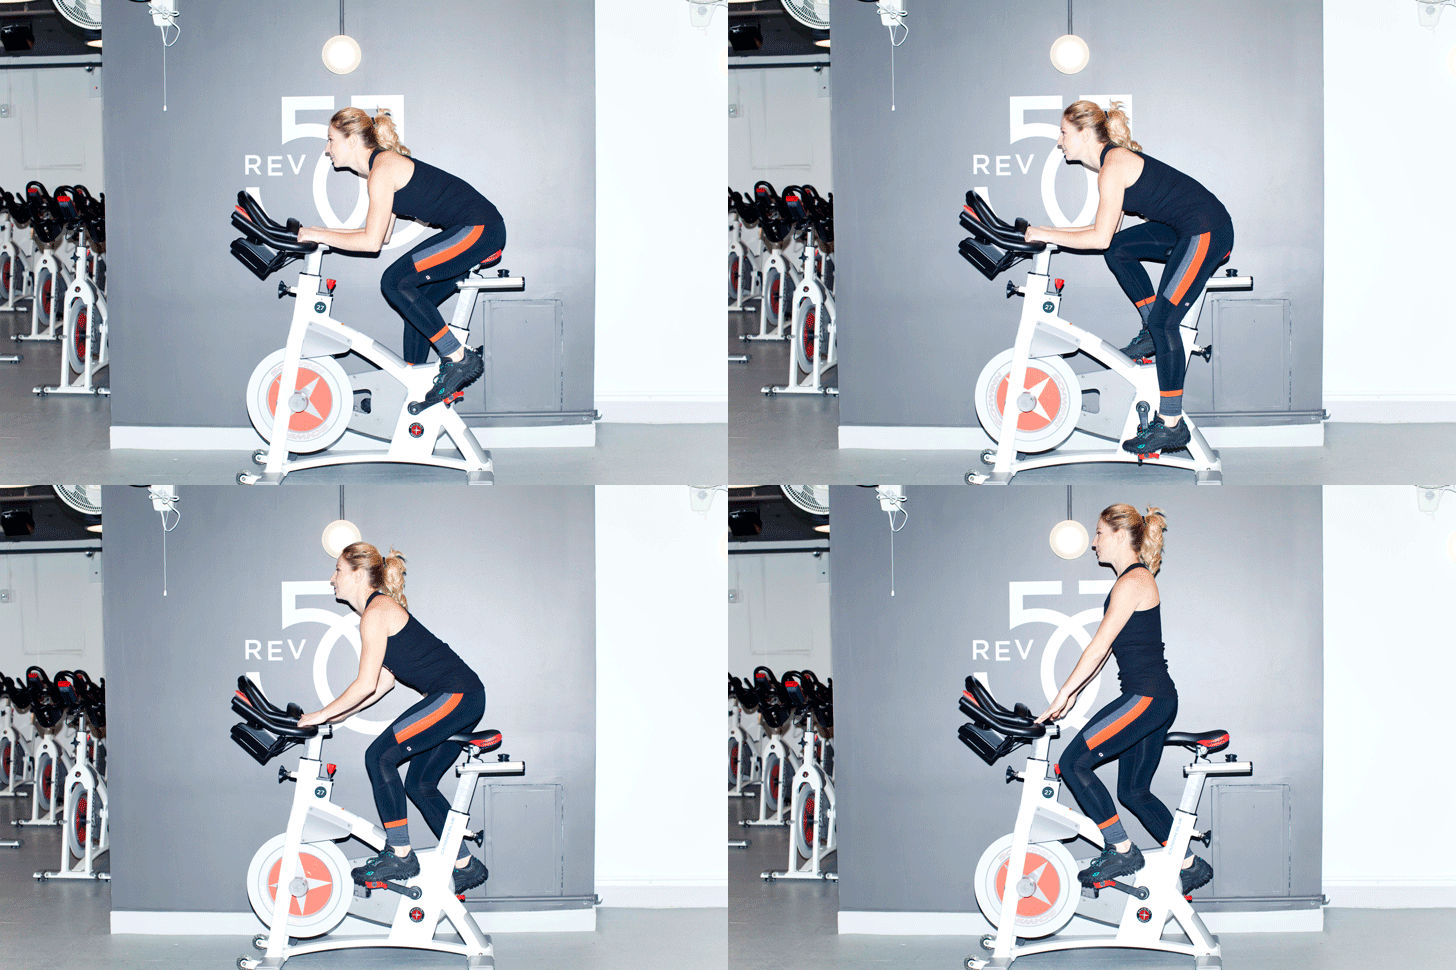
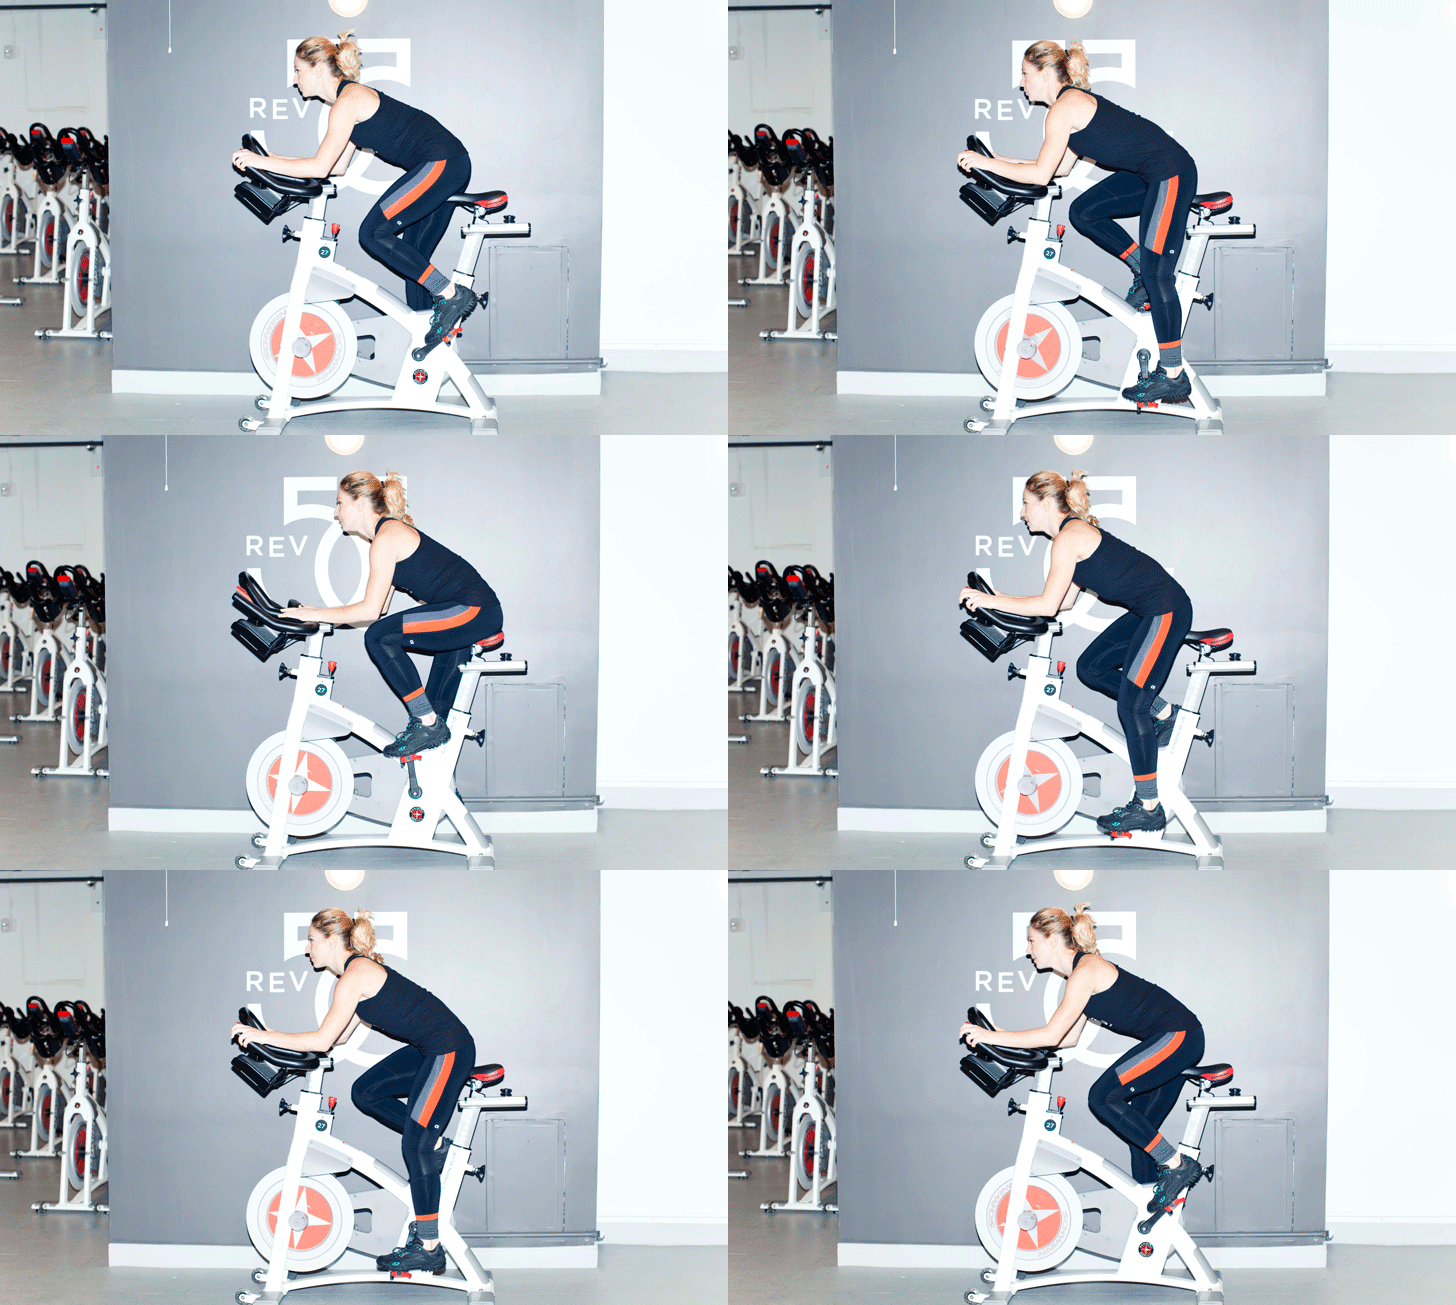
jumps from 1st position to 2nd position
With resistance on the wheel, engage your core and stand in 2nd position; keep your weight over the pedals, this will bring a lightness to the hands and more work into the core; maintain relaxed shoulders and keep a soft bend in the knee throughout your pedal stroke (you never want to lock-out the knee); from 2nd position, lower, with as much control as you can, back down into the saddle.
Move #3
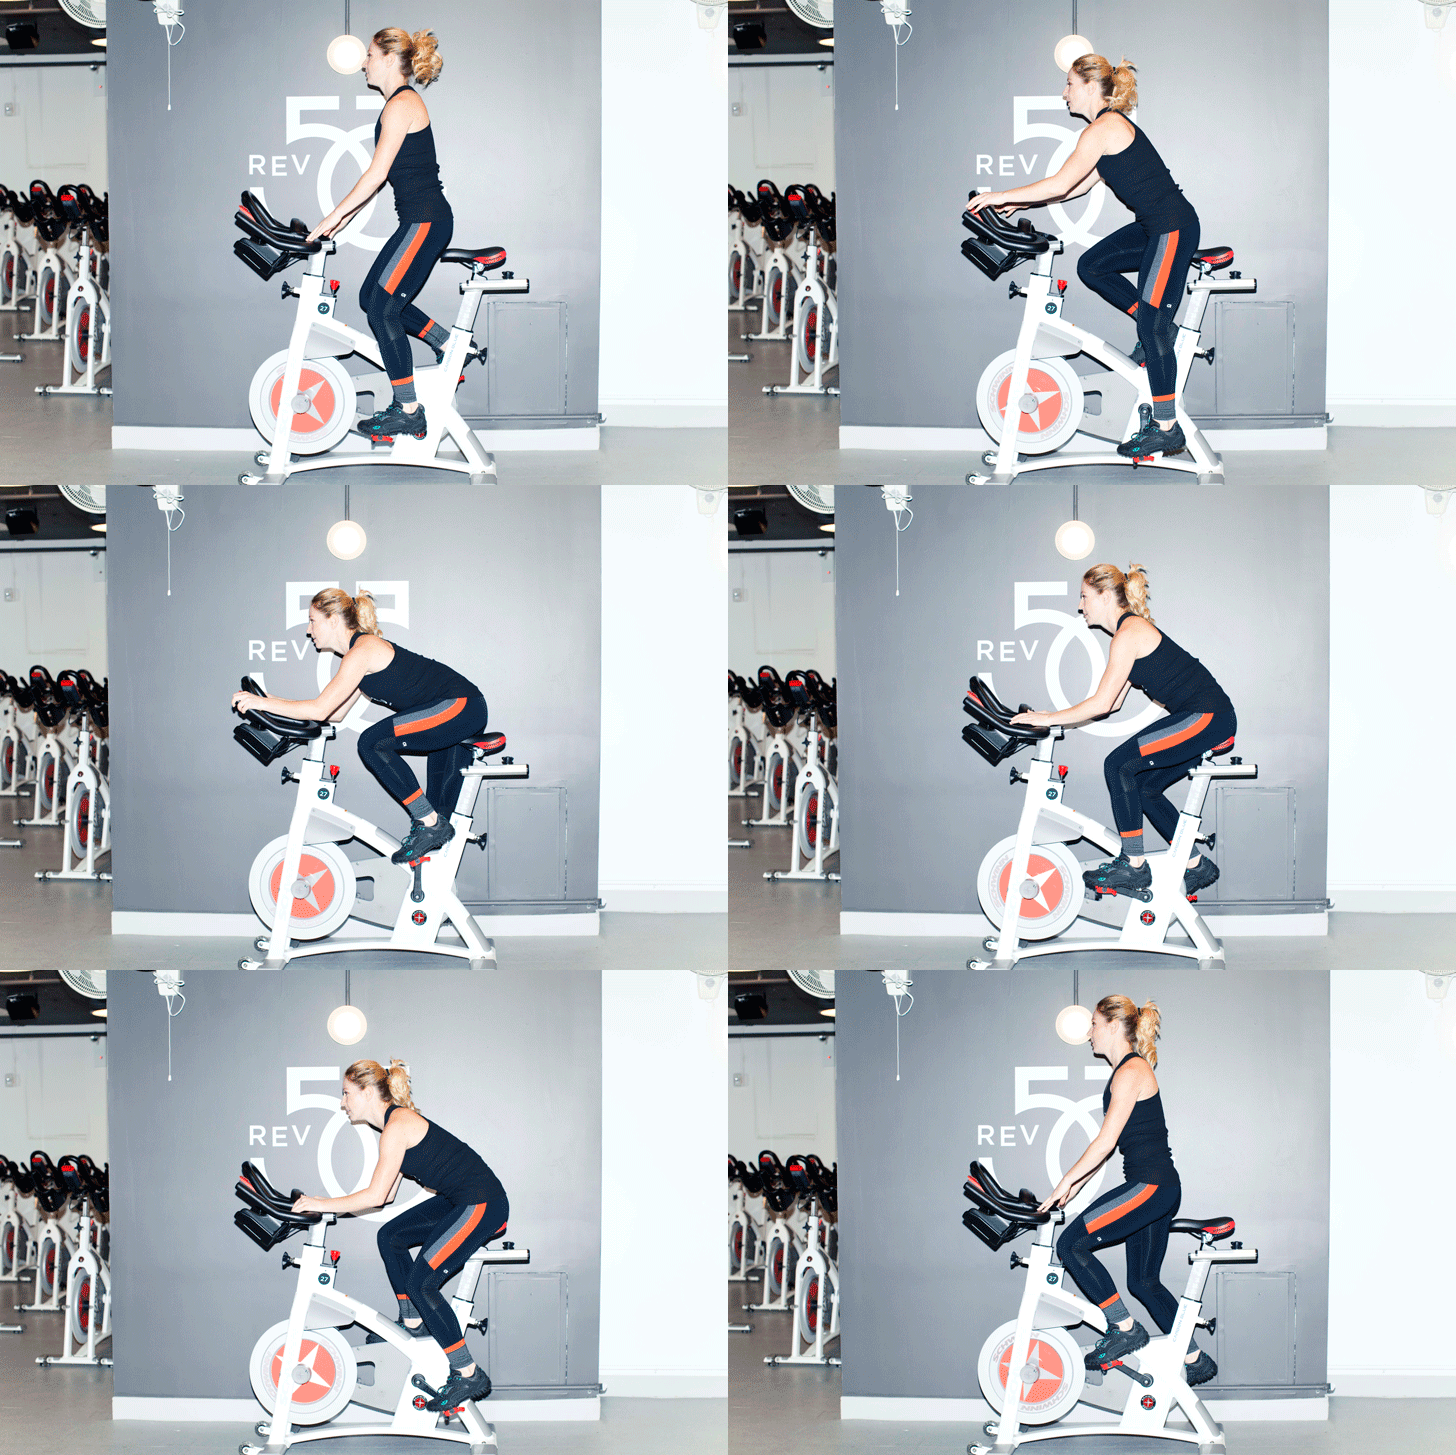
Jumps from 2nd position to 3rd position
With resistance on the wheel, engage your core and stand in 2nd position (notes on 2nd position mentioned above); keeping a solid support in the core, slide your hips way back over the saddle about an inch or two away from the seat, and slide your hands forward to the ends of the handle bars; your spine should have length and your shoulders should be open not rounded in; here, in 3rd position, your weight should be over the pedals, which brings a lightness to the hands, more work into the core, and also takes pressure off the knees; from 3rd position, stand back up into 2nd with as much control as you can.
Move #4
Jumps from 1st Position to 3rd Position
With resistance on the wheel, engage your core and stand in 3rd position (notes on 3rd position mentioned above); keep your seat close to the saddle in 3rd position; lower back down into 1st with as much control as possible, make sure to return the hands to 1st position as well.
Jumps are repeated in different time intervals. For example, 8cts up, 8cts down; or maybe 12cts up, 4cts down, etc...
Move #5
Isolations
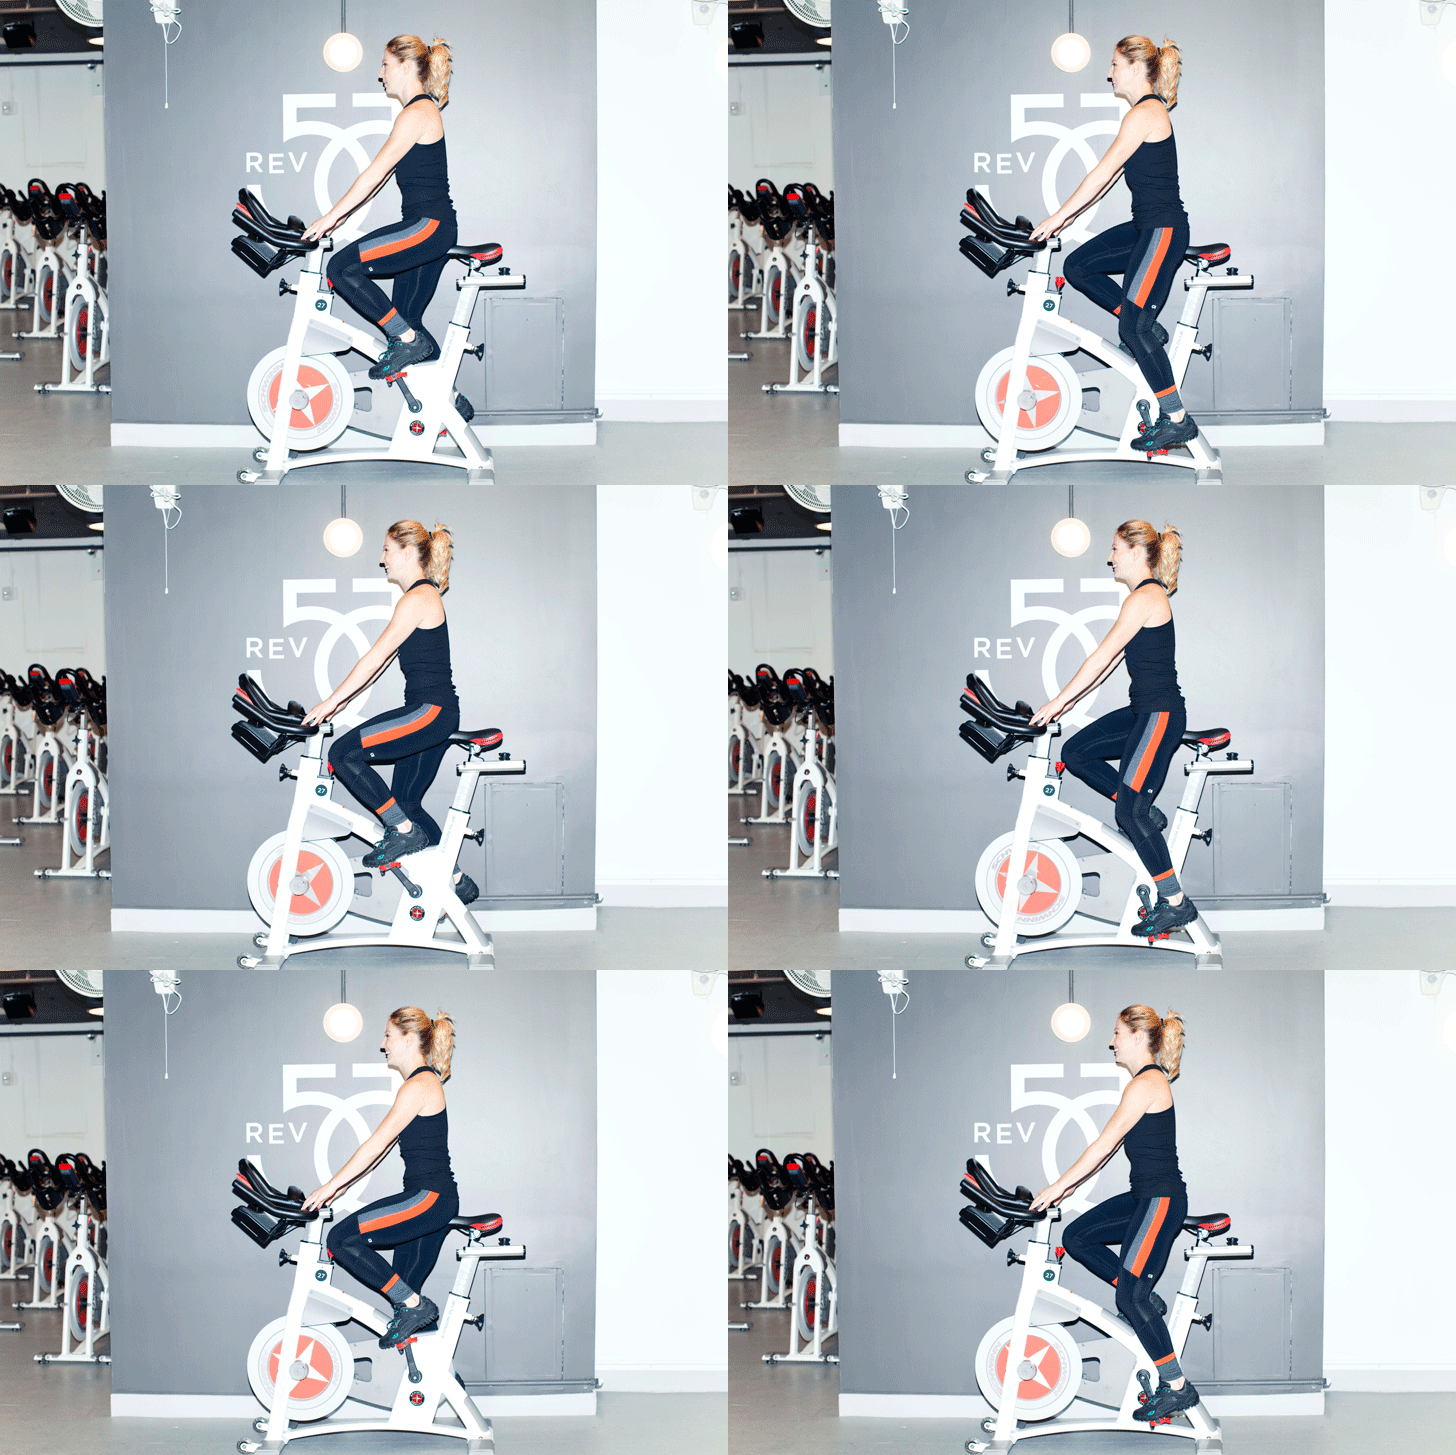
With resistance on the wheel, stand in 2nd (notes on 2nd position listed above), keeping the upper body still and taking the bounce out of your pedal strokes so the head stays at one level, isolate the movement of the legs; killer quad burn!
Move #6
hills
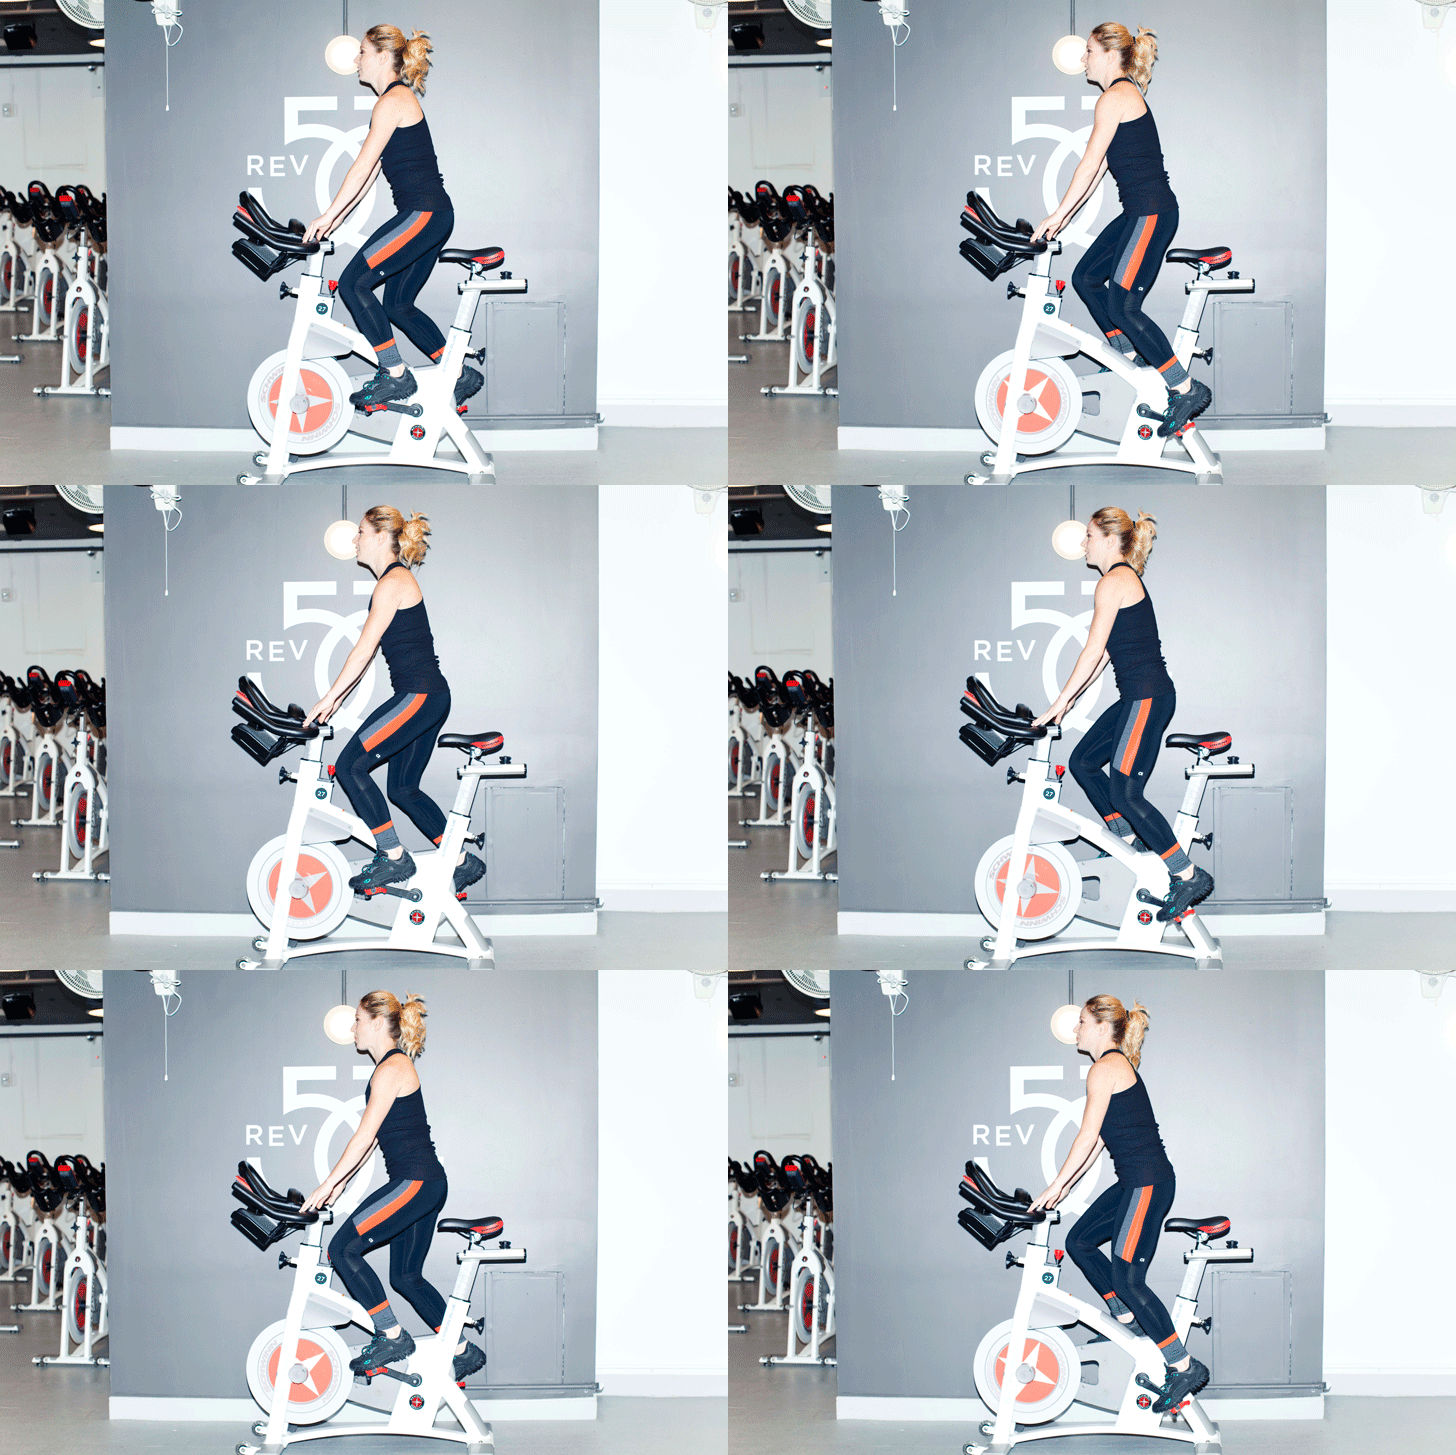
Hills can be tackled in any of the positions 1, 2 or 3; resistance is added to the wheel until it takes effort to maintain a speed of 60-80RPMS.
Move #7
Sprints
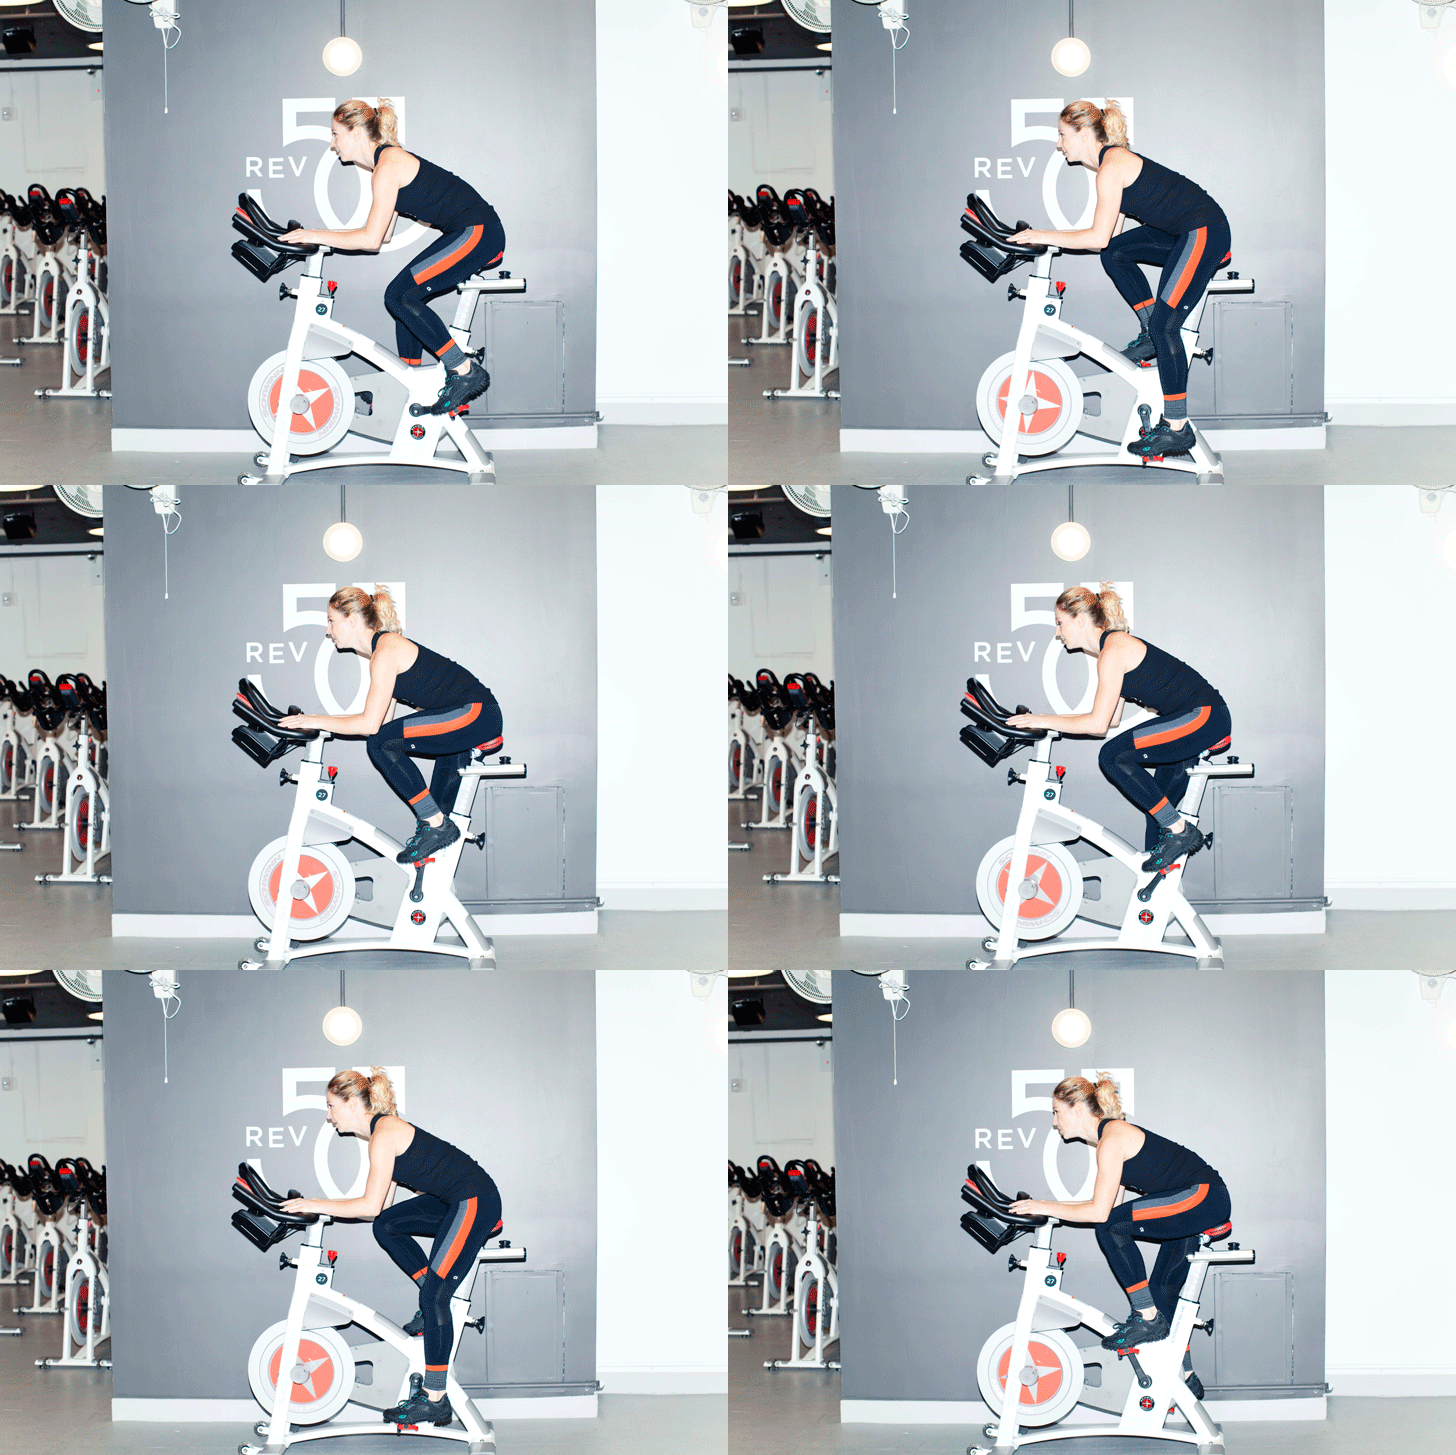
There should be enough resistance on the wheel when you sprint so that RPMS do not exceed 110 RPMS; a common mistake is to ignore resistance and "go as fast as you can!", but power is a result of speed AND resistance, so if you are spinning fast but have nothing under your legs to push, you are not producing any power; make sure to have a load to push and then try and move that load as fast as you can.
Move #8
Cool down
A brief cool down is important after spinning; take deep breaths in through the nose and out the mouth; some good places to hit are the neck, shoulders and back with head rolls, shoulder rolls, and side leans; stretching the hamstrings (back of the leg) and quads (front of the thigh) is important as well, since they are the major muscles used in class.

