When the makeup world found out about contouring—Hollywood’s secret trick to sculpted cheekbones, jaws, and noses—it essentially went into a frenzy. Suddenly we added three-plus steps to our cosmetic routine to emulate our favorite stars. A trend was born, one where adding a darker tone of bronzer or foundation to the natural curves of your face mimicked a shadow and therefore a defined, chiseled look. This evolved into the Kardashian-level contour that has reigned the beauty scene, until recently, when a more natural look has finally become desirable again.
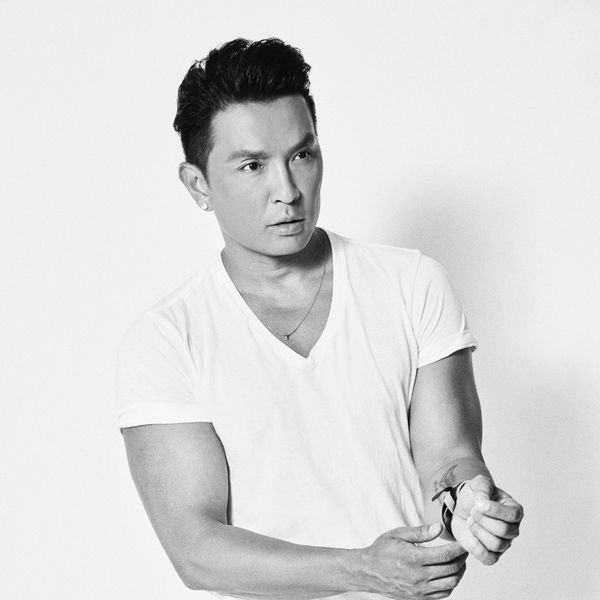
Patrick Ta, the celebrated makeup artist and favorite amongst A-listers like Bella Hadid and Shay Mitchell, believes in the golden days of subtlety in beauty. As he explains, “Natural contouring is a trend right now because people want to look like their true selves. I love that people are embracing their features and using makeup to enhance them instead of hiding them. I believe that skin is meant to look like skin, and the more natural [the] contour, the more likely your skin will look fresh and real.”
We asked Ta to help us bridge the gap between the painting, waiting, and baking, and share some insider tips about exactly how he makes his clients look so stunning. Keep reading below for an updated, natural contouring routine—with some surprise steps you won’t want to miss—plus the must-have products to add to your makeup bag.
Step 1: Prime, prime, prime!
Apply a primer that caters to your skin type all over the face. If you’re oily, use something to combat a shiny glow, like the Hourglass Mineral Veil Primer. We recommend using a brush to make sure you catch every patch of skin. Ever have your bronzer not show up on your cheek? It’s probably due to missing a spot with your primer or foundation.
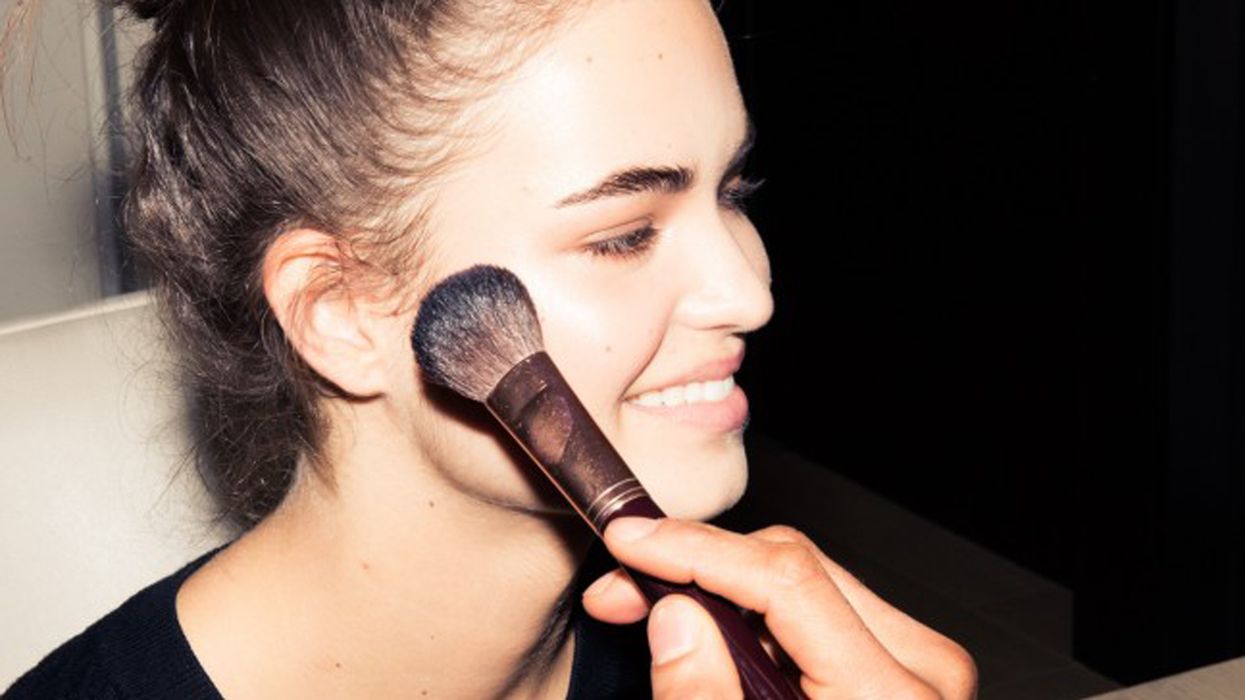
Step 2: Contour the cheeks, jawline, nose, and forehead
*Secret Patrick Ta Tip Alert*: “One of my secrets is I contour before I apply foundation. I know it sounds a little crazy, but by contouring first, you avoid those harsh lines, and you’re able to blend the foundation with the contour shade seamlessly.”
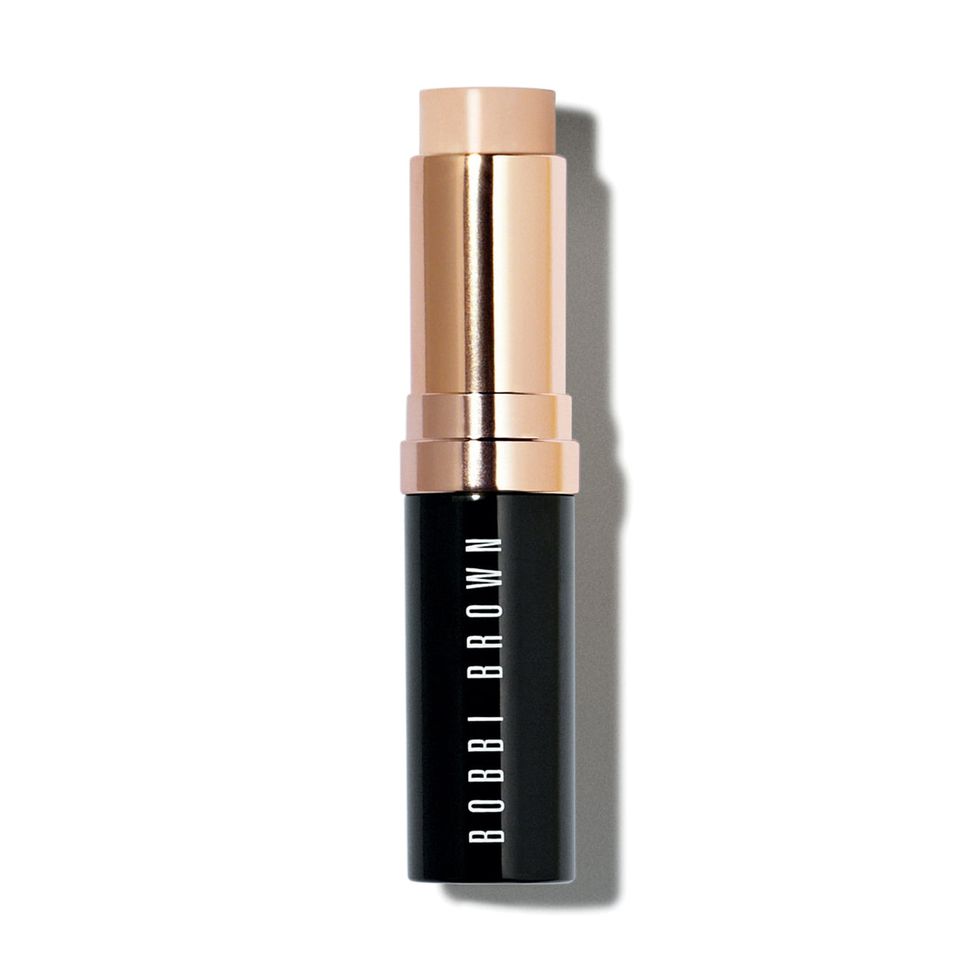
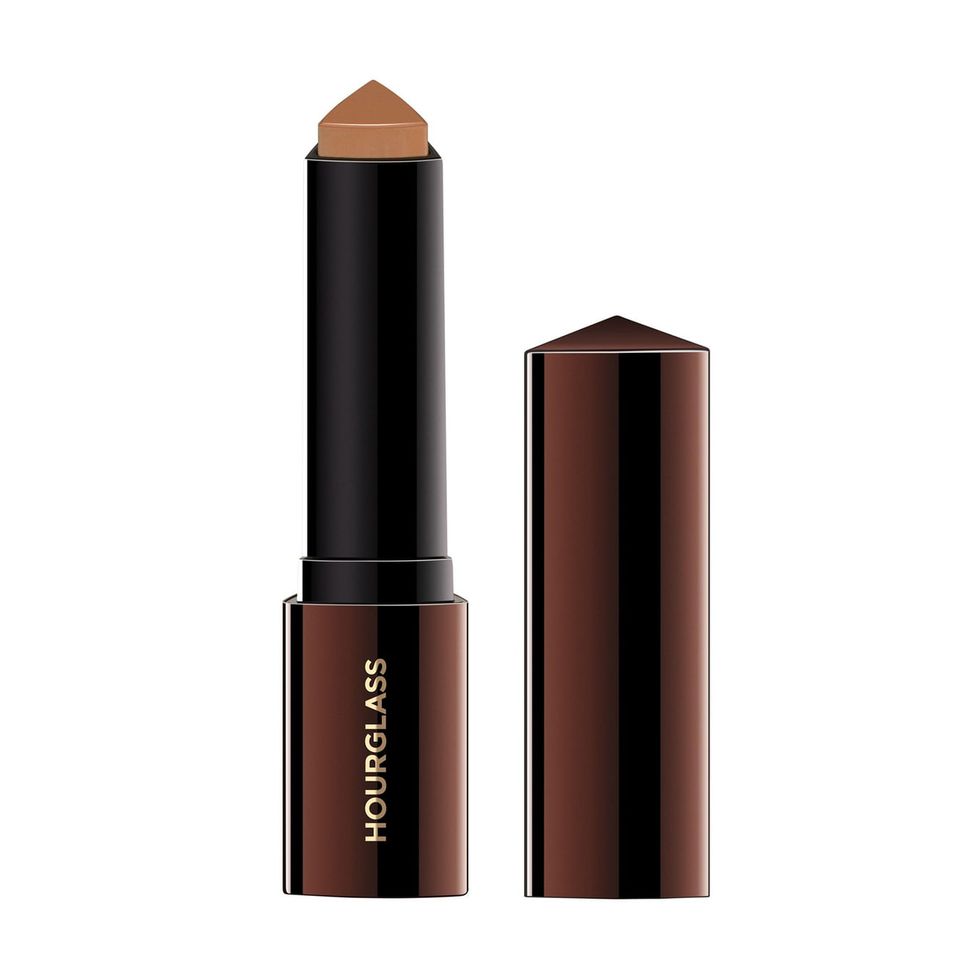
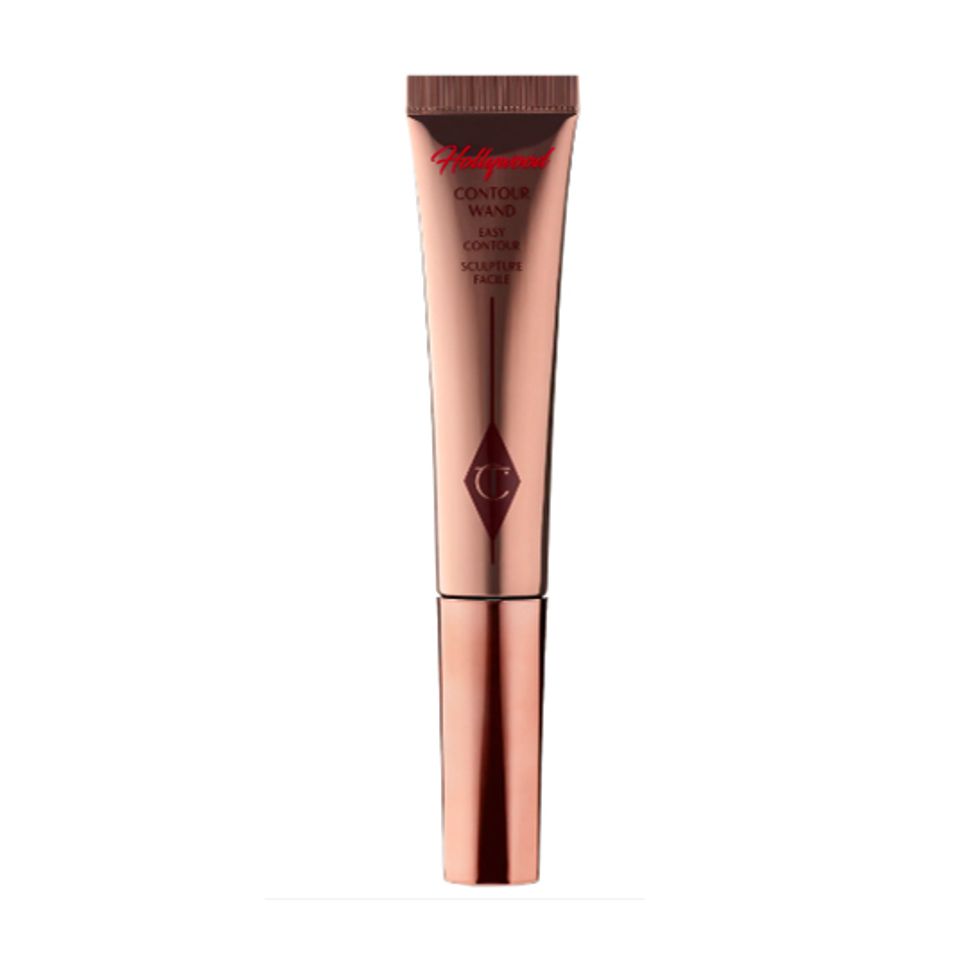
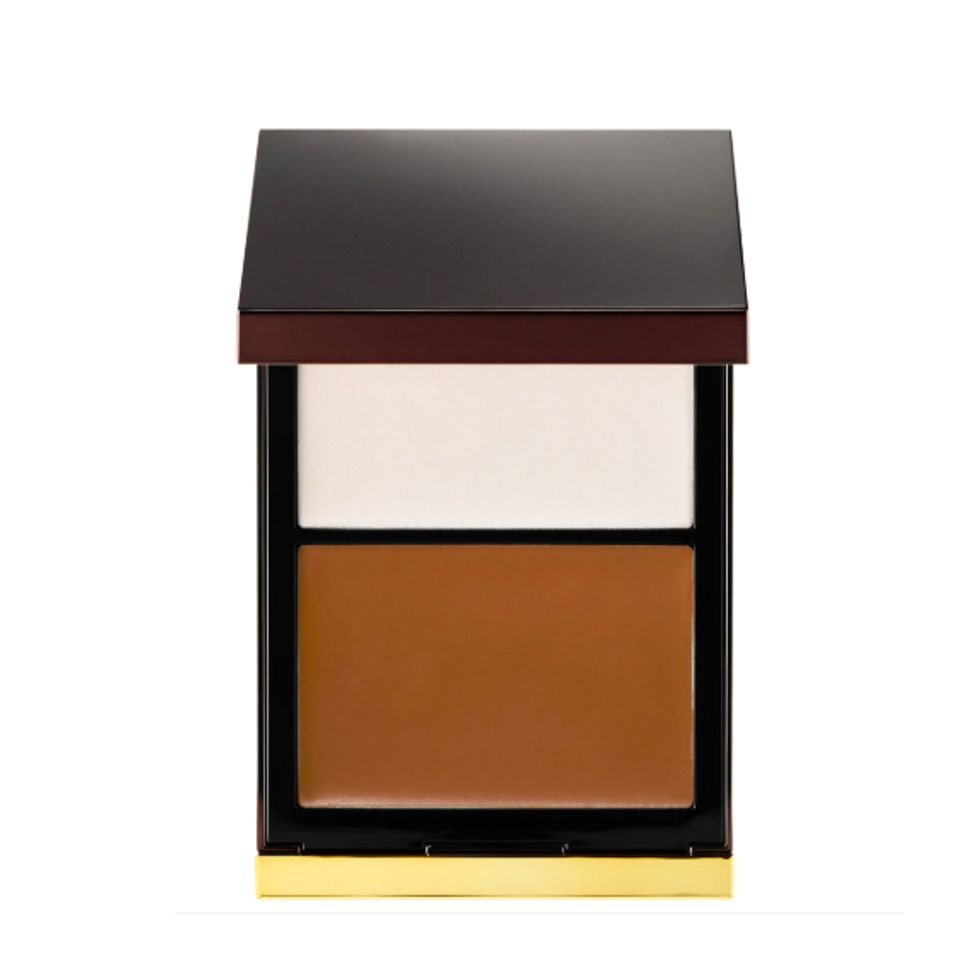
Ta recommends using a darker shade of foundation, not bronzer, to shape the areas you want sculpted. “When using a liquid or cream, your contour will look seamless and blend in perfectly. I apply a liquid contour with a brush or sponge so that it gives me the ability to blend into the skin seamlessly. It’s important to create a soft contour, so it leaves your skin looking naturally sculpted, instead of caked on, [an effect] some powders can leave you with.”
Apply the darker foundation on the cheekbones, around the jawline, on the bridge and tip of your nose, and around your forehead. Blend with a brush or a sponge to obtain your desired look.
Step 3: Apply your foundation, and set with powder
Lightly apply your foundation and concealer. Blend once more for a contoured-from-within look.
“Sometimes powders and baking can leave you with harsh lines, so I like to set the face with a little powder only on the areas that tend to get oily,” Ta says. Less powder gives you more of a natural look.
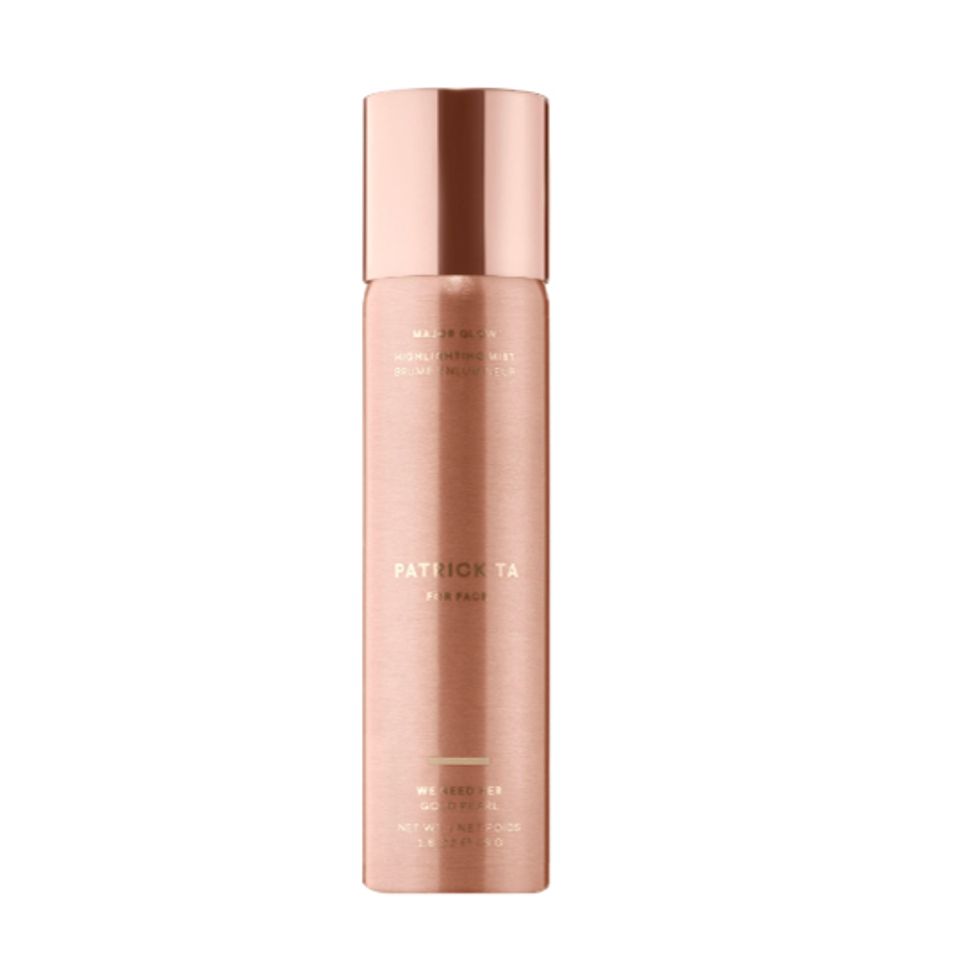
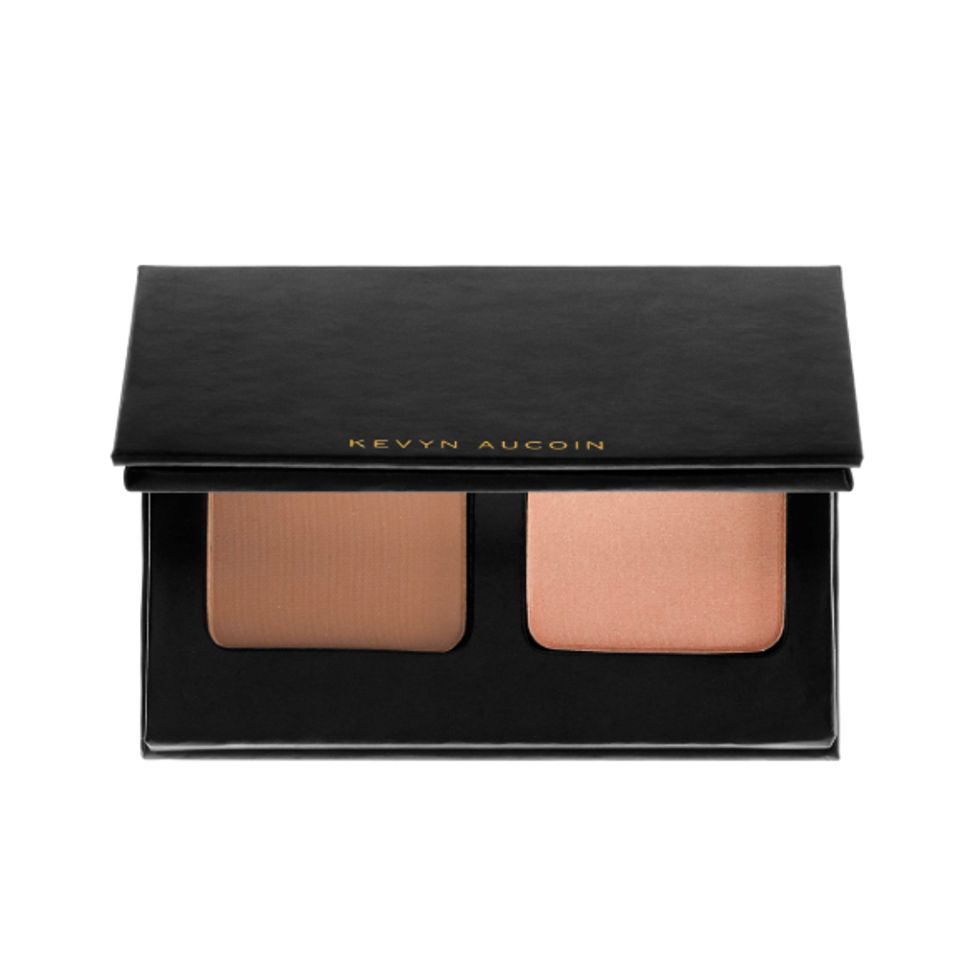
Step 4: Lights, action, highlight!
A little dash of highlighter on the bridge of the nose, above the cheekbones, and the Cupid’s bow, as well as some blush on the apples of the cheeks will finish off your natural, contoured look.