
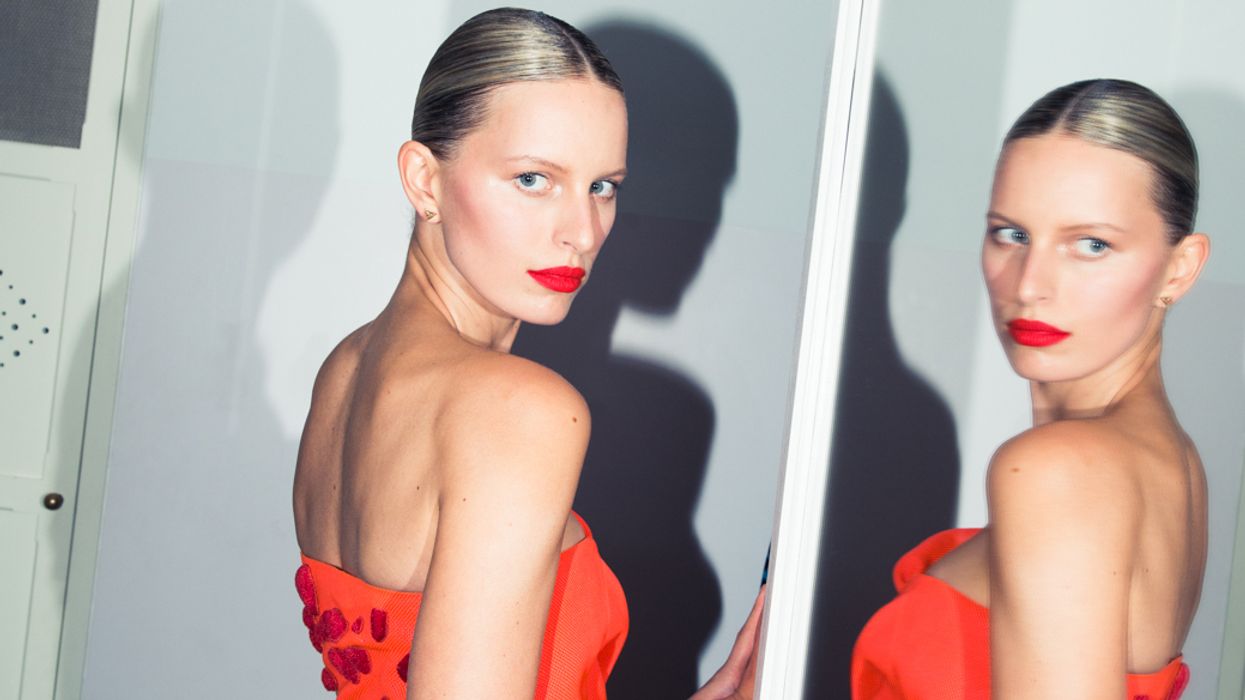
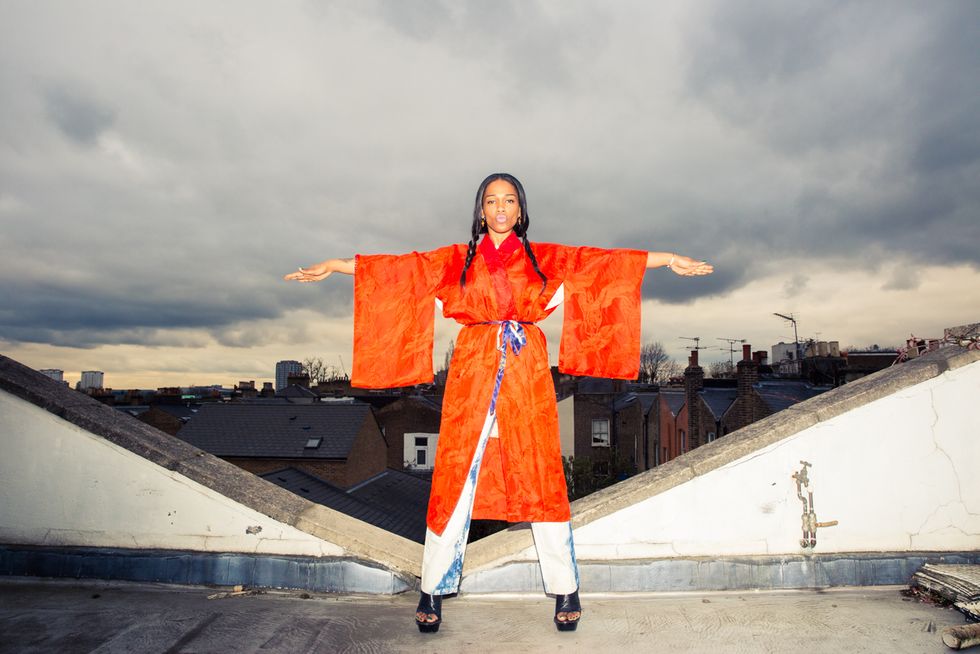
Standing in front of the unforgiving flash of a camera is about as petrifying a scenario as we can think of. But when you’re the likes of the Kardashians, Hadids or Olsens, it’s essentially your day job (and you know how to make it look damn easy, too). Okay, so it's not really part our job descriptions, but the whole make it look easy thing is, if anything, an inspiring goal. What we know to be true is that even us mere mortals have to make a public appearance (Instagram counts, okay?) once in a while. So to make sure we’re ready the next time the forward-facing camera, or otherwise, points in our general direction, we put together a catalogue of fail-safe hair and makeup combos.
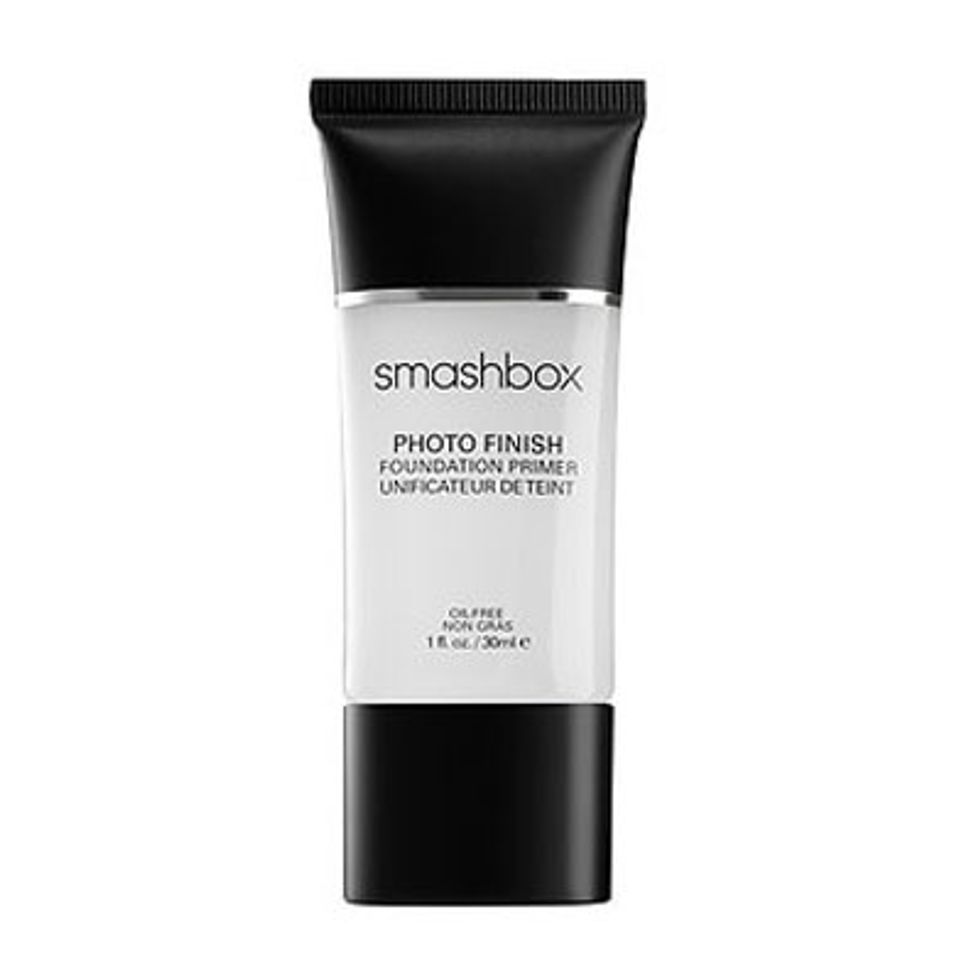

Before you go ahead and put on your face, make sure to do a bit of prep work. Okay, so we know you’re ones for the quick and non-elaborate routes (we mean, so are we), but there’s something to be said for a good, un-splotchy start. As in, do a little pre-polishing, guys—it’ll be worth it. Promise.
We’ve already established getting optimal Instagram-worthy pics requires a bit of, um, work. Taking another look at your makeup application strategy could be :key: to getting a flawless and FaceTune-less face. Who knew?
Psst…you can also contour your nose in, like, a minute. Don’t believe us? Watch here.
3.
Knot Your Average
We bet we have something in common: we’re suckers for easy AF beauty hacks. Are we right, or are we right? Maybe that’s why our fondness for a perfectly un-perfect bun has grown so effing strong. That’s why we quickly dialed (no, really. We have her on speed dial at this point) the brains behind the top knots of the Kardashian klan, Jen Atkin to show us how it’s done.
“Getting the perfect topknot is easier than you think! All you need is a hair elastic, hair bungee, and a few bobby pins or French pins. I usually separate the hair into two sections to make it easier to manage. I create one high pony with half the hair, then use a hair bungee to attach the rest of the hair to the original pony. Twist and loop the hair and secure with pins. Depending on the type of topknot you want though, will vary the steps. Check Bun 101 on Mane Addicts for more in depth instructions.”
4.
Make it Last
Now that you’ve mentally committed to doing more than air drying, make sure that your concerted hair effort lasts as long as possible. If anyone knows how to make a hairstyle look just as good by 3AM, it’s Jennifer Lawrence, Bella Hadid, and Ashley and Mary-Kate’s mane squeeze, Mark Townsend.
"Nobody wants to come to the party with gorgeous waves and leave with a flat, straight locks. These easy steps will show you how to maintain those waves! To start, spray a root lift spray (I'm coveting Sally Hershberger's 24 K Root Envy these days) at your roots before you blow dry. This will give your hair that much needed lift you need. Once the hair is dry, plug in your favorite curling iron and get your duck bill clips ready. Curl your hair as you normally would using large sections, but try to leave the ends out. This will make it more of a wave and less of a spiral curl. Immediately after curling a section, wrap the hair up while it's still hot and secure it with your duck bill clip. In order for the wave to lock into your hair's memory, it has to cool still in the desired shape. Don't worry about wrapping it up perfectly. The less uniform it is, the better it will look. After you've curled your whole head and pinned it up, take out the clips and use your fingers to rake out the hair. Instead of using a hairspray, spray Dove Hair Refresh + Care Dry Shampoo generously all over your mane. The starches from the dry shampoo will lock into your hair and make those waves last!”
In the wise words of our mother: stand up straight.
Or more accurately, Dr. Mary Ann Wilmarth, CEO of Back2Back Physical Therapy, “Imagine yourself in side view. If I were to drop a plumb line from the top of your head, it should form a straight line down from your ear to your shoulder, hip, knee and ankle. Your knees shouldn’t be locked up or hyper-extended and you should tuck your head to get that double chin that is admittedly, not the best look, but also inevitable if you’re doing it right.”
There is no greater love-hate relationship than with that pair of heels you just dropped your rent money on. Ask just about any girl worth her Louboutins. Blame it on the foot pain that expectedly comes with shoving our toes into a newly purchased pair for 3+ hours—been there, done that. But since the chances of us ditching our heels in favor of flats is nil, we turned to Dr. Hillary Brenner, a podiatric surgeon in New York City, to give us her profesh opinion on how to avoid cramped or sand-papery feet. “Foot Petals make a product called Killer Kushionz, which are little inserts made of Poron (a contouring material) and stick to the inside of your shoes. The material doesn’t give, so it adds much-needed cushion. There’s also a product called Amazing Arches, which you can stick into the heel area and will help give you an arch.
I have a product called Dr. Brenner’s Rx Rejuvenating Foot Soap, composed of Himalayan salts—which contain magnesium, potassium and phosphorus—as well as sea salts. Try soaking your feet in soapy, lukewarm water for 20 minutes—it helps with the inflammation because it’s pulling at the swelling and has a variety of minerals that absorb into your foot and help the healing process. Alternatively, you could soak your feet in an Epsom salt bath, which also has magnesium and will help with muscle aches and pains.”


