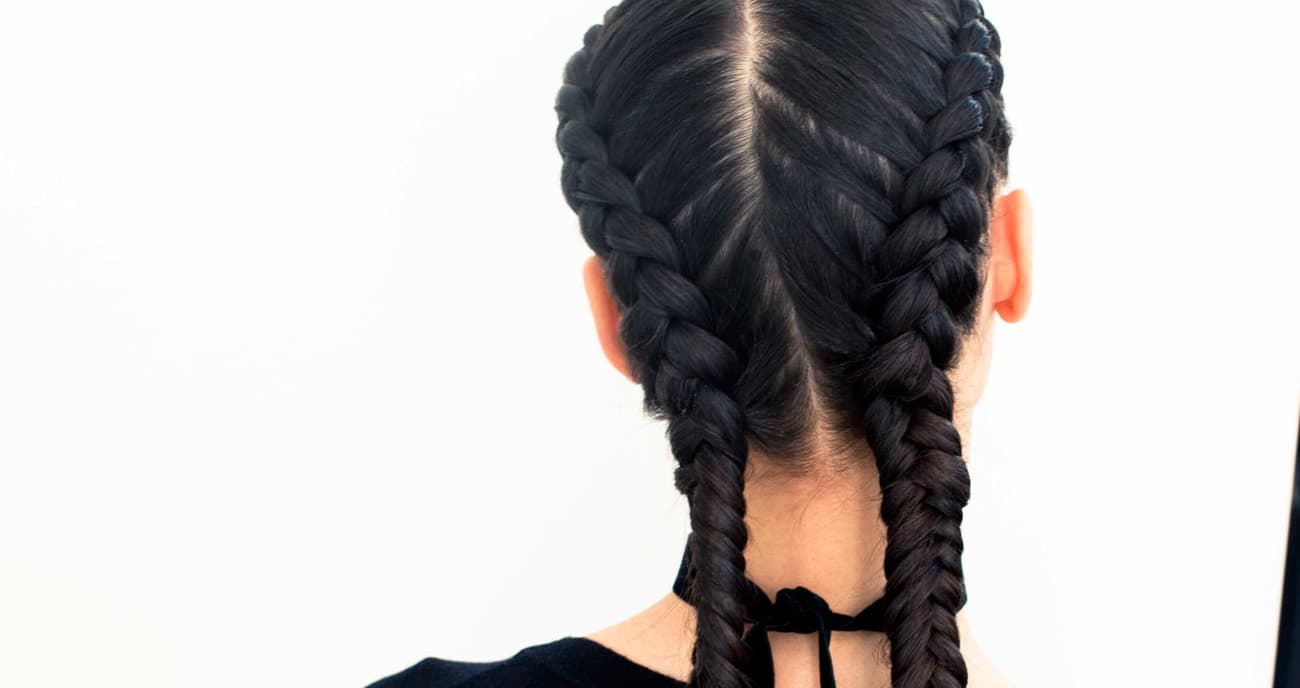
The double French braid is having a moment—and fittingly, a coinciding identity crisis. For starters, what are these actually called? While we've come to refer to them as what we think is the proper term—double Dutch braids—they're really a whole boxer-French-pigtail-braid-situation.
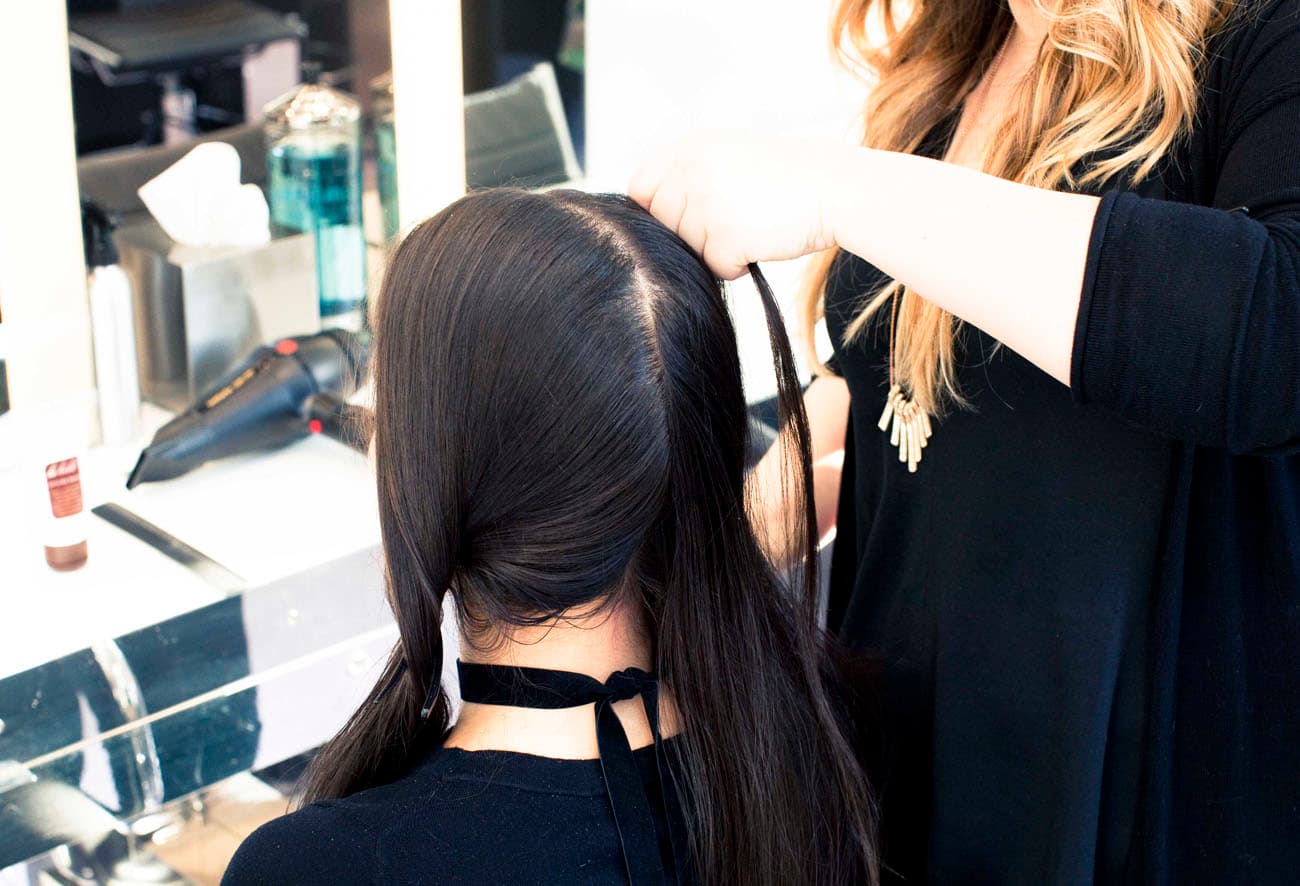
Whatever they might be called, as soon as it felt like we couldn't escape them on Instagram, we knew we had to consult with the masters—the masters being the team at John Barrett Salon's braid bar. Stylist Andria Tobey (you might remember her from our braid crown tutorial) demonstrated for us on Mellany Sanchez of Kith NYC, and we're pretty damn pleased with the turnout. Oh, and it's approximately one hundred times easier than we estimated, too.
Shu Uemura Essence Absolue
Shu Uemura Sheer lacquer
John Barrett Be Hold Styling Balm
Comb
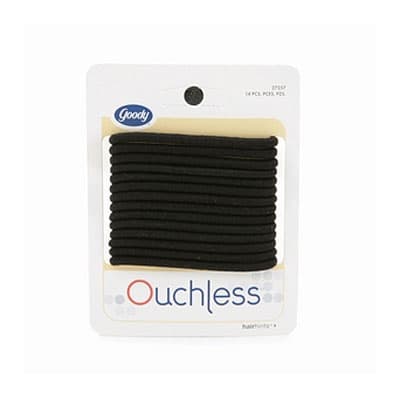
Elastics
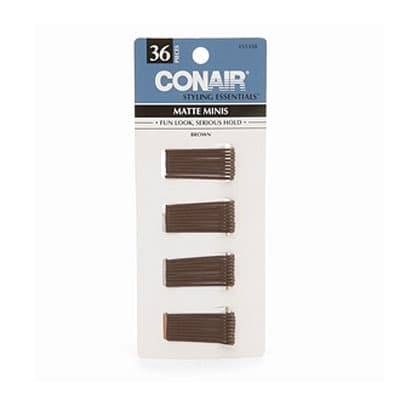
Bobby pins (optional)
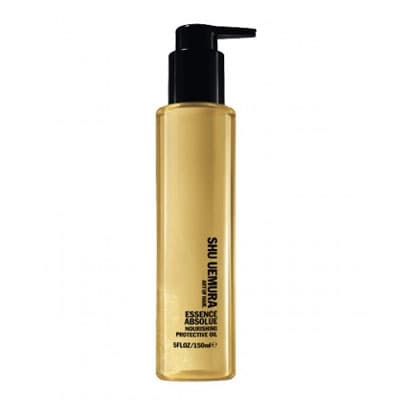
1. Begin by prepping the hair with a quarter size amount of Shu Uemura's Essence Absolue Oil (more can be added for coarser hair). Rake the oil through to give the hair a little more slip to braid.
2. Split the hair down the middle using a comb to create 2 equal sections.
3. Clip away one side of hair to help keep sections neat.
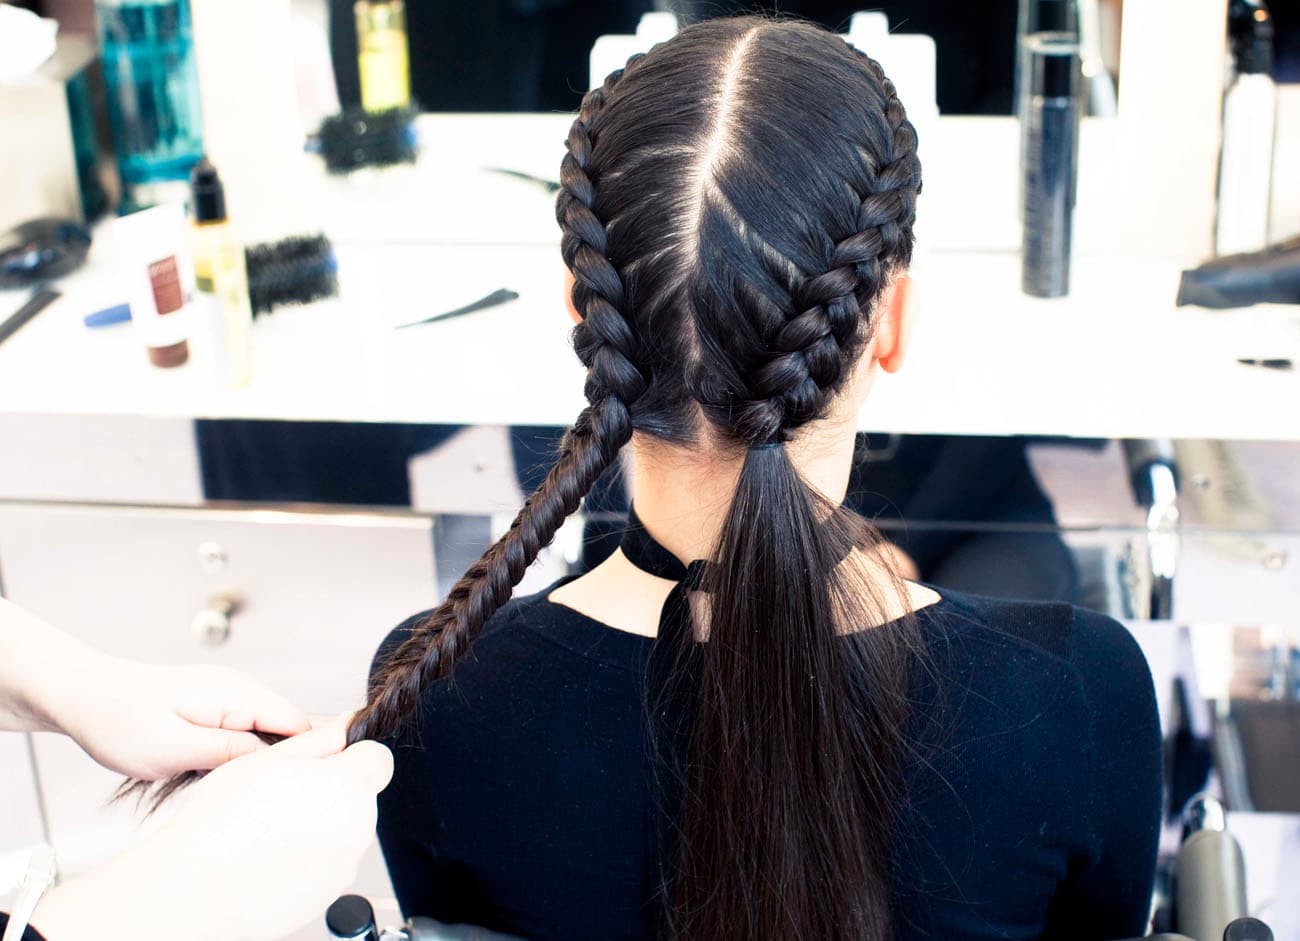
4. On the other side grab a small section of hair to begin your braid. Divide the section into 3 equal sub sections and begin a inverted French braid - also known as a Dutch braid - by crossing the two outside strands under the middle strand. After you make your first couple of stitches then begin add hair to the outside stands and continue to braid under.
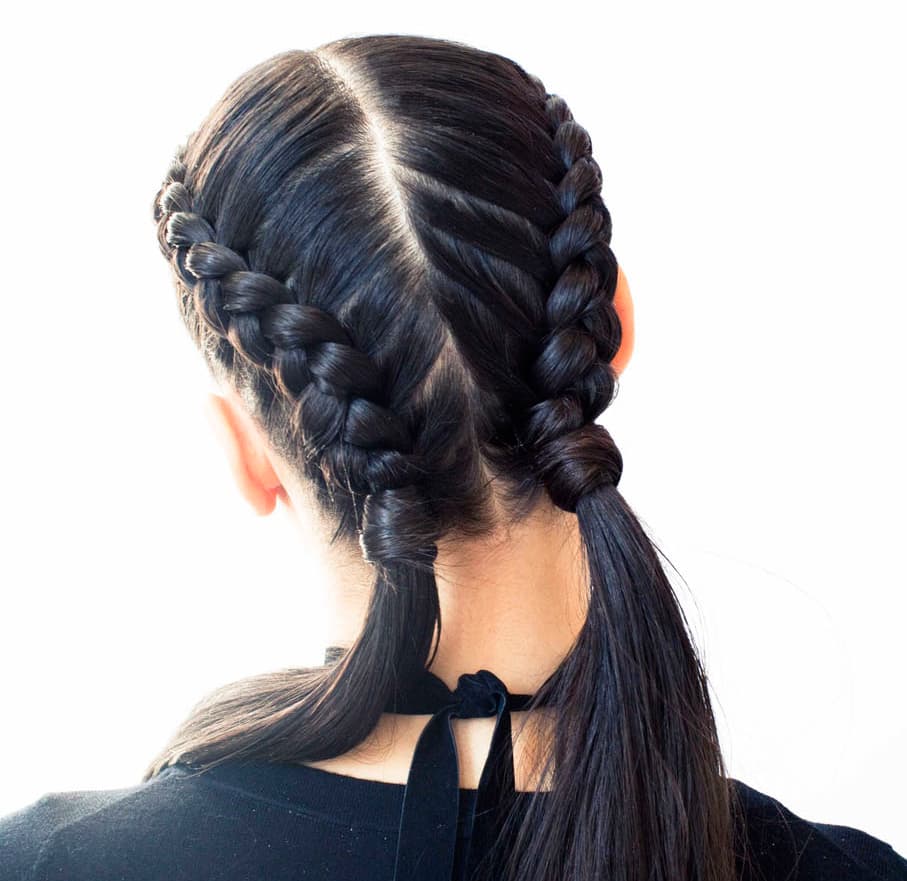
5. Use some of John Barrett's Be Hold styling balm as you braid to tame any fly always or loose strands. Then continue braid all the down until you reach the nape of the neck and tie off braid with elastic.
6. Hide the elastic by wrapping the hair around and tuck into the elastic. Use a bobby pin if necessary. Then leave the remainder of hair loose.
7. Repeat on other side. You can stop here, or move on to the "second day" look.
1. Begin an inverted Fishtail braid by splitting your loose hair into two equal sections. Take a piece from the left strand, cross it under, then merge with the right strand. Then take a piece from the right strand, cross it under, then merge with the left stand. Continue this all the way down.
2. When you reach the end tie off with elastic and hide elastic by wrapping the hair around and tuck into the elastic. Use a bobby pin if necessary. Massage the end of the loose hair with a dab of Be Hold to create a little texture for an edgy final touch!
3. Repeat on other side.
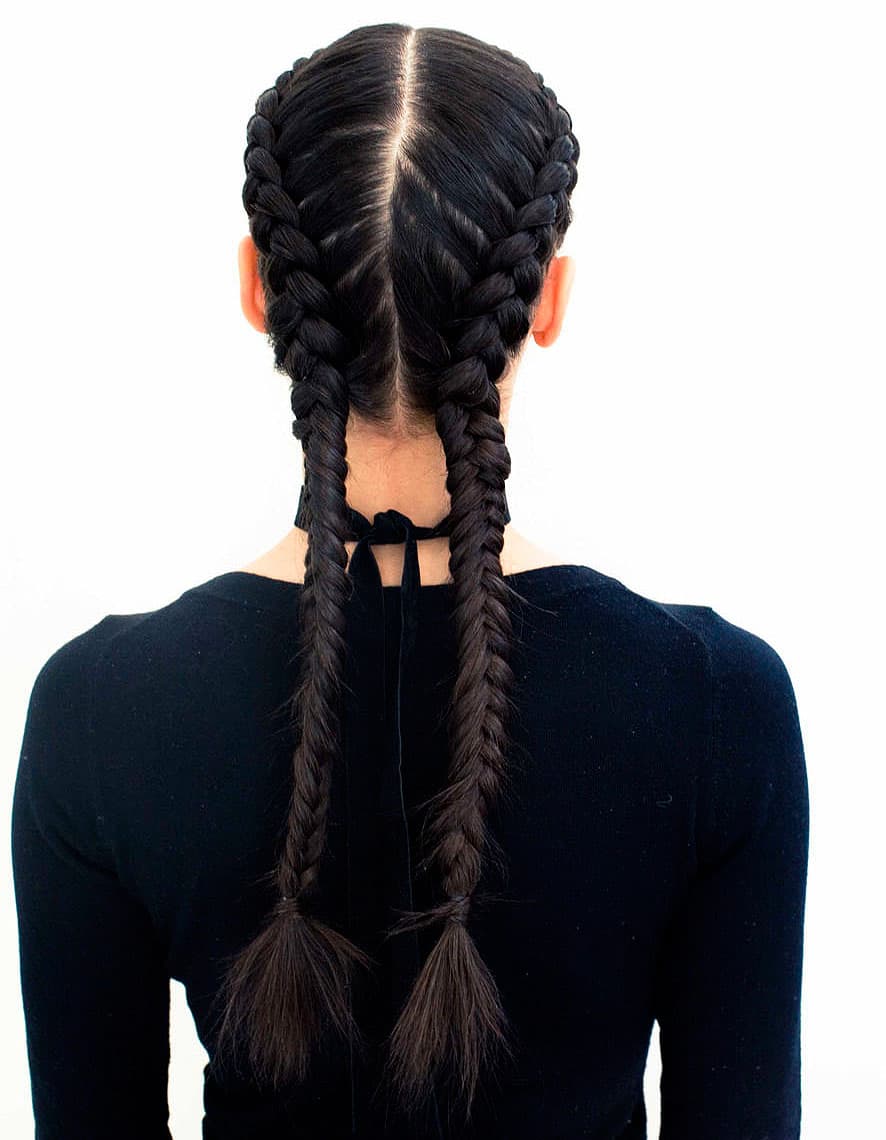
4. To get rid of any bumps or lines from severe partings take the end of a tail comb and gently slide back under the hair. This will help create a smoother look. Finish the look with some of Shu Uemura's Sheer lacquer to tame any flyaways and add some incredible shine!

[Listicle particle error: Unhandled HTML element 'big' in post 2650800159 (context: Element not in supported or skip lists) Element HTML: And now, a moment with our model, Mellany Sanchez, who, when she's not having amazing hair, is a buyer at Kith NYC.]