Nail art has been around for decades, and thanks to people like Olympic runner Flo-Jo (who won a ton of gold medals back in the ’80s while running with extremely long nails, all intricately designed—iconic!), we see intricate designs everywhere, from celebrities on the red carpet to your closest girlfriends. There’s something for everyone when it comes to these manicures, but the one catching our eyes lately is the raindrop nail.
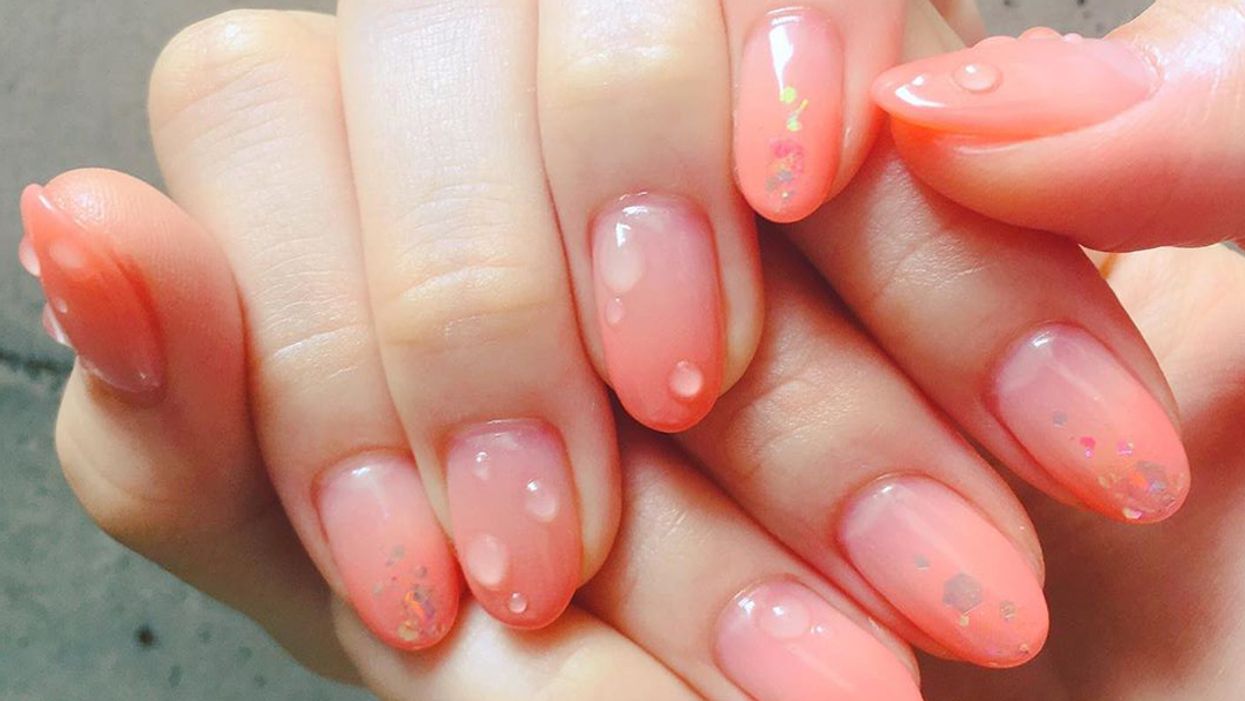
Unfamiliar with this design? Raindrop nails are meant to look like a drop of water sitting suspended on a surface—in fact, they look so realistic that strangers might actually wonder if your hands are, in fact, dripping wet. It’s also a perfect blend of minimalism and truly eye-catching, which is why it just might be our new go-to nail-art style for fall.
Unfamiliar with this design? Raindrop nails are meant to look like a drop of water sitting suspended on a surface—in fact, they look so realistic that strangers might actually wonder if your hands are, in fact, dripping wet. It’s also a perfect blend of minimalism and truly eye-catching, which is why it just might be our new go-to nail-art style for fall.
Even if you can’t get to the salon right now, it’s still possible to achieve this look at home. We turned to Syreeta Aaron, LeChat Nails Educator, for advice. Aaron has been painting and creating stunning nail designs for nearly three decades. She has all the intel you need for creating your own raindrop nails from the comfort of your own home.
Step 1: Everything In Its Place
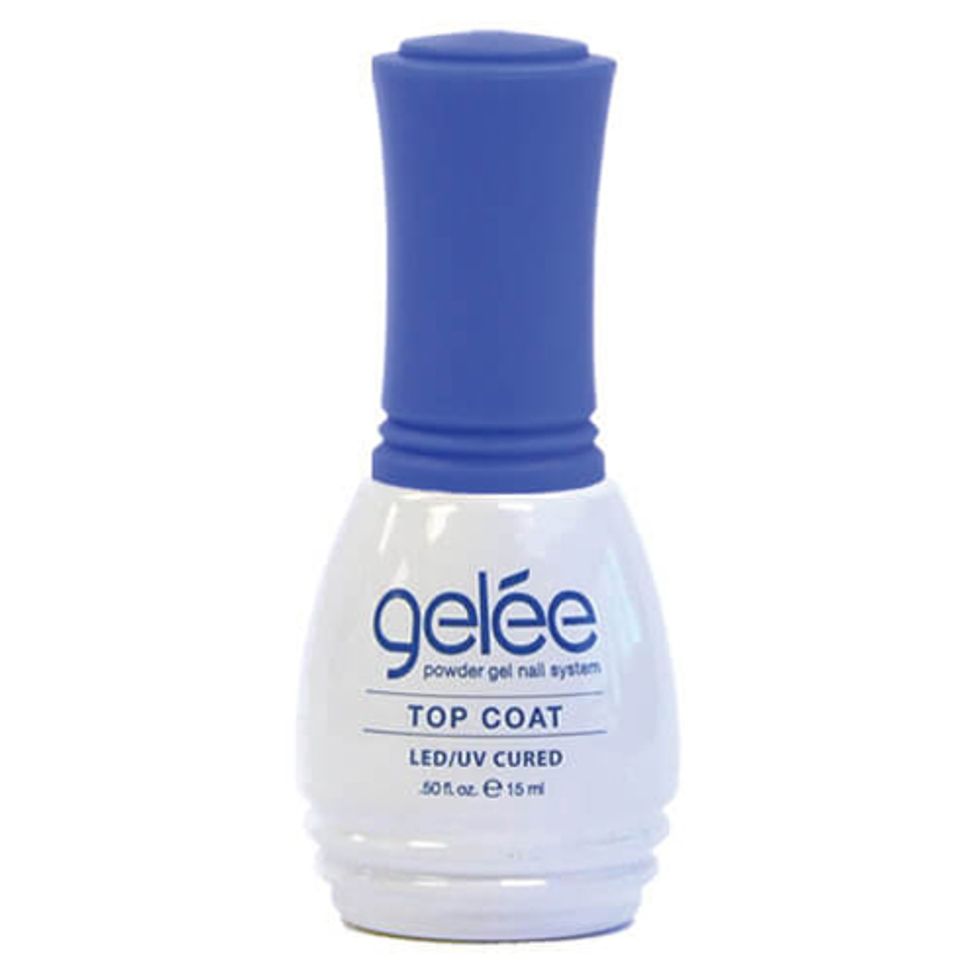
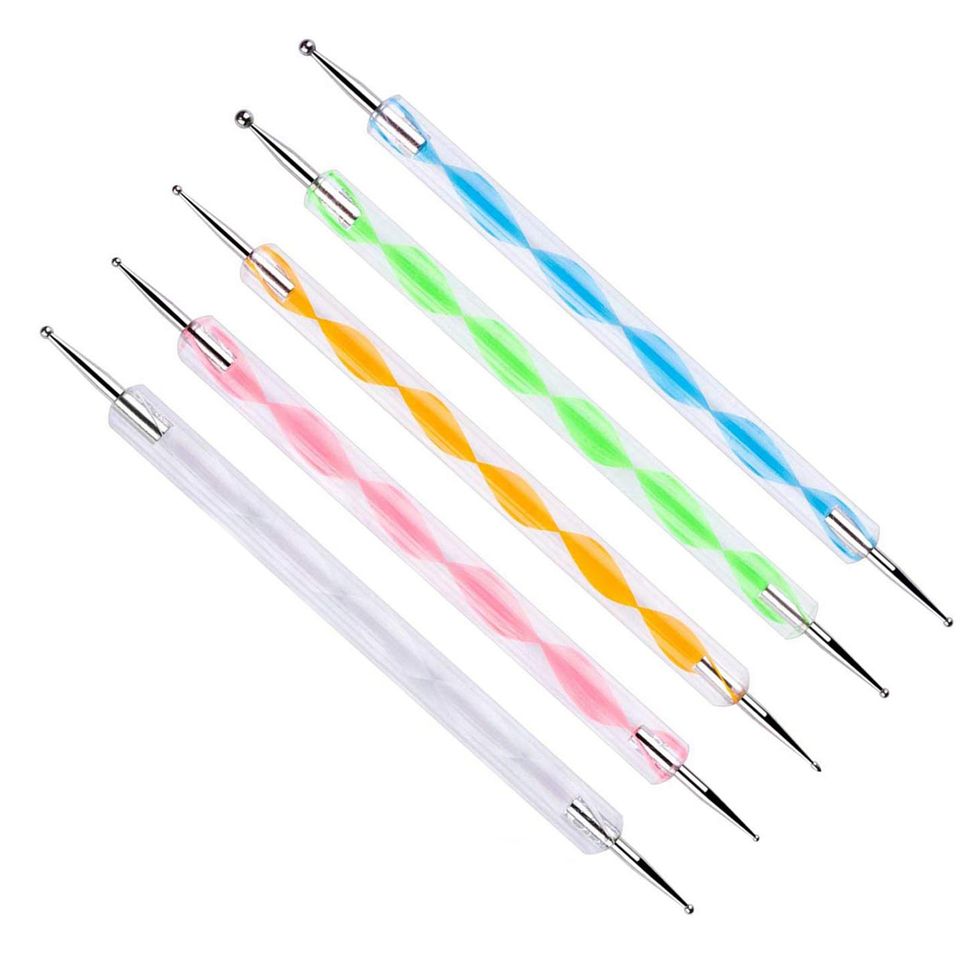
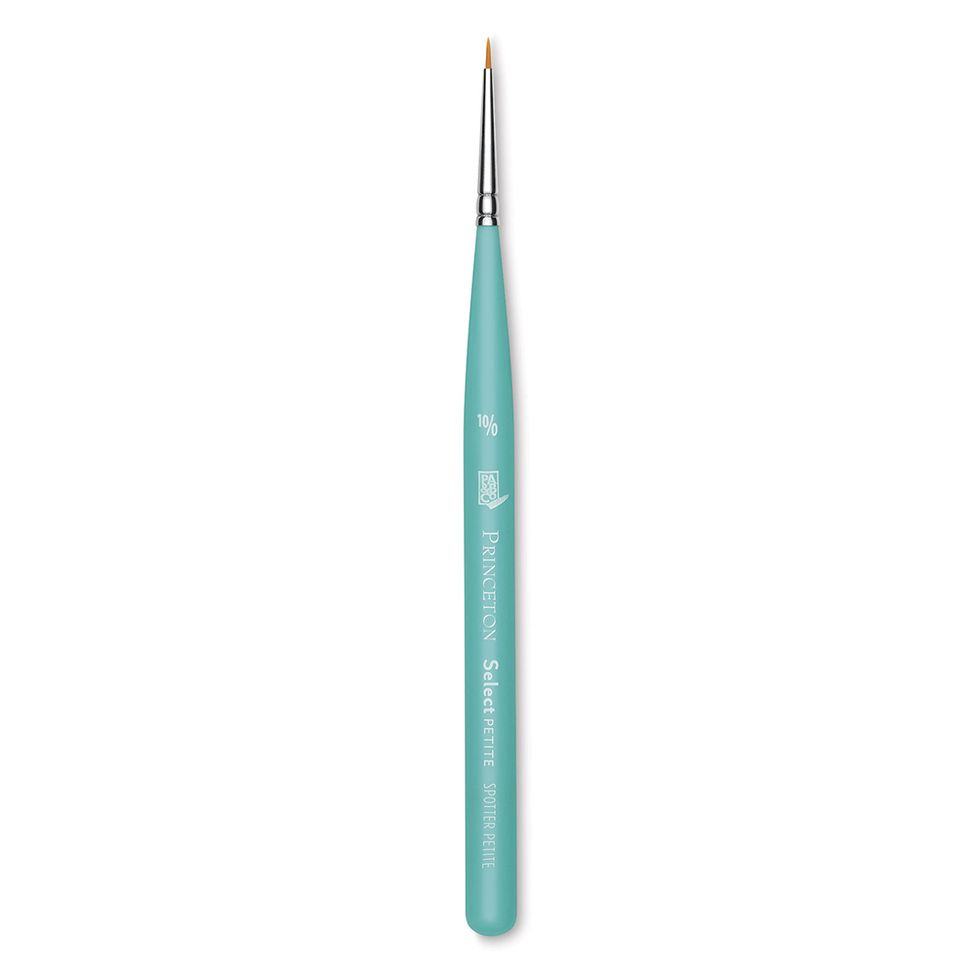
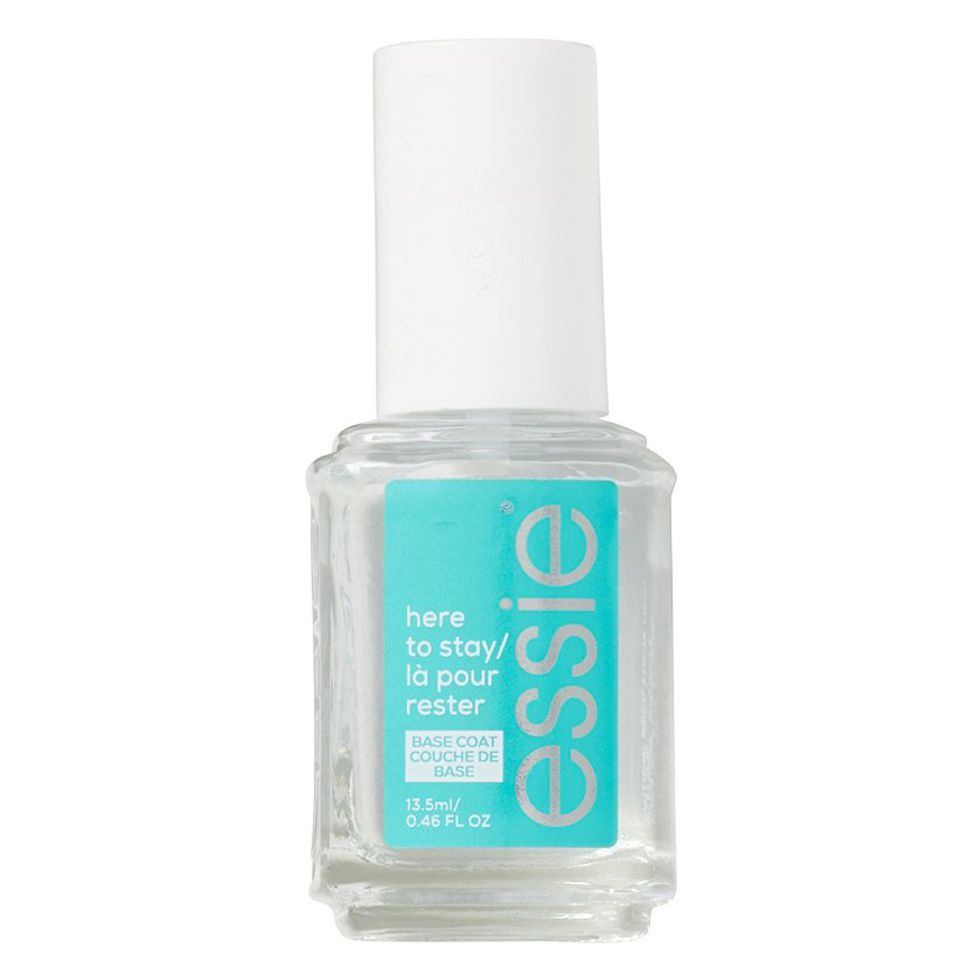
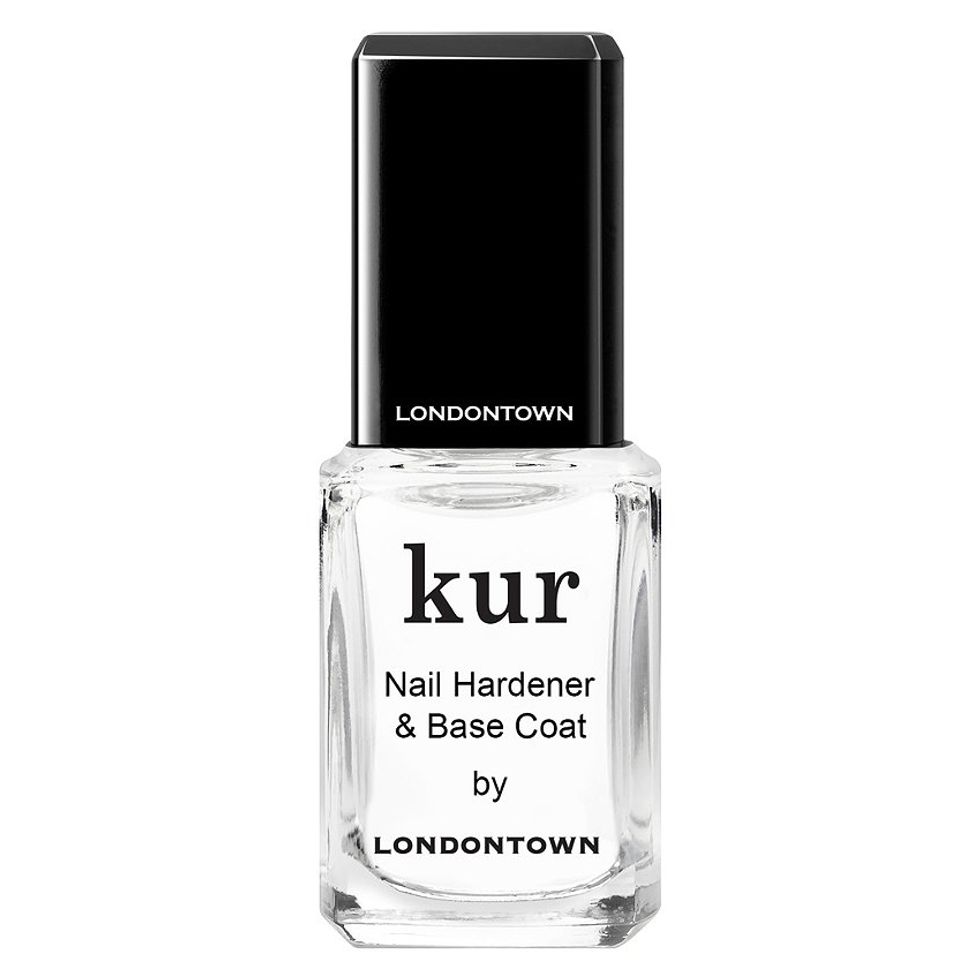
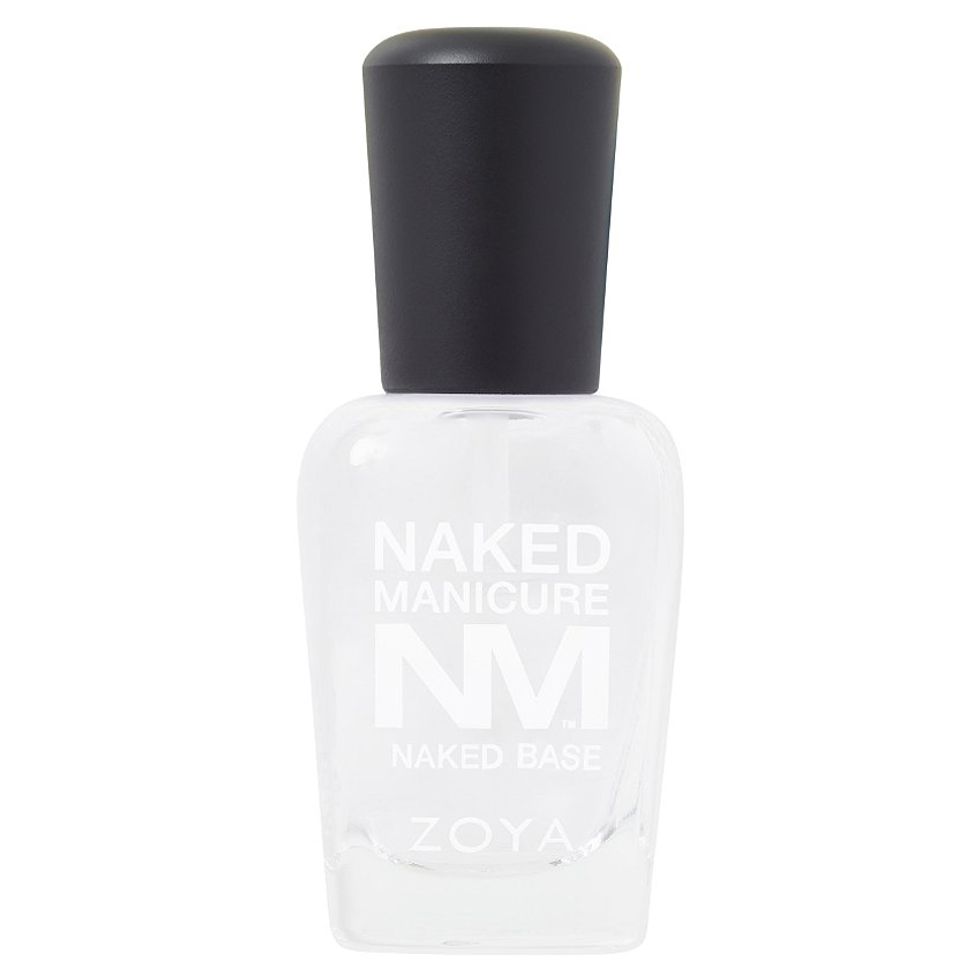
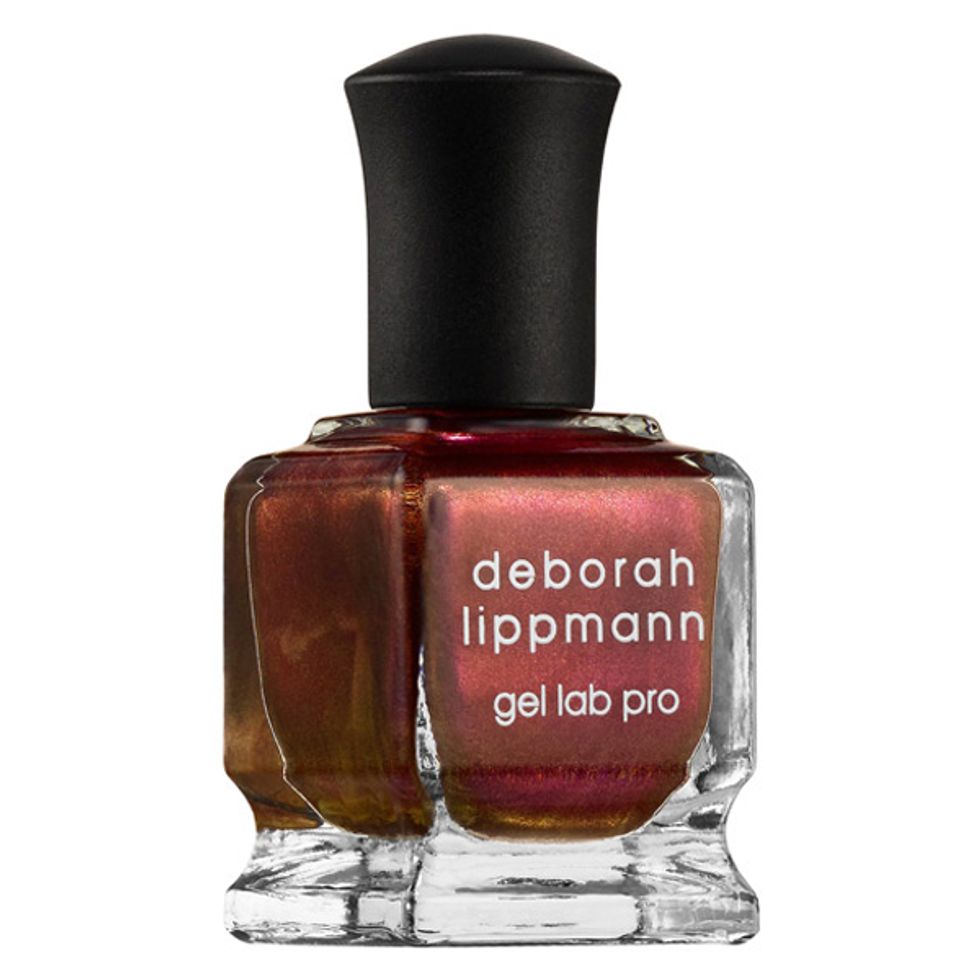
When you’re doing your nails, it helps to lay out every tool and product you need to create your desired look before beginning the design process. Trust us, you don’t want to smudge your fresh polish fishing out tools from your bathroom drawer. Along with the usual setup for an at-home manicure, Aaron explains that you will need a fine art brush, a nail-dotting pen tool, a toothpick, and a clear gel top coat.
Step 2: Paint Your Nails
Whether you prefer to have a nude pink or electric green color as the base of your raindrops, it is important to prep the manicure in a way that will hold the little droplets of polish. Aaron states, “You always want to use a base coat when using regular [or gel] polish on your natural nails.” This, along with buffing, ensures that any bumpy texture in the nail is not visible in your final look. Additionally, drops tend to hold better when on a smoother surface (rather than accidentally running down a ridge on the nail bed).
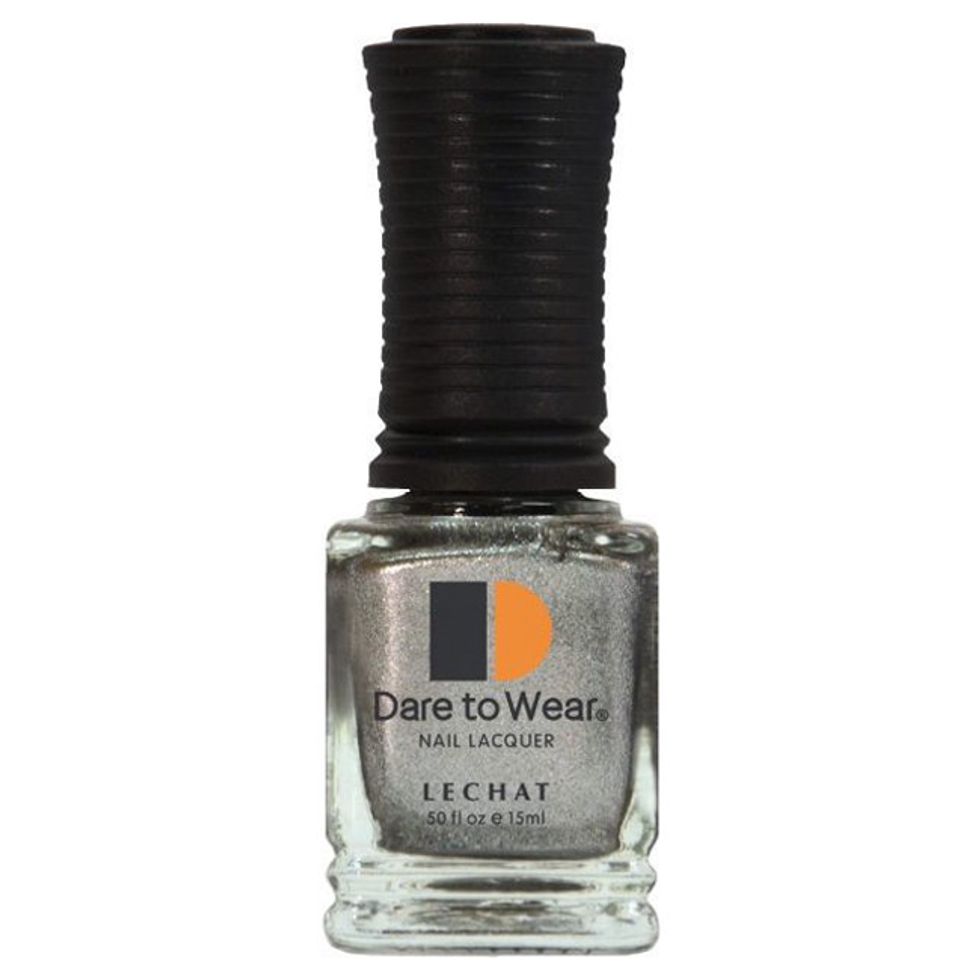
After the base coat is slightly dry, paint the nails with about two coats of regular or gel polish. If you’re feeling rather indecisive about color choice, follow Aaron’s suggestion: “Use a chrome nail polish as the background. Chrome powders give [the raindrops] that holographic look. The shimmer of the chrome [creates an] illusion of actual raindrops as you move your hand side to side.”

Once you are done applying your favorite color scape, add a top coat. Aaron reveals that raindrops sit best on matte nails since it is easier for a liquid fluid to cling to a dry surface. However, supposing you prefer your nails to catch a little light, you can continue with a shiny top coat, rather than a mattifier, and allow for it to dry fully. Then give it plenty of time to dry, since, as Aaron explains, “if you use a top coat, you’d have to make sure that it dries [completely before applying the drops to your manicure]—otherwise, the drops may start to run into the wet top coat” instead of remaining a condensed, bulbous shape.
Step 3: Drop It
Now, the raindrop design may seem intricate, but the technique is actually quite simple. Aaron suggests opting for a thick, clear gel top coat for the actual raindrops, which will retain the shape of this design far better than a thinner, regular top coat or clear nail polish.
After you have your gel top coat ready, you will want to determine which tools are right for your nail. Aaron explains, “The length of your nails will factor into [the design]. The longer the nail you have, the more canvas you have to play with. The shorter the nail, the smaller the drops you’re going to want to make.” You can use both ends of a nail-dotting tool, a fine art brush, and even the brush that comes with the polish for longer nails. If you have shorter nails, you can use a fine art brush, the smaller end of a dotting tool, or a toothpick.
Aaron recommends practicing with the toothpick and dotting tool first—she states, “My only concern with using a dotting tool and a toothpick [is that you may] make a mistake and poke the nail polish beneath.” To avoid this, practice dropping nail polish onto a surface without actually touching it. The trick to mastering this is loading up your tool with a gel top coat and letting the polish drip from the tool onto the surface. It should look like honey dripping down from a spoon. Be sure to do this at a fairly close distance to the surface, as dripping the liquid too high can result in a more splattered effect.
Once you have the dripping technique down, it’s time to try it on your dried and painted nails. Again, the real trick for making sure your drops retain their bulbous shape is to apply this design to dry nails—this will allow the gel top coat to cling onto the surface of the nail and keep the drops in their shape. Otherwise, the drops might start to spread and seep into a flatter shape.
To mimic a sporadic water design (rather than having all the drops look unnaturally uniform), you’ll want to use different tools to create different-sized drops. Begin by randomly dripping the gel top coat onto your nails with your largest sized tool, then load up a smaller tool with the gel top coat and drip onto any sparse areas in your nail design. Finally, use your smallest tool to drip gel top coat onto any negative spaces until your desired look is complete. No need to add a top coat here, as it would risk smoothing out the edges of each drop.
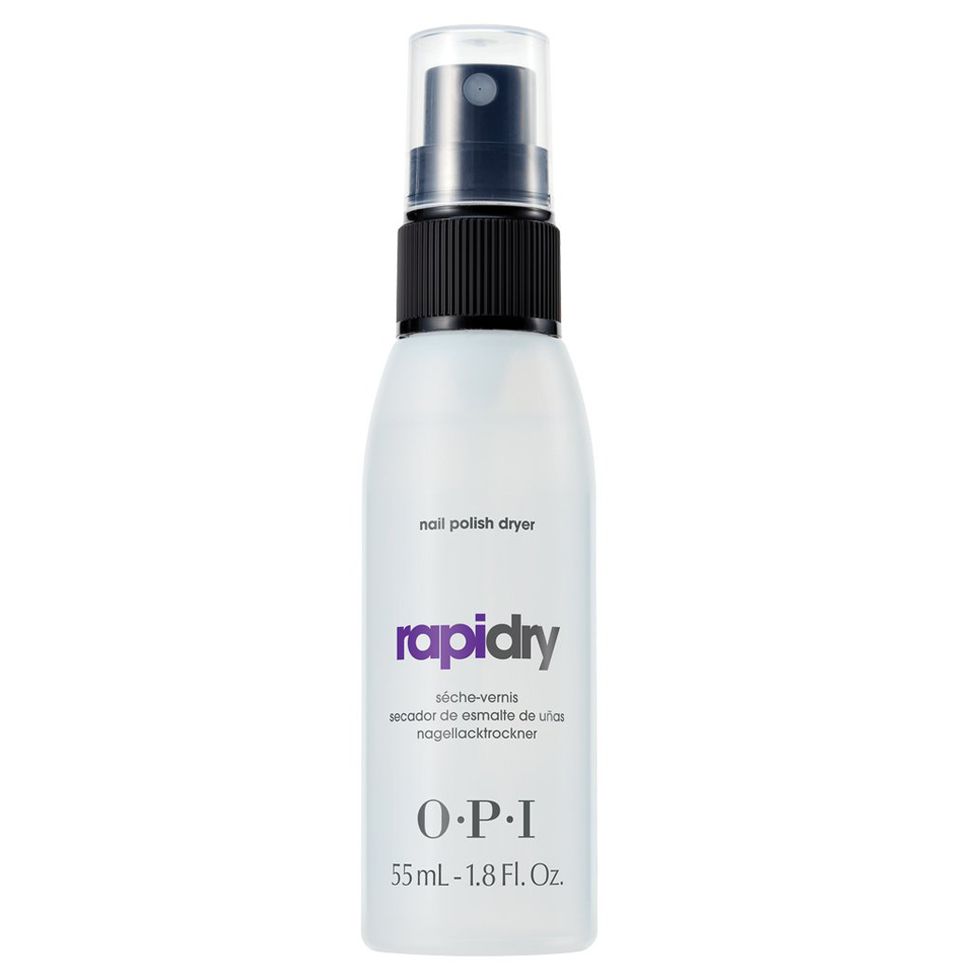
Aaron recommends letting the nails dry for at least 20 to 30 minutes. The best practice would be to cure this manicure under a UV lamp, but no worries if you don’t have one handy at home—a drying spray or the air in your apartment will work just fine. Once your design is fully dry, they will remain smudge-proof and intact until your next at-home manicure.


Happy rain dropping!
Top photo: Courtesy of Instagram/@nami_nail_2019
Want more stories like this?
“Lipstick Nails” Are Falls Hottest New Nail Trend
Look Out, Press-ons—Nail Wraps Are Coming for Your Crown
5 Fall Manicure Ideas Inspired by Our Favorite Travel Destinations
Top photo: Courtesy of Instagram/@nami_nail_2019
Want more stories like this?
“Lipstick Nails” Are Falls Hottest New Nail Trend
Look Out, Press-ons—Nail Wraps Are Coming for Your Crown
5 Fall Manicure Ideas Inspired by Our Favorite Travel Destinations