


Celebrity stylist Laura Polko created our favorite party-ready looks of the season. In collaboration with T3.
19
Dec
19
- Editor: Meagan Wilson
- Photographer: Alec Kugler
- Videographer: Tim Buol
- Hair: Laura Polko
- Makeup: Justine Purdue at Streeters using Tom Ford Beauty
In our experience, the best beauty happens when we collaborate with talent at the top of their field—like, say, an A-list celebrity hairstylist—and give them free rein to do their own thing. We can give the context and color, sure, but letting a pro do what they do best yields unparalleled results—and actual magic.
So when we spent the day with stylist Laura Polko—whose name you may recognize from the feeds of Rosie Huntington-Whiteley, Gigi Hadid, and Chrissy Teigen—and T3 (Polko’s hot tool of choice) putting together a handful of party-ready hair looks, suffice it to say that we’d met our match.
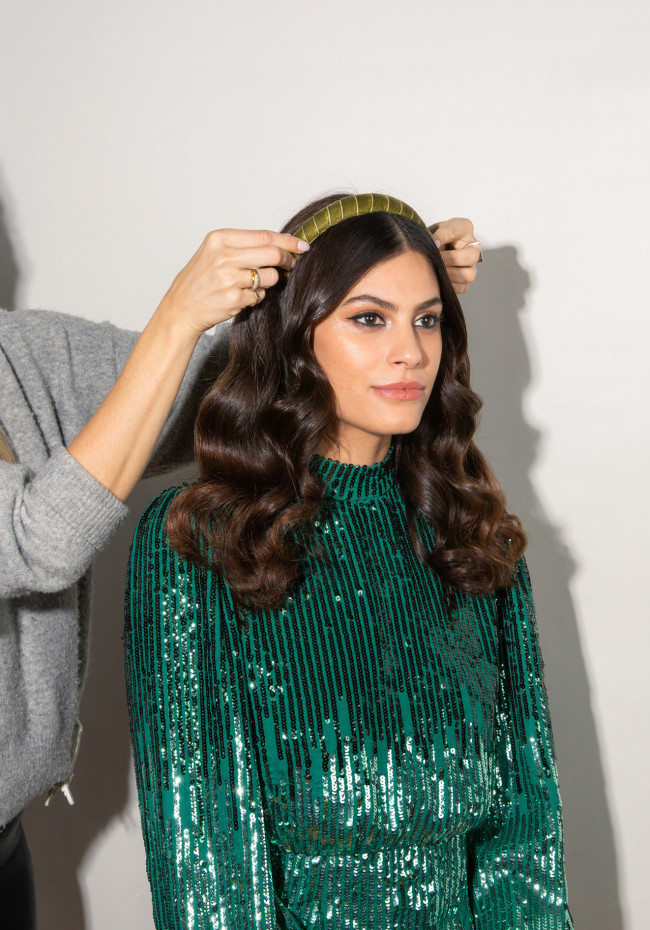
Hair sets the tone for a night out like nothing else quite can—whether that’s something playful and fun, or lush and seductive. For us (and Laura—mostly Laura), that took the form of ’90s-inspired space buns, tumbling, gorgeous waves with a thick, luxe headband, and sparkly criss-crossing pins atop gently tousled waves. Here, the step-by-step for each—and the T3 tools you’ll need to get ’em.
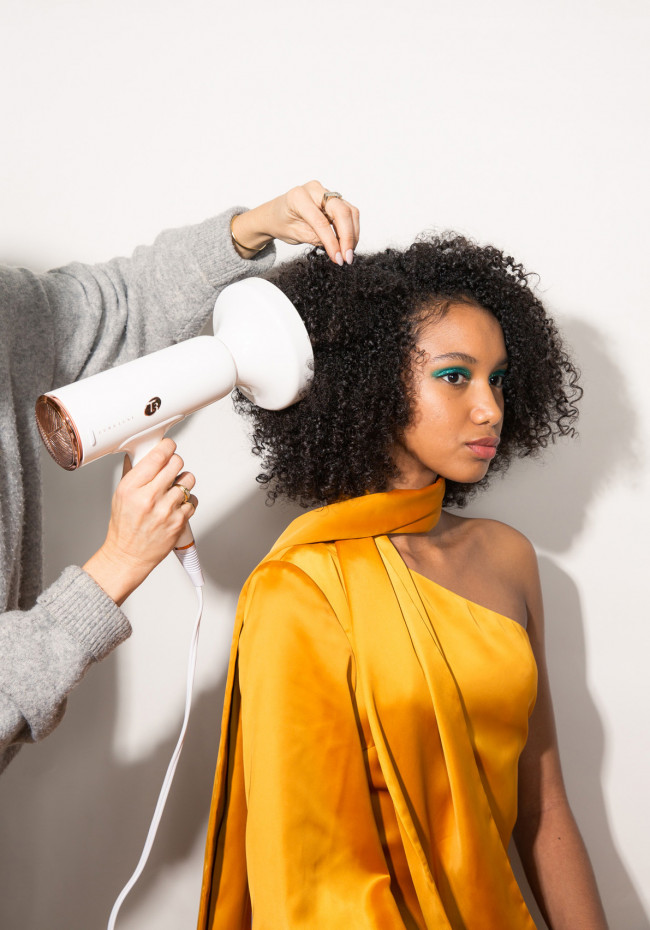

STEP 1
Use a T3 diffuser. Laura likes the T3 SoftCurl Diffuser because it’s “great for any hair type that has a curl pattern you want to amp up. It distributes the hair and helps break up the air to work with the curl.”
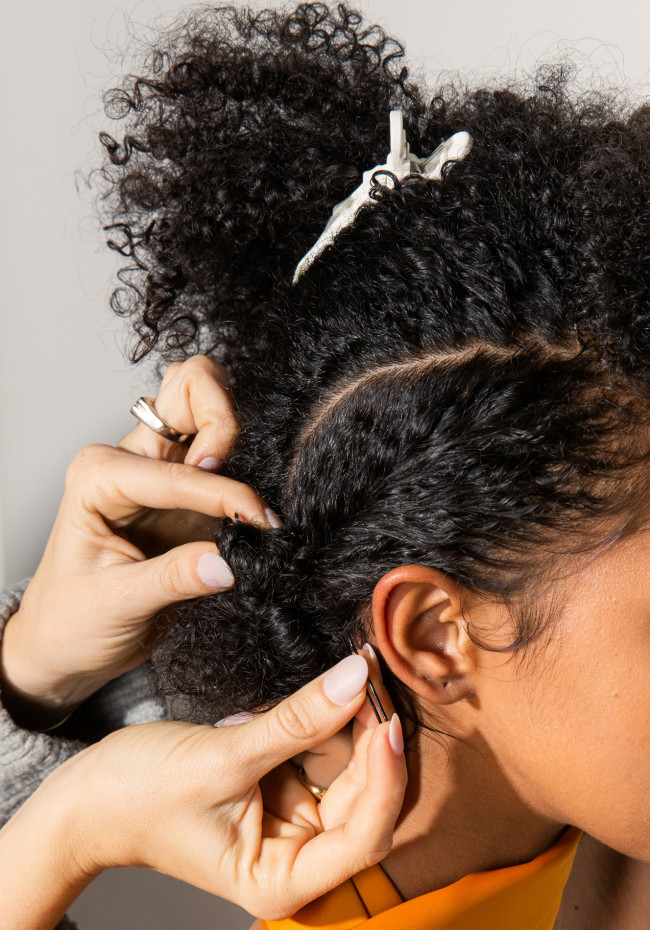
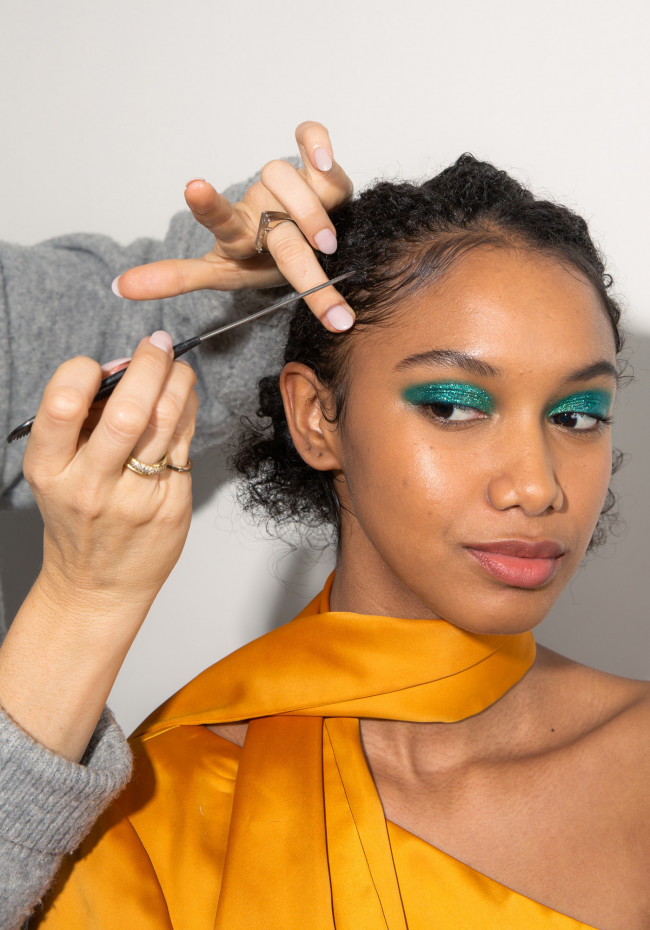
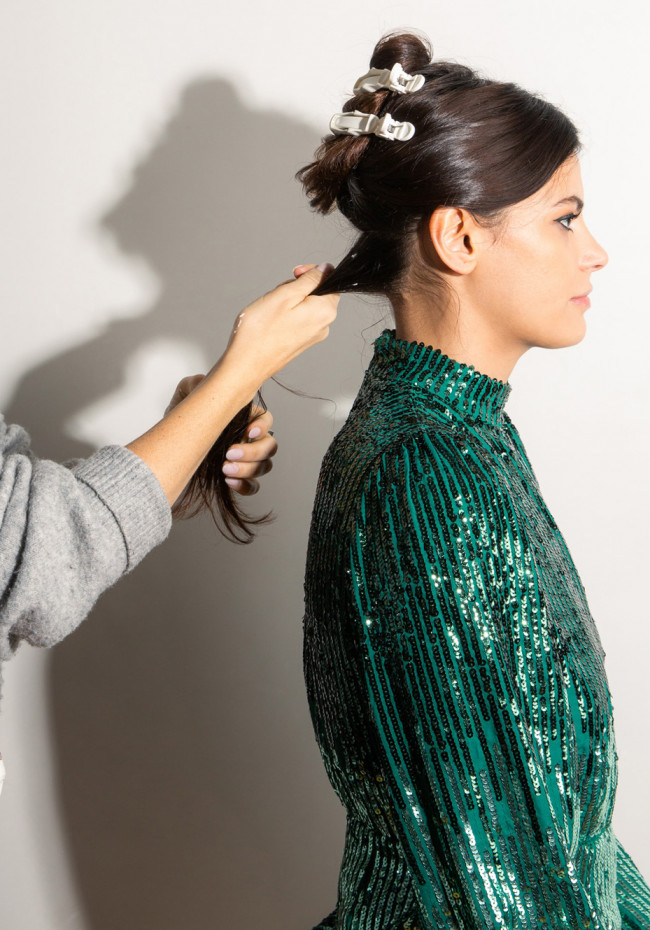
STEP 2
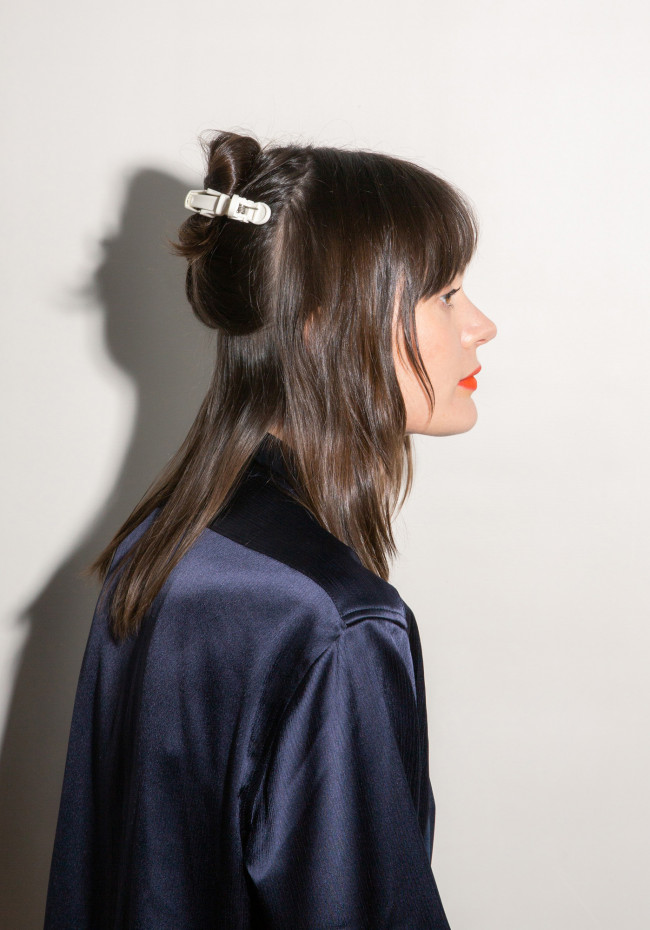
Using T3 sectioning clips, section off hair into four quadrants. Polko prefers the T3 clips, as “they’re really easy to work with and you can get a really straight section. One clip will hold a lot of hair, which I don’t think all clips can. It’s that one thing that makes your life easier, especially for somebody at home.”
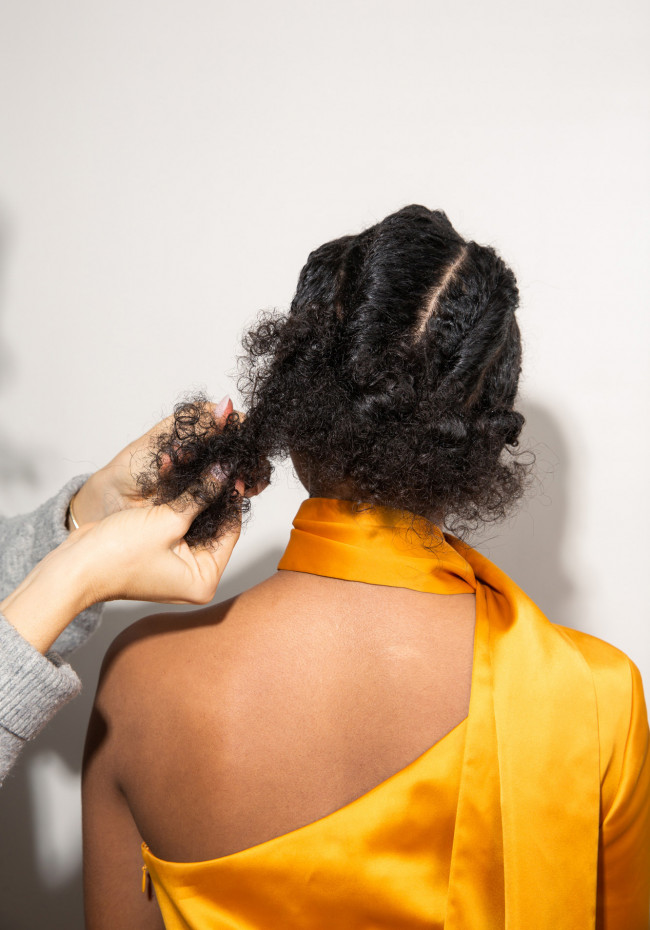
STEP 3
Twist each section into a little bun, leaving the ends of the hair pulled out.
STEP 4
While you twist each section, the ends should twist into themselves—wrap these pieces into individual little buns. Laura explains, “When you twist them, just keep twisting all the way down, leaving an inch at the bottom. It will coil up into itself into its own little bun.”
STEP 5
Pin the ends of the hair so that you can still see the hair’s full texture.
Laura’s Tip: Want extra Volume? Use T3’s volume booster to off the negative ion generator and add extra body without the damage.
Shop the Story
Wavy Baby
STEP 1
Section hair in pieces the same size as the brush (1.5 inches) and add mousse. Scared of the whole mousse thing? Polko has some tips. “I like to add a silver-dollar size in the palm of my hand and distribute evenly from roots to ends. I like to add it as each section is happening, and not leave it to set, which will give you a crunchy effect. If you use it with heat, it smoothes and gives this great hold, which is what mousse is really great for.”
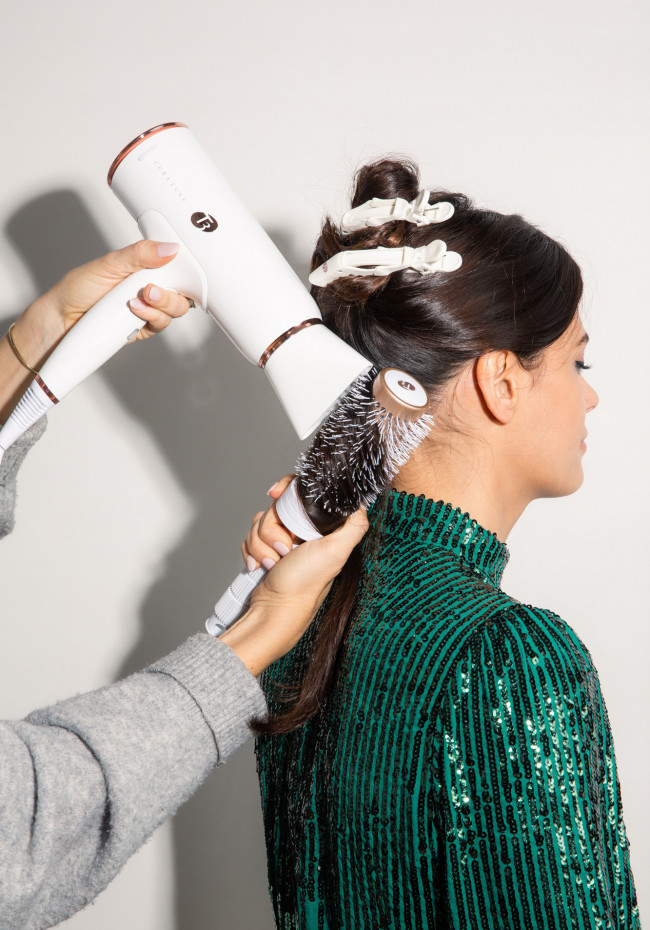
STEP 2
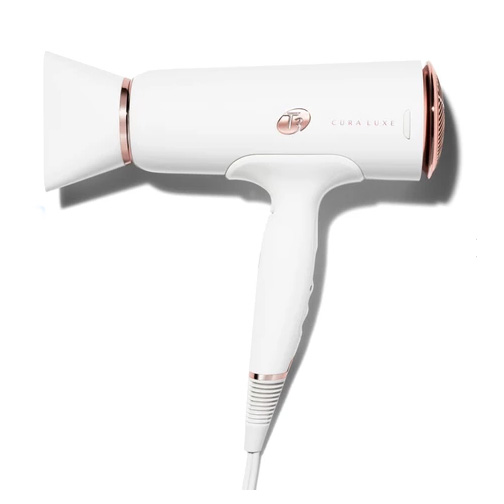
Using a round brush, blow out the hair. Laura advises starting when hair is 60–80 percent rough-dried and using a narrow concentrator and a dryer with negative ions, like the the Cura LUXE, to add shine.
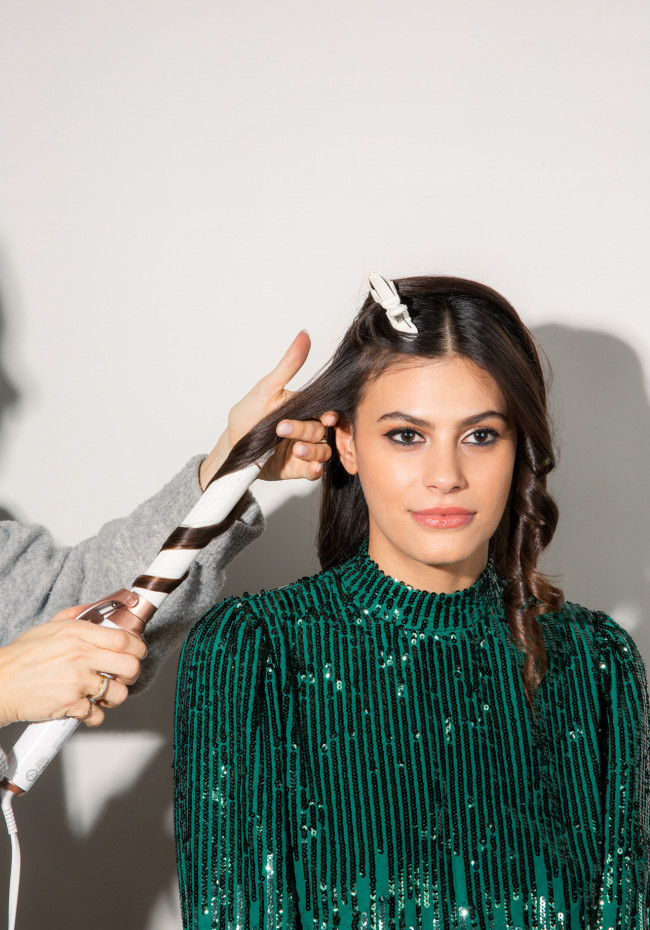
STEP 3
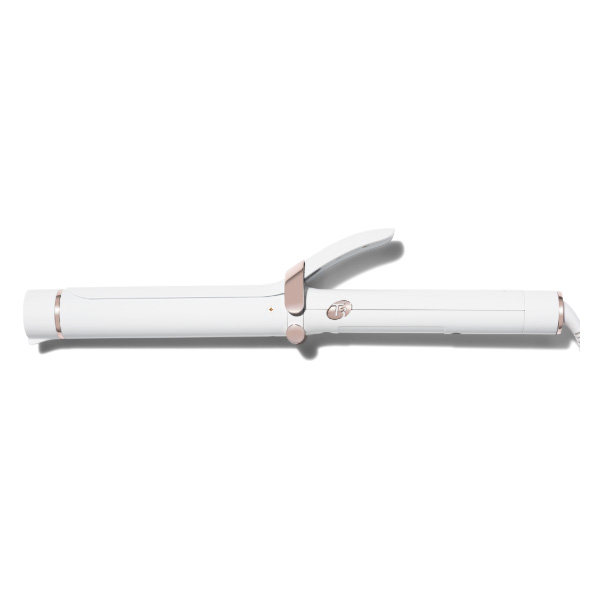
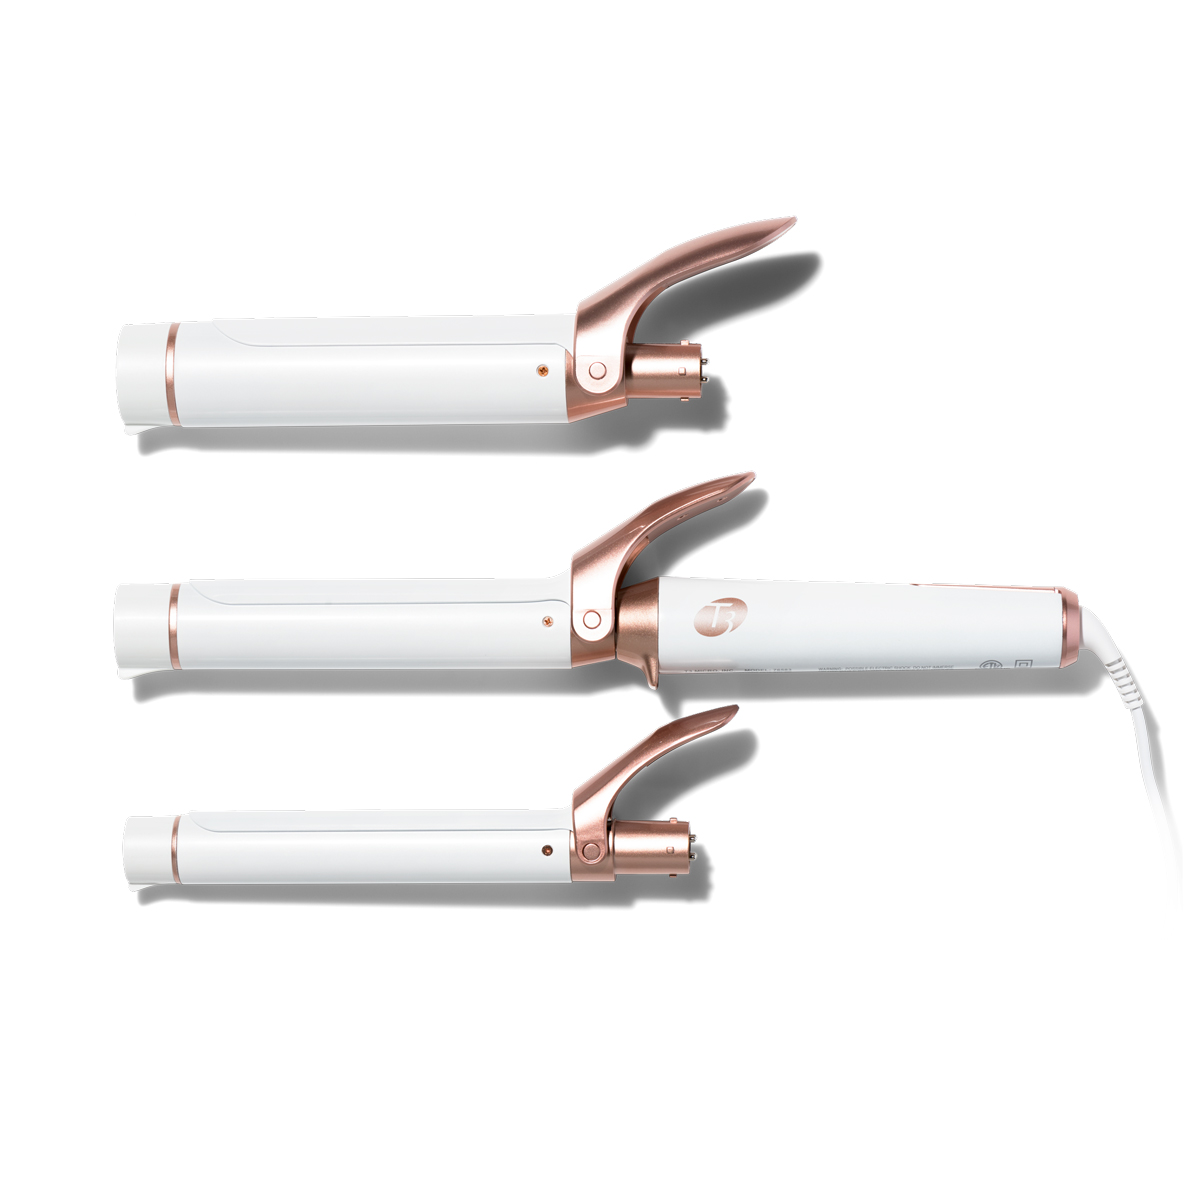
Once hair is blown out, finish with a high-quality curling iron like the Defined Curls 1” Clip Barrel from the T3 Twirl Trio, your waves will last longer with a better iron.
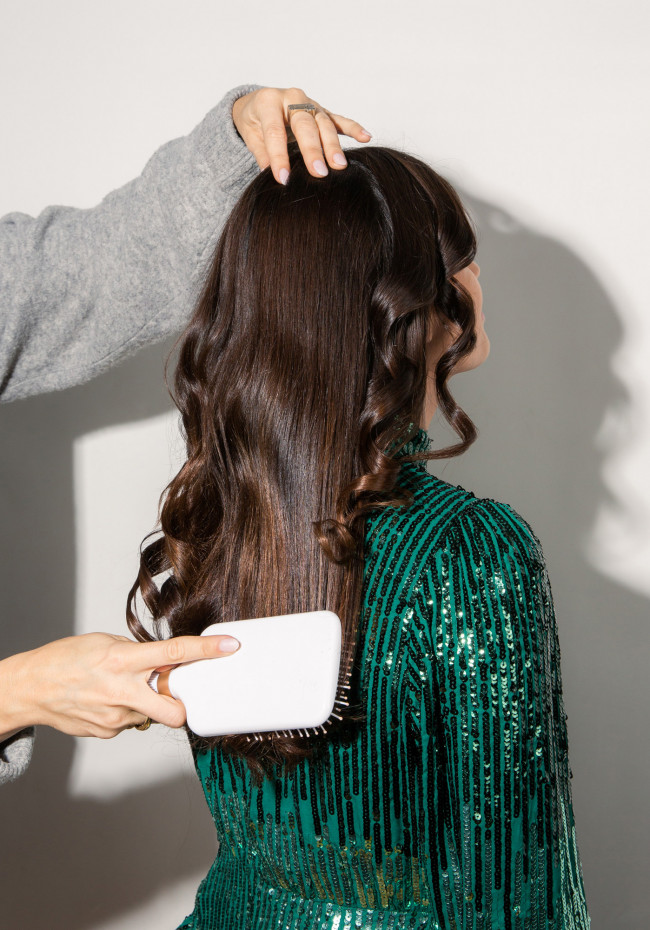
STEP 4
Brush out the curls with T3’s Smooth Paddle Brush to loosen curls. Laura’s tip: Brush in the opposite direction of the root to add volume.
STEP 5
Time to finish with product! Spray hairspray in palms of hands, and pinch the front pieces to frame face and shimmy away flyaways.
Shop the Story
Pretty Pins

STEP 1
Section the hair horizontally.
STEP 2
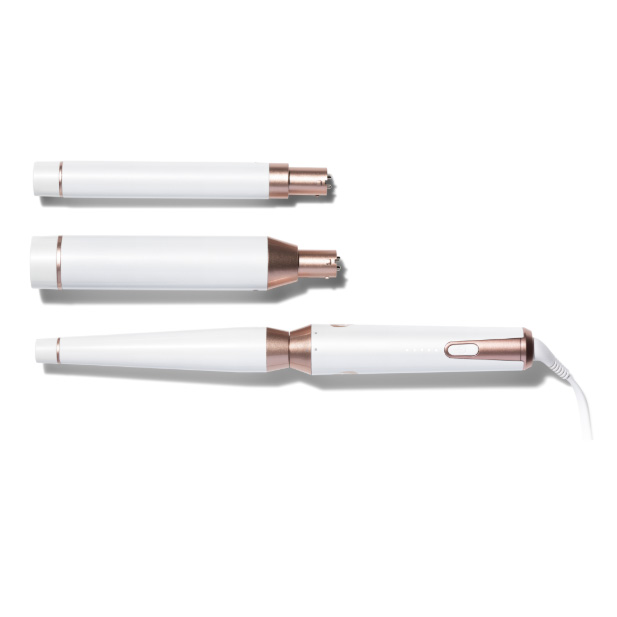
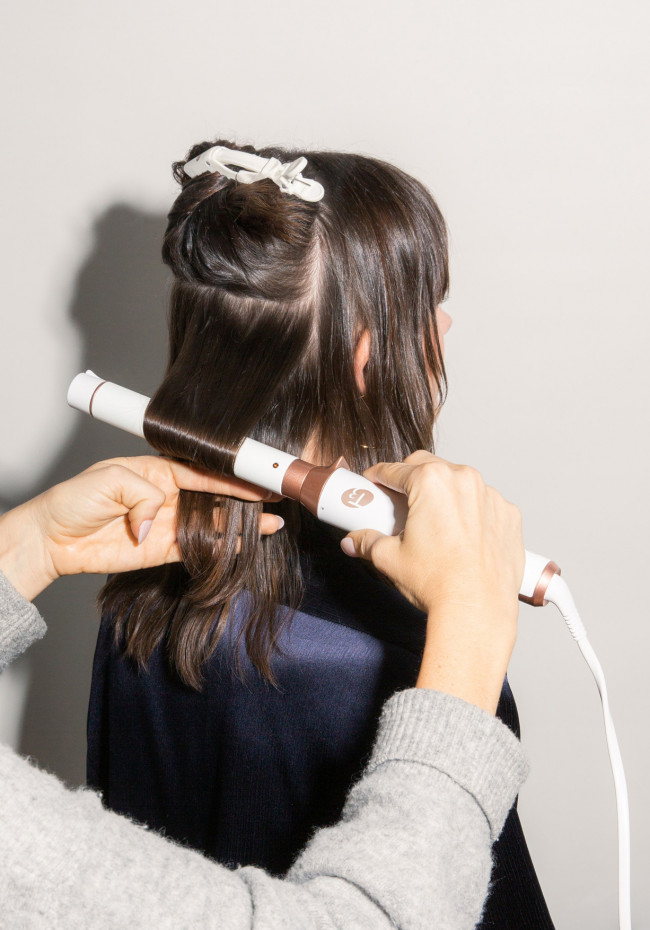
To create a “bubble wave,” take a piece of hair and hold it tight. Then set the iron on top of each piece and then again underneath, working your way down towards the tip. Laura says, “You want to use the 1” barrel from the T3 Whirl Trio. The wand is really important, because you don’t want to use an iron with a clamp which can crease the hair and the smaller barrel will give that exact defined wave motion throughout the hair.”
STEP 3
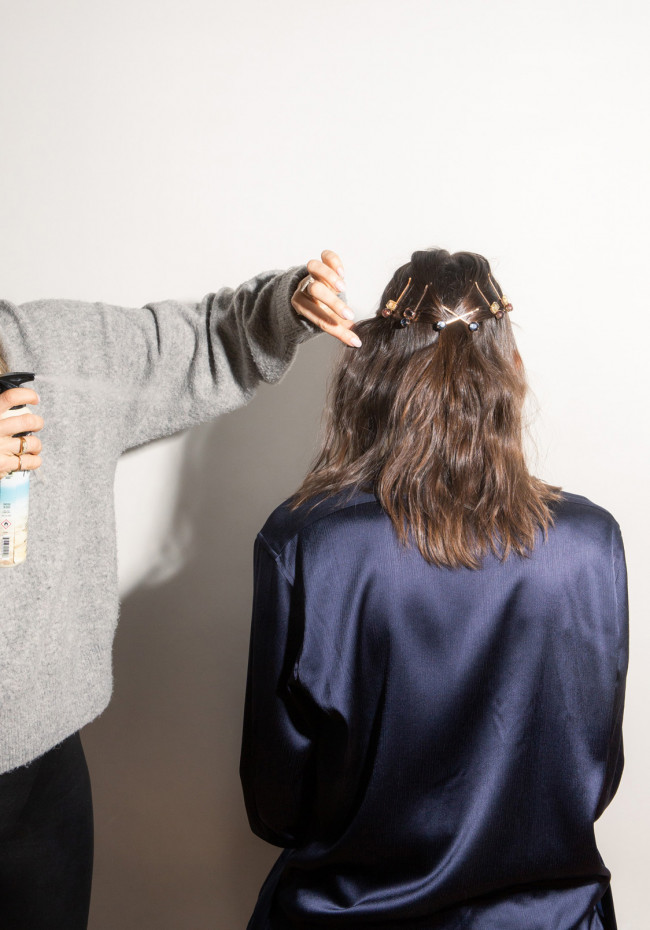
As you go, spray with hairspray both before and after each touch with the wand.
STEP 4
Add a Surfer Girl Spray (Laura likes Sexy Hair’s) for more texture.
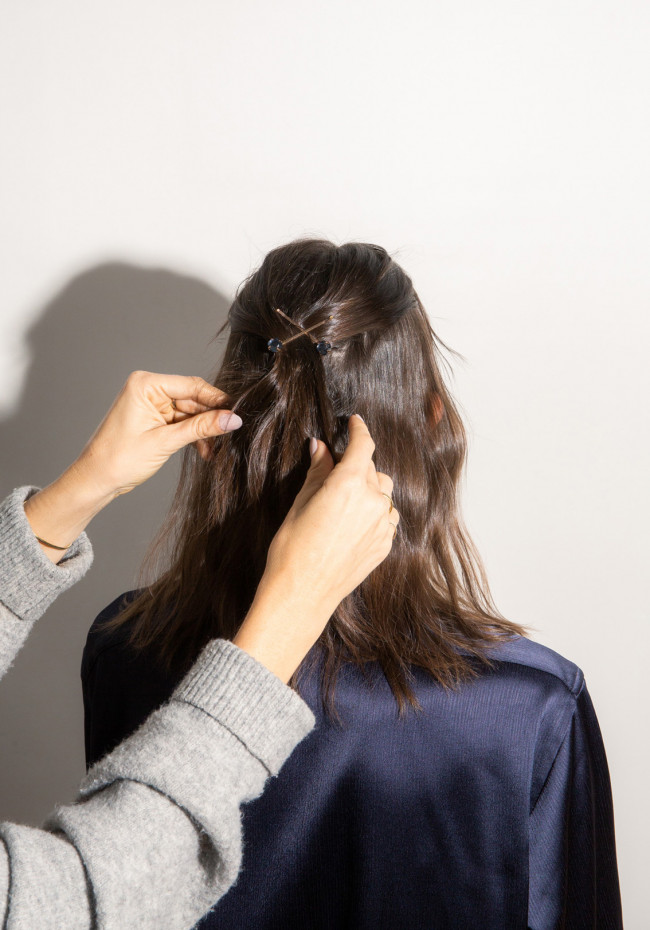
STEP 5
Add hair pins of your choosing. Laura advises, “I’ll start by taking a smaller piece from the front and putting it back, then do the same thing on the other side. I’ll crisscross the two in the back to get them into place and make sure it’s even on both sides. From there, I’ll work my way across the head.”