Don’t let the naysayers tell you different—summer remains in full swing for another two months. There are still beach days to be had, we promise! That also means our beauty routines are adjusted for near-boiling temperatures until further notice. And of all our self-care woes this time of year, it seems like our hair is the one that struggles the most. We all know that at some point gels, creams, and sprays are pointless against the oppressive heat and humidity. Think frizz, neck sweat—take your pick. Our solution? Throw it up and forget about it.
But when your hair is longer or your curls are in full force, pulling it back into a ponytail is either not possible or gets boring after multiple days in a row. We needed a jolt of inspiration to help our beauty routines cross the finish line of these relentless temperatures. Hairstylist William Scott Blair was more than willing to demonstrate four cute, easy up-dos for the days when you just can’t handle a blanket of hair across your shoulders for another second. We even threw in a few accessories for good measure (think scarves, scrunchies, and bows, oh my!). Check them out below, plus step-by-step instructions from Blair, and spend the final weeks of summer in style.
Follow these steps to prep tighter curls for frizz-free styling
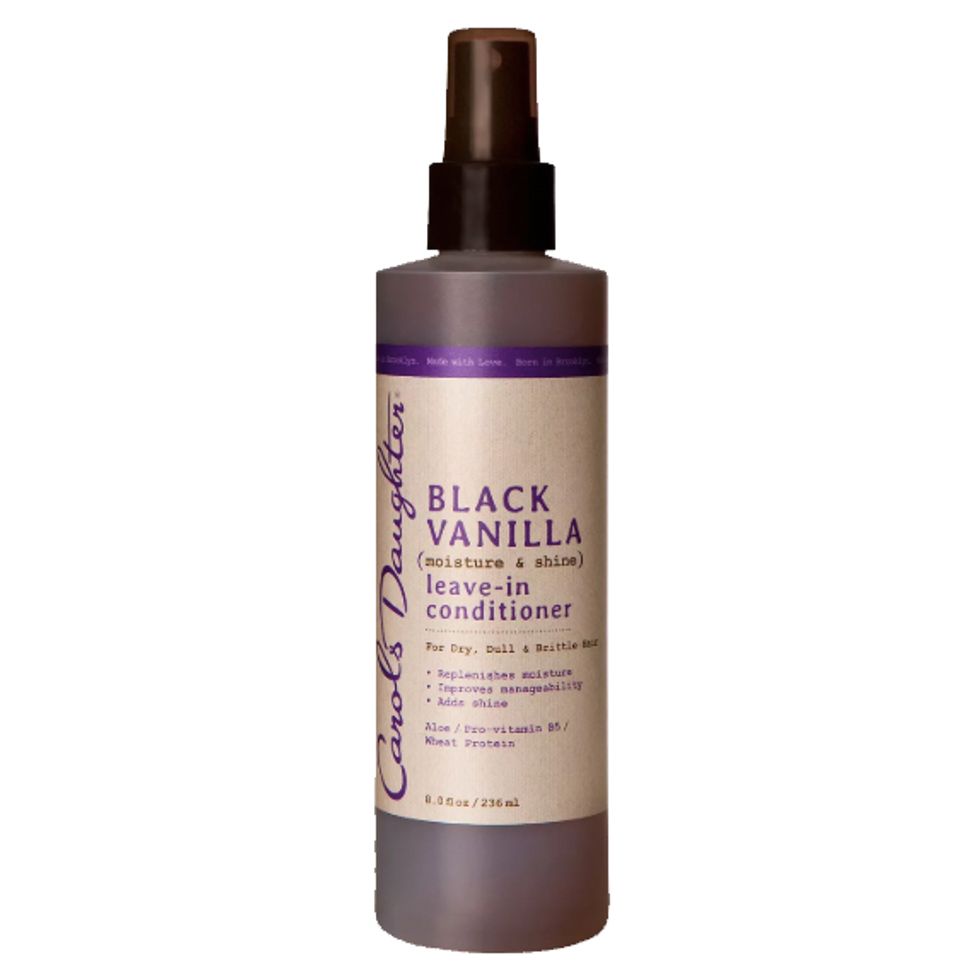
Step 1: Start with damp hair that’s been towel-dried out of the shower. Apply Carol’s Daughter Black Vanilla Leave-In Conditioner for moisture and shine, then comb through with a wide-tooth comb.
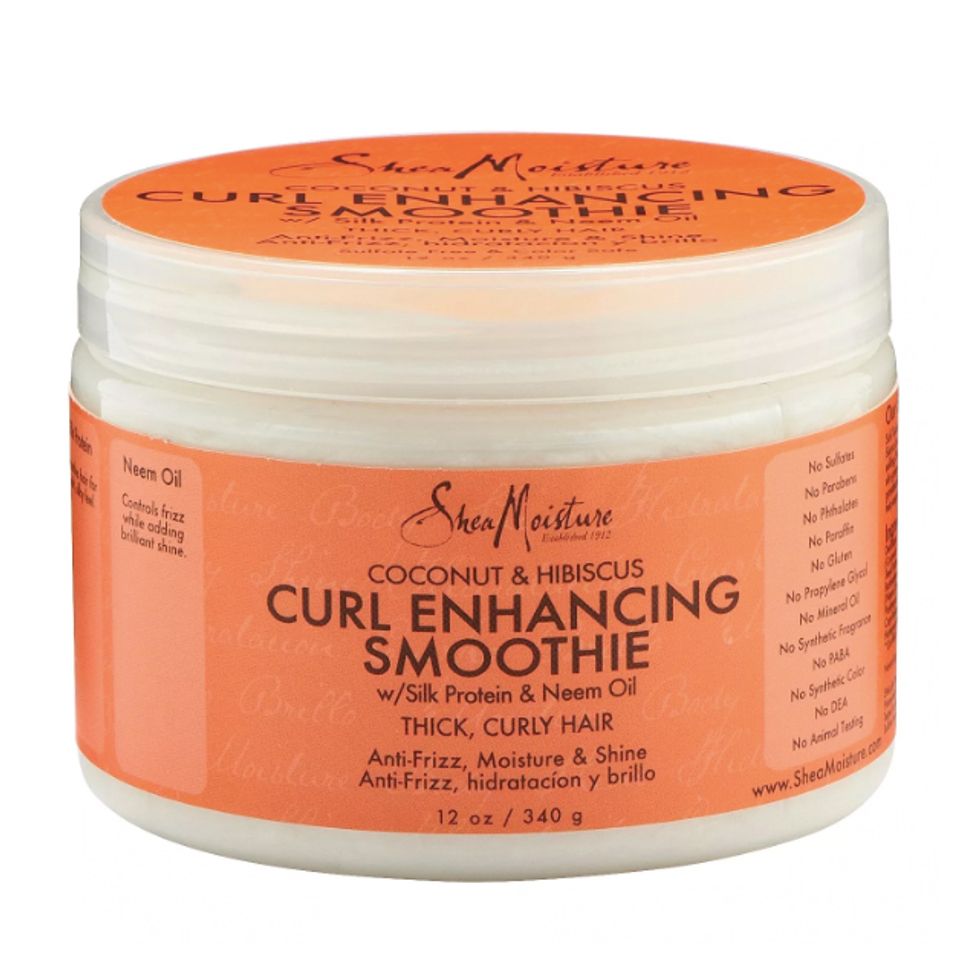
Step 2: Apply a dime-sized amount of Shea Moisture Curl Enhancing Smoothie and scrunch into the hair, then air-dry or diffuse.
Step 3: Flip your hair and shake out the curls at the root to leave the ends undisturbed.
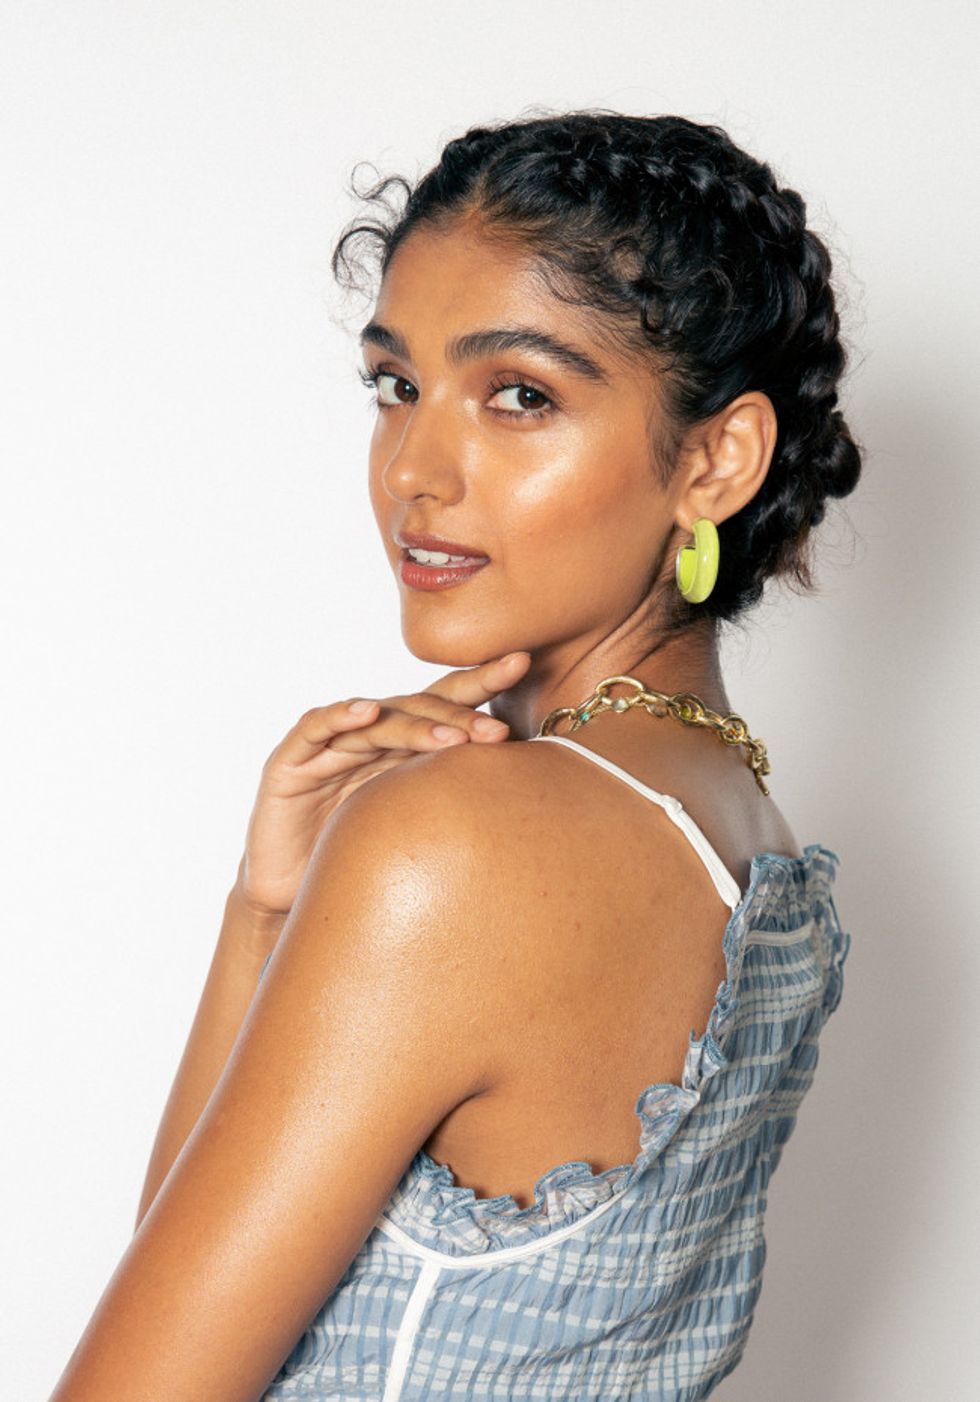
Curly French Twist
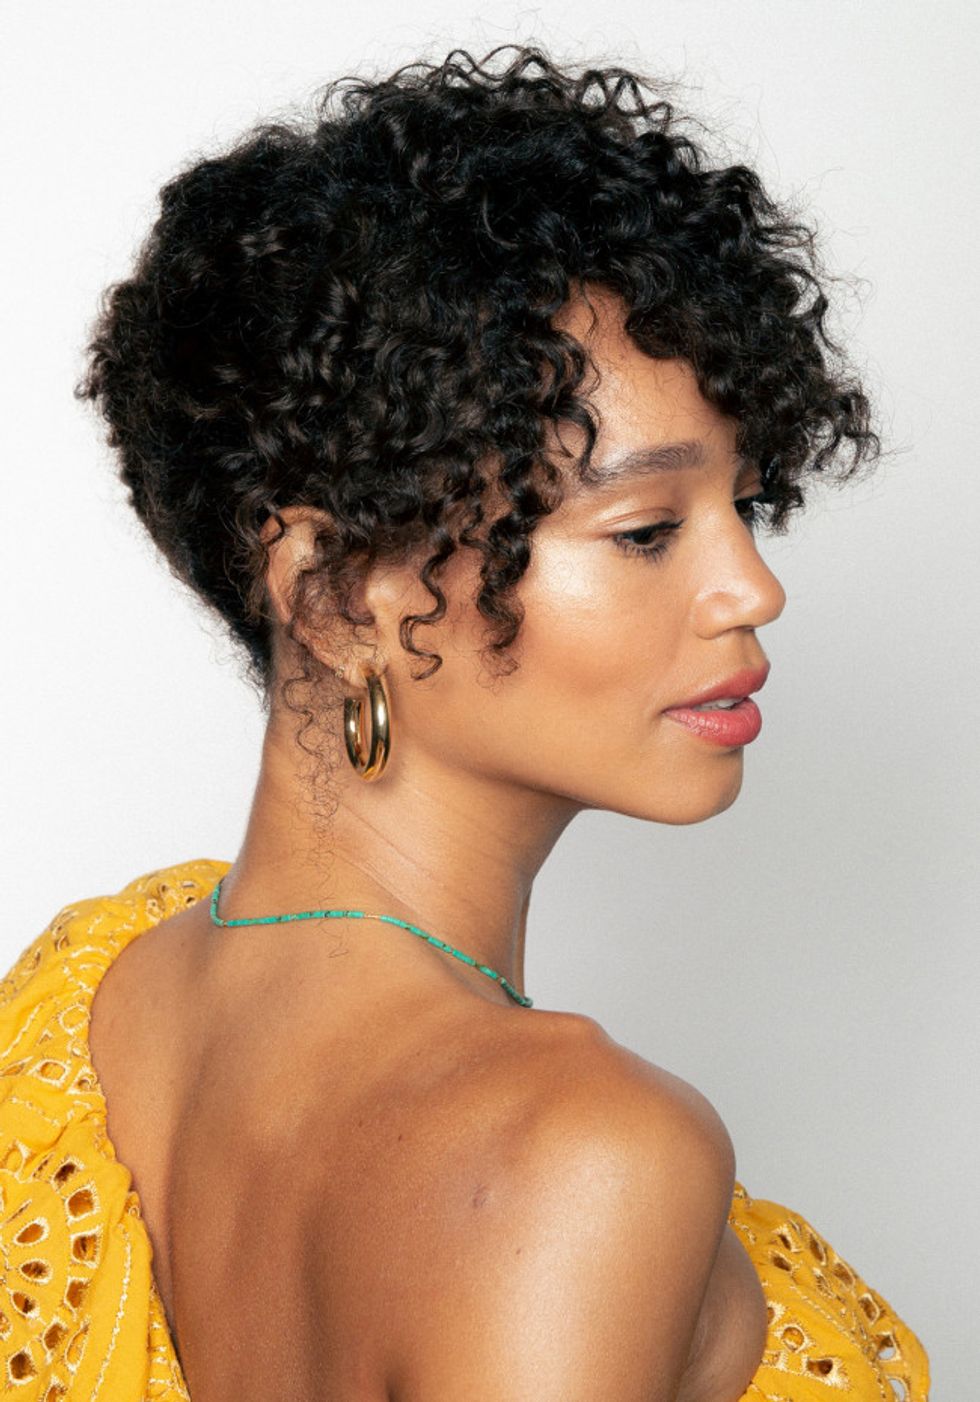
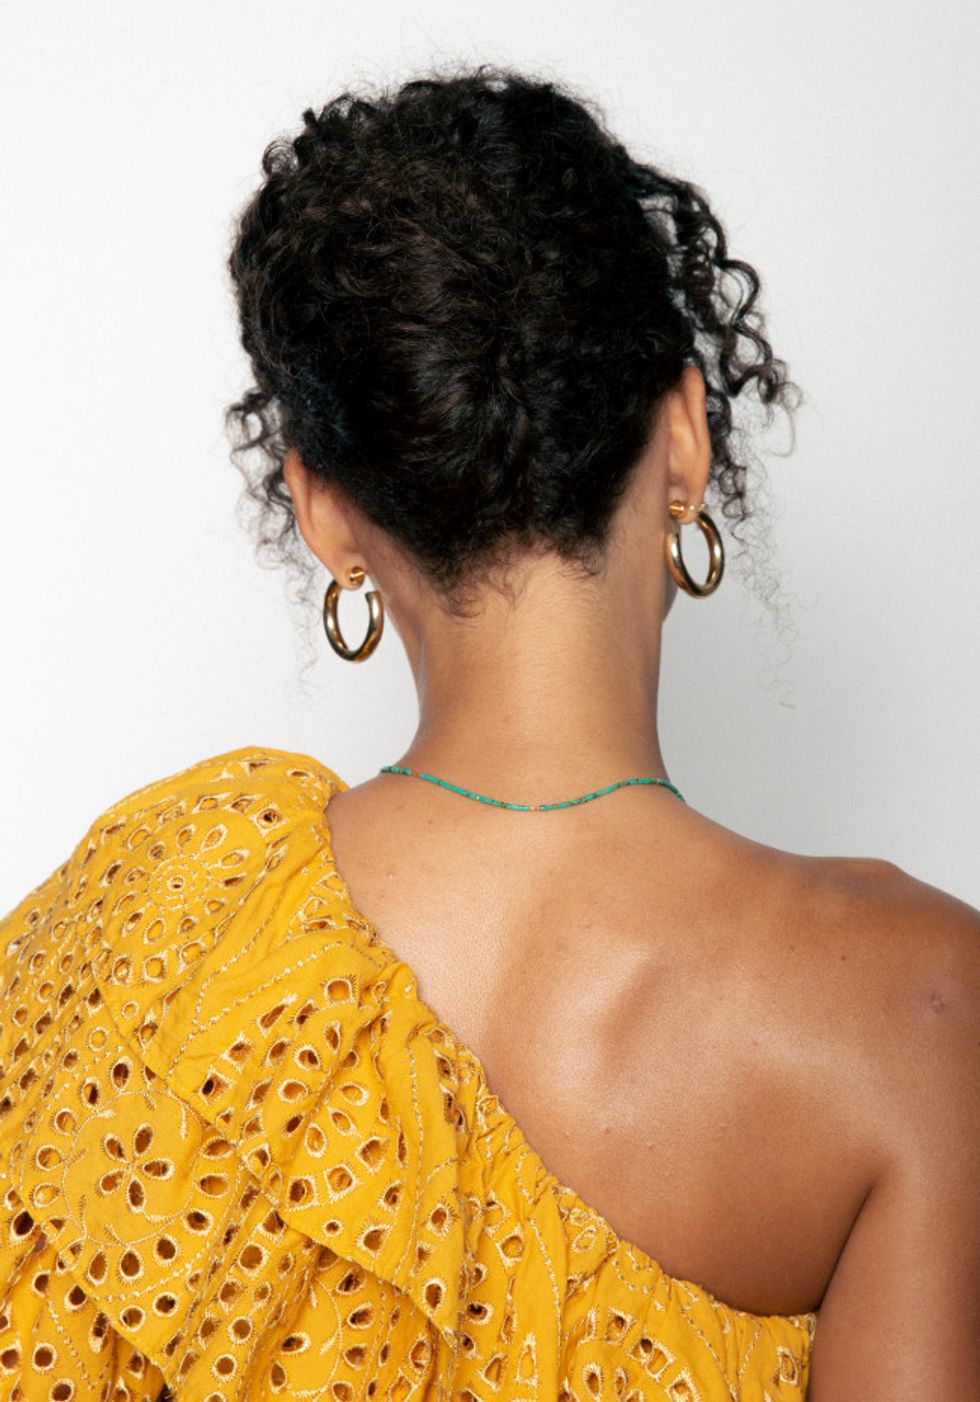

- Bri Morris Wears:
- Dress by Lisa Marie Fernandez
- Earrings by Jennifer Fisher
- Necklace by Chan Lu
Step 1: Leave out a section of hair at the crown of the head, working forward towards the front in a horseshoe shape, and clip. Rake your hands through the remaining hair, starting with one side, moving towards the back.
Step 2: Stop just past the middle of the back of the head, and insert about three bobby pins on one side, starting from the nape of the neck moving up.
Step 3: Roll the hair towards the other side, moving it in on itself. Use a few U-pins to stabilize. The more curl you have, the fewer pins you need to use.
Step 4: Use a pin-iron, 3/8th inch, to touch up individual curls.
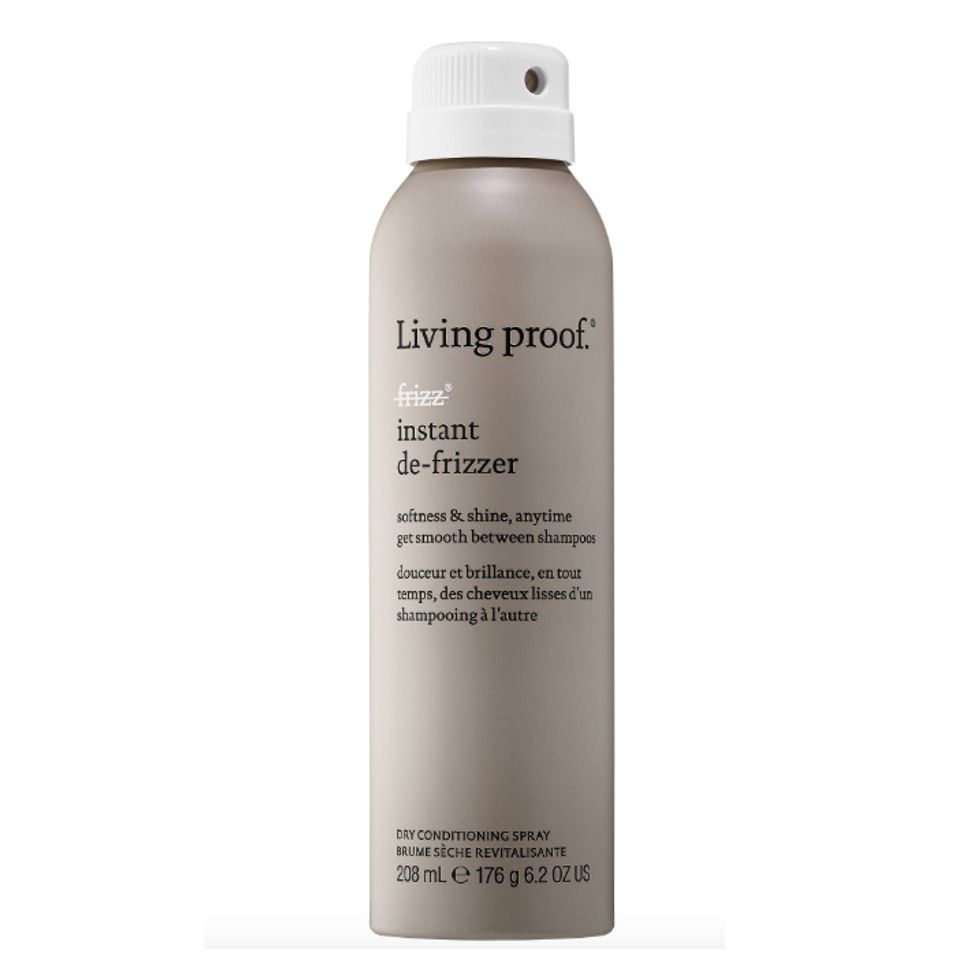
Step 5: To finish, use the Living Proof Instant De-Frizzer, a dry conditioning spray, to help tame the frizz throughout the day.
Bonus Look: For a nighttime option, roll the curl back towards your ear and secure with one or two bobby pins.
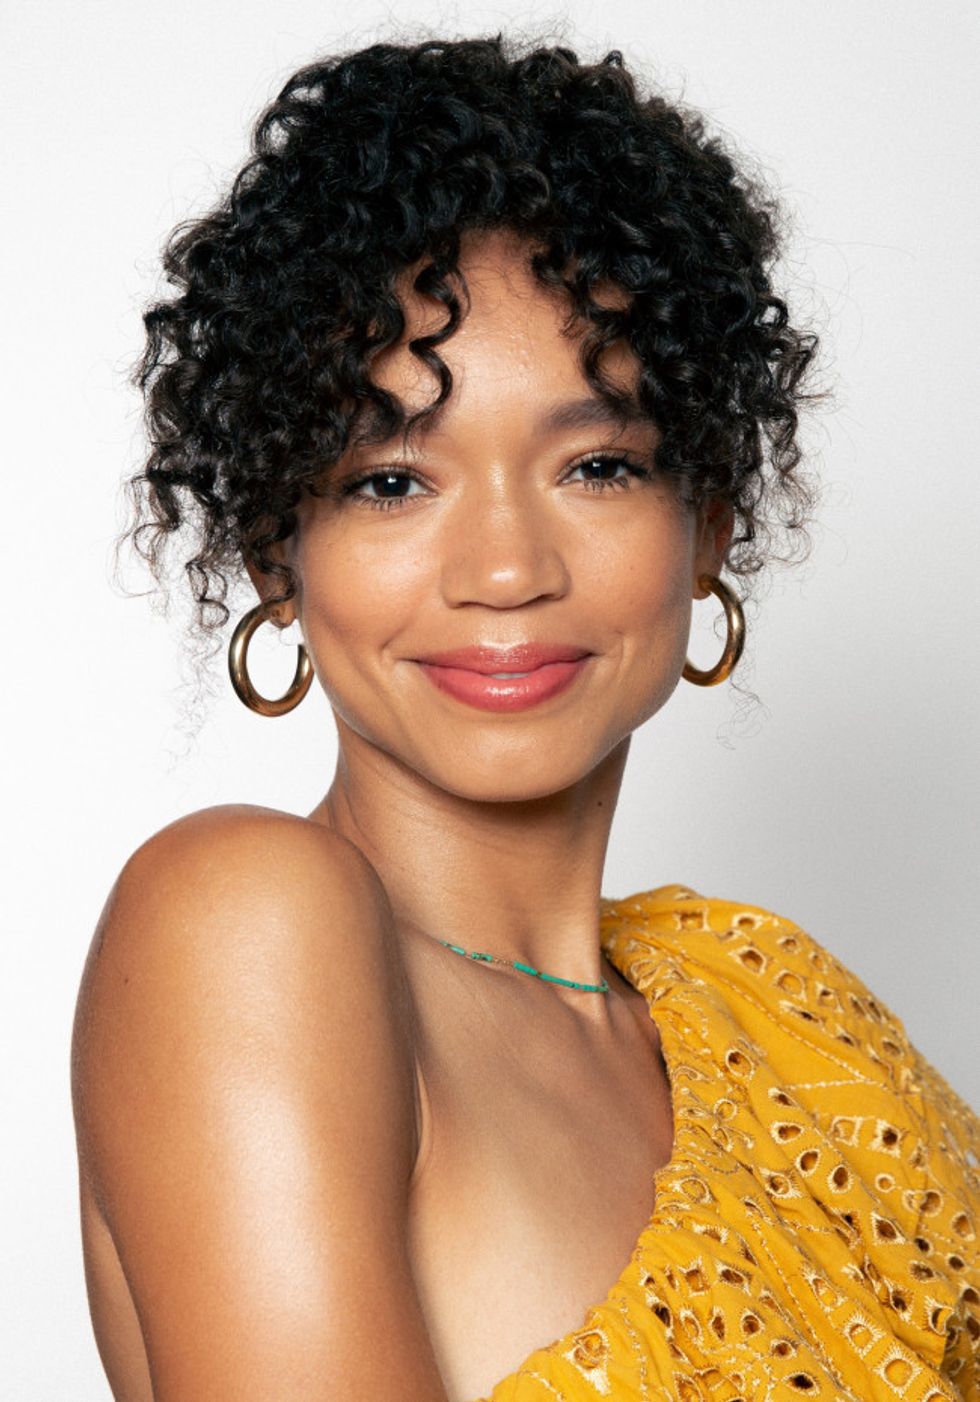
Pineapple Pony
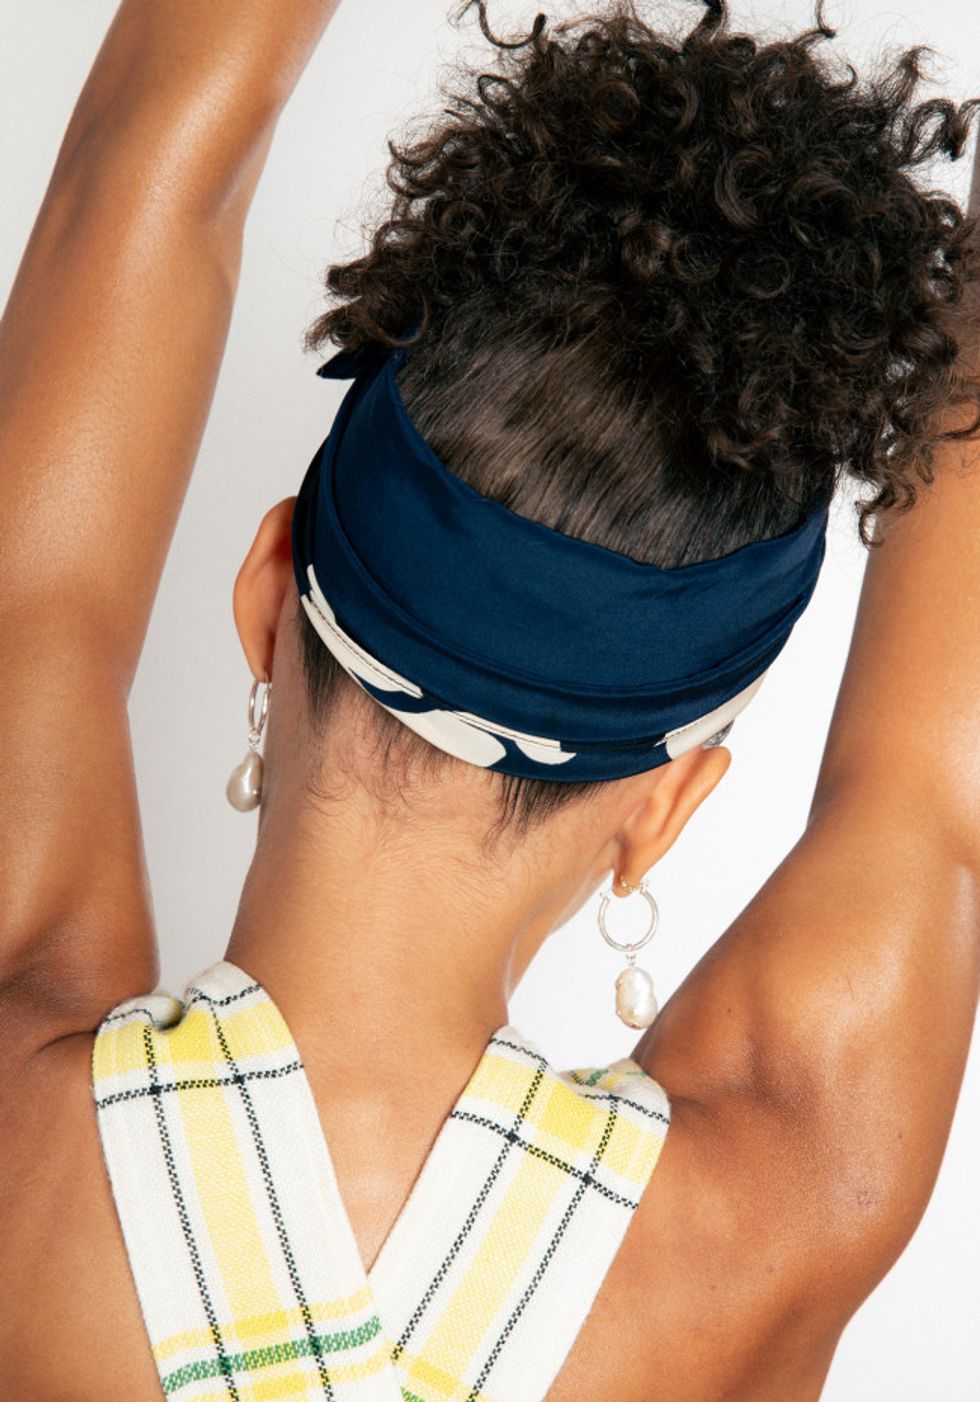
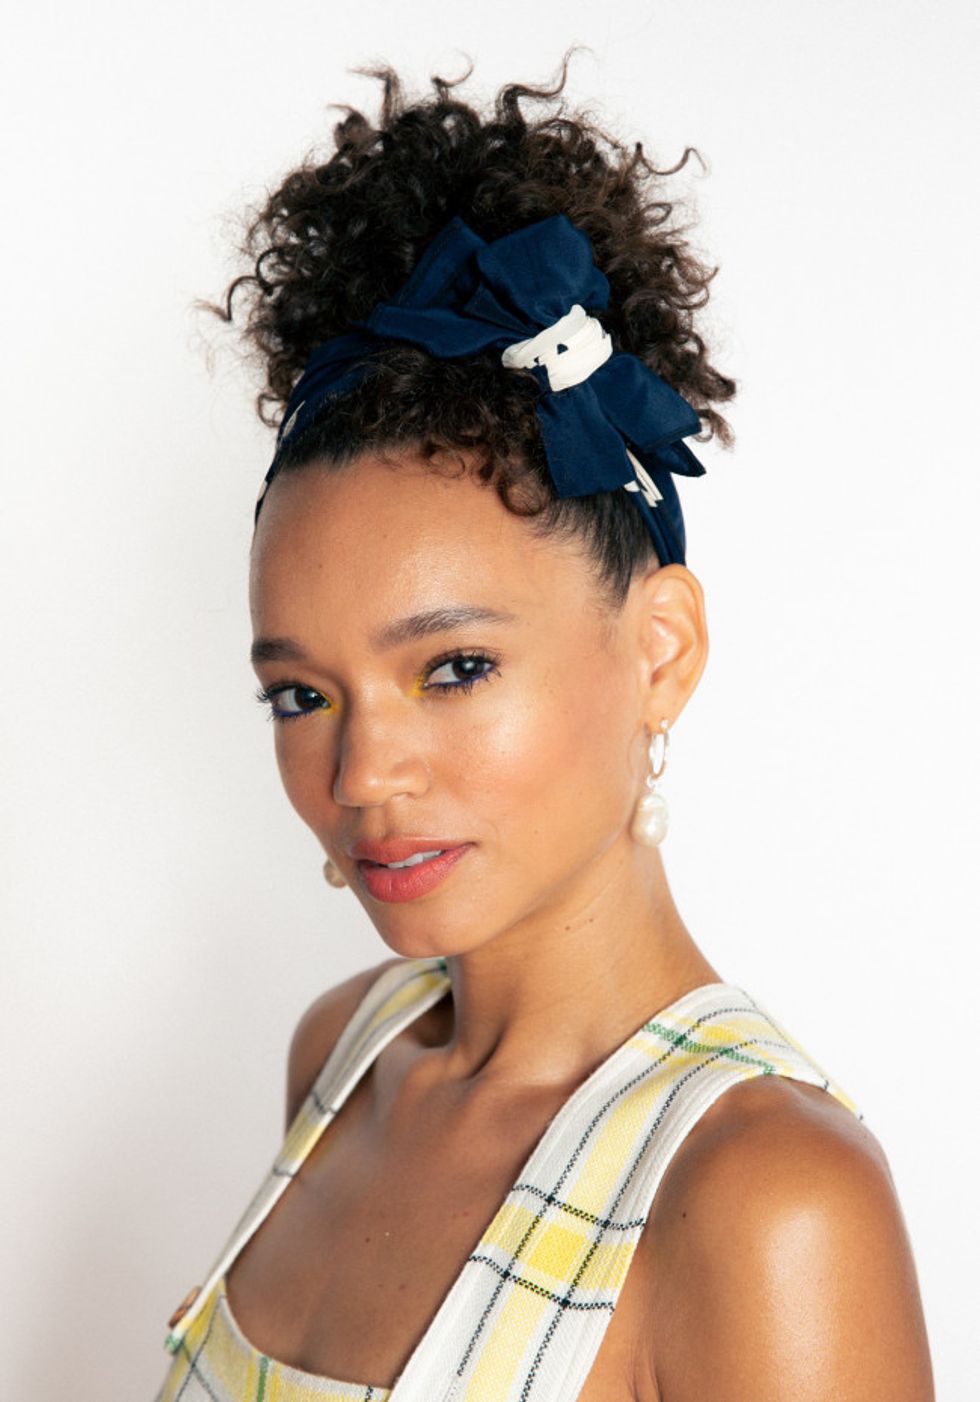
- Morris Wears:
- Top by Veronica Beard
- Earrings by Bjørg
- Scarf by Stylist’s own
Step 1: Start with dry hair. Use a boar-bristle brush to slick the hair back to the middle of the top of the head. If your hair is thick, smooth the top section first and secure, then smooth the bottom and join the other.
Step 2: Hold the puff of hair at the top, take the brush, and continue to smooth around the head on all sides, brushing upwards. Secure with an elastic.
Step 3: Apply ORS Olive Oil Edge Control to your baby hairs, and use a toothbrush to smooth and secure flyaways. Lay your edges as desired.
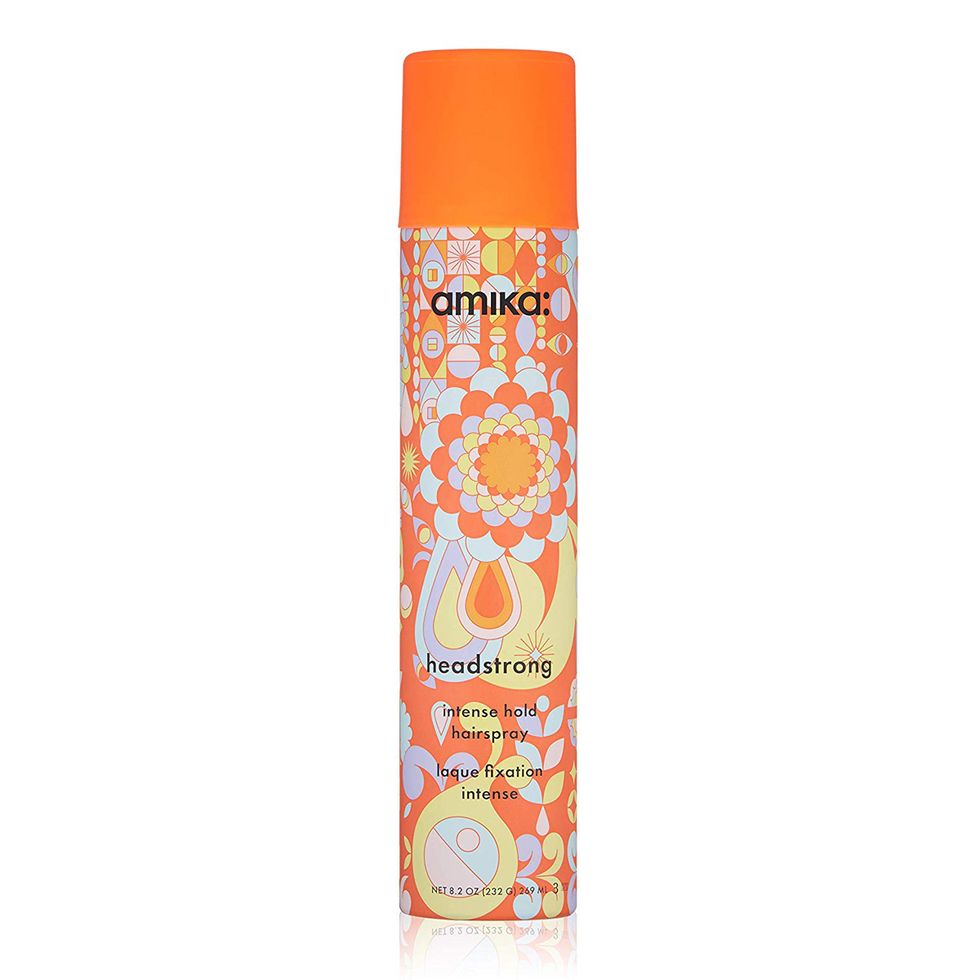
Step 4: Spray Amika Headstrong Intense Hairspray to set everything.
Step 5: After hair is secured and set with desired texture, add in a scrunchy at the base if desired. If it’s super humid outside, try a scarf to keep your edges intact. Lay the scarf over the edges, and tie it at the top.
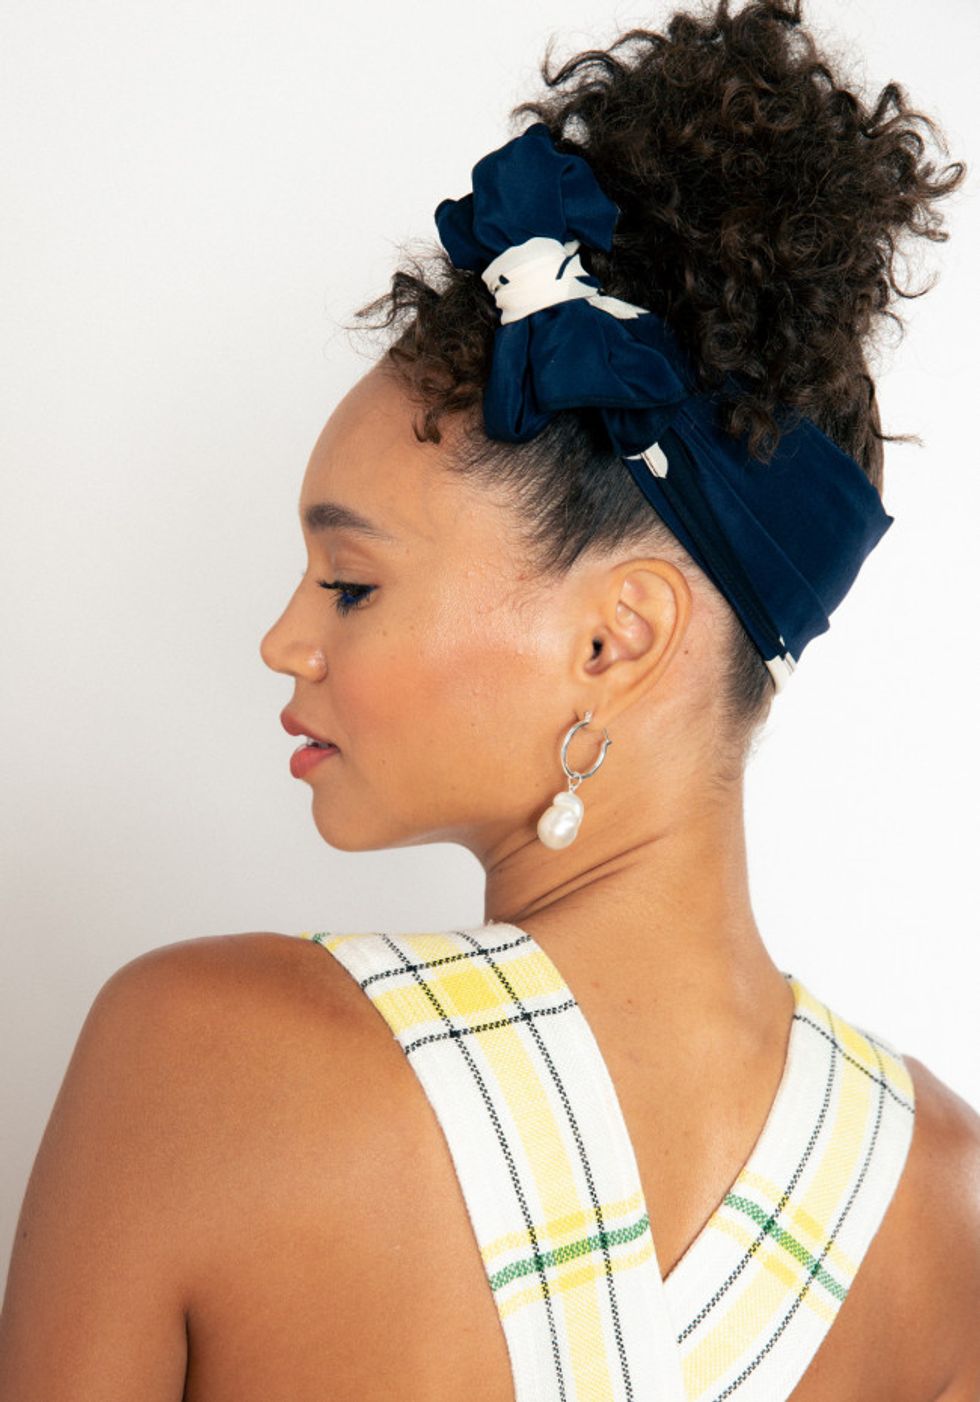
Braided Space Buns
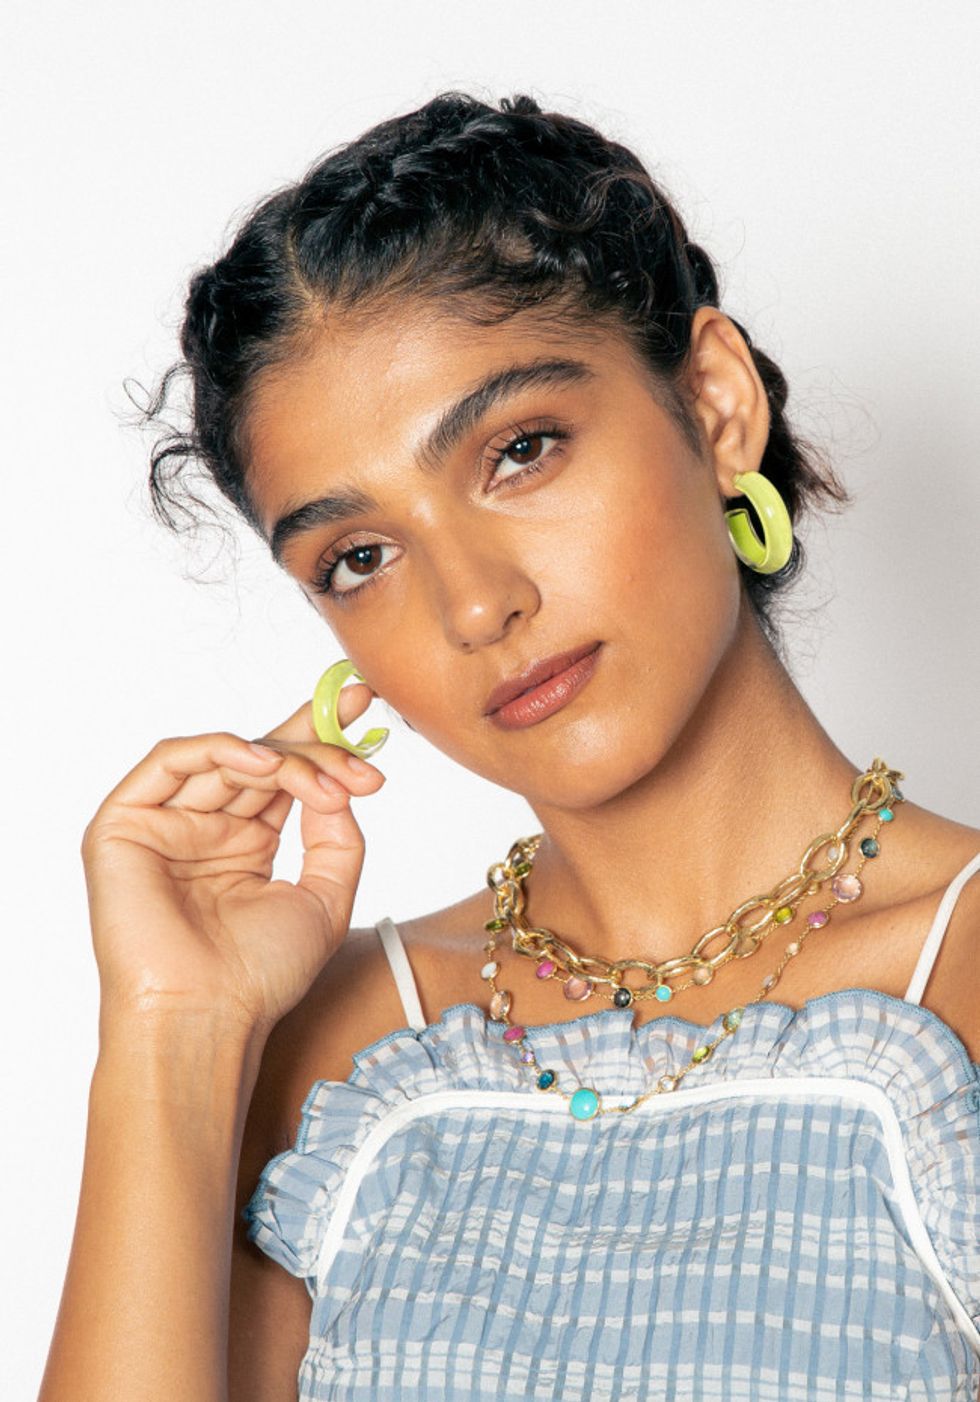
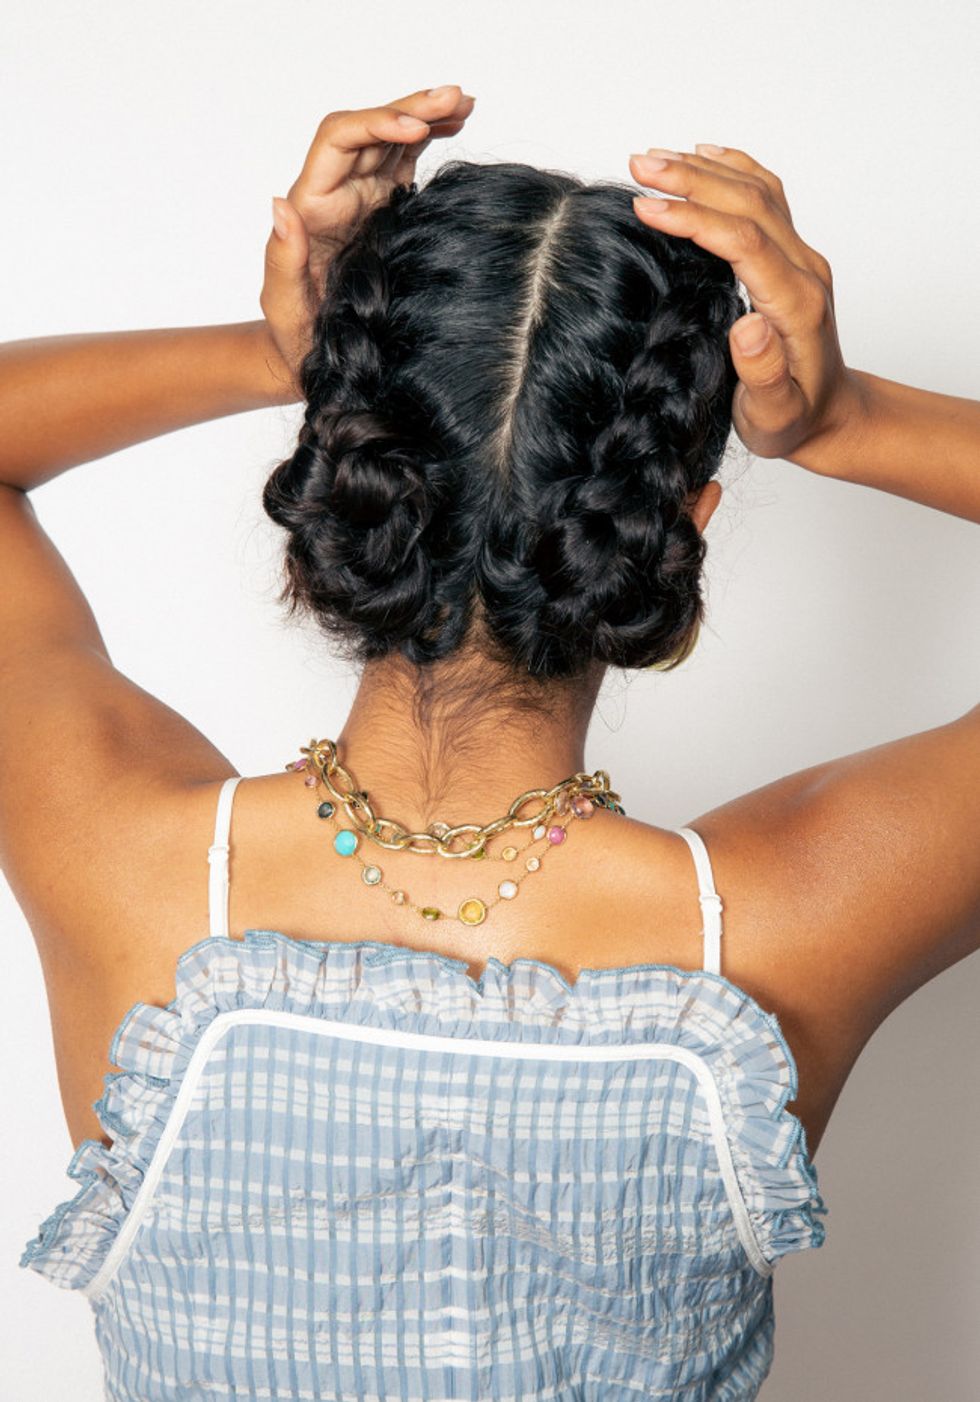
- Kiran Kandola Wears:
- Top by Staud
- Necklace by Ippolita
- Necklace by Ippolita
- Earrings by Alison Lou
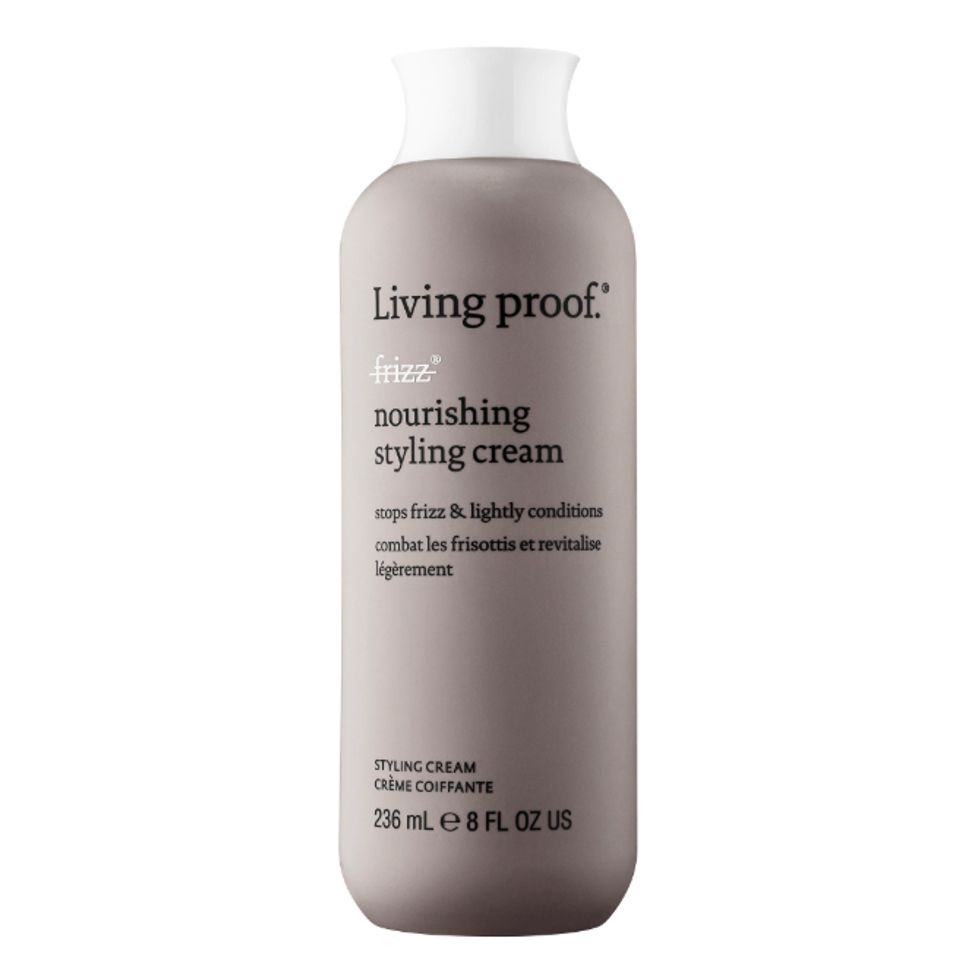
Step 1: Split the hair down the middle, and use a liberal amount of Living Proof Nourishing Styling Cream on each section, running through with fingers.
Step 2: Start to French-braid each section at the temples, working Amika Heist Molding Blend into each section to keep them clean and add a bit more separation. A little goes a long way, so don’t use too much. Finish the braid down to the ends, and secure with an elastic.
Step 3: Slightly pull apart the braids, starting at the bottom, going all the way up to the top.
Step 4: In the back, twist the braid around itself, each going towards the middle of the hairline, securing with U-pins.
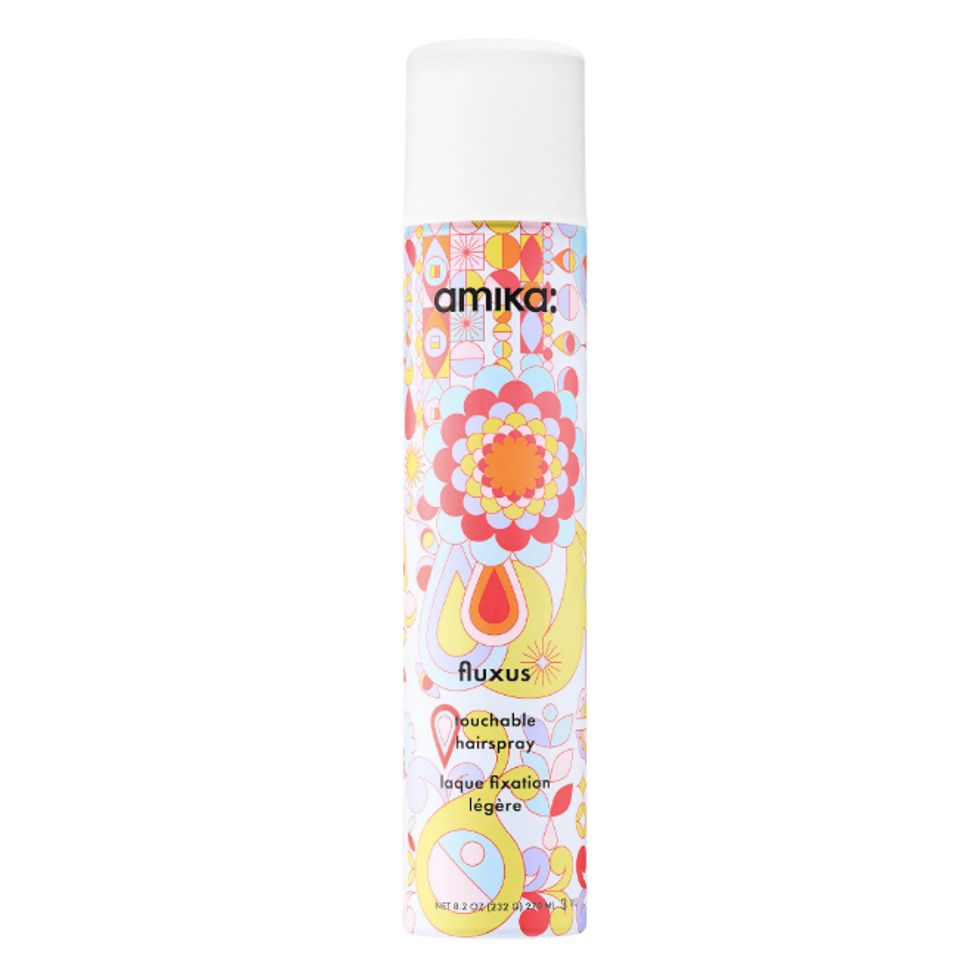
Step 5: Mist with Amika Fluxus Touchable Hair Spray.
Triple Rope Braid
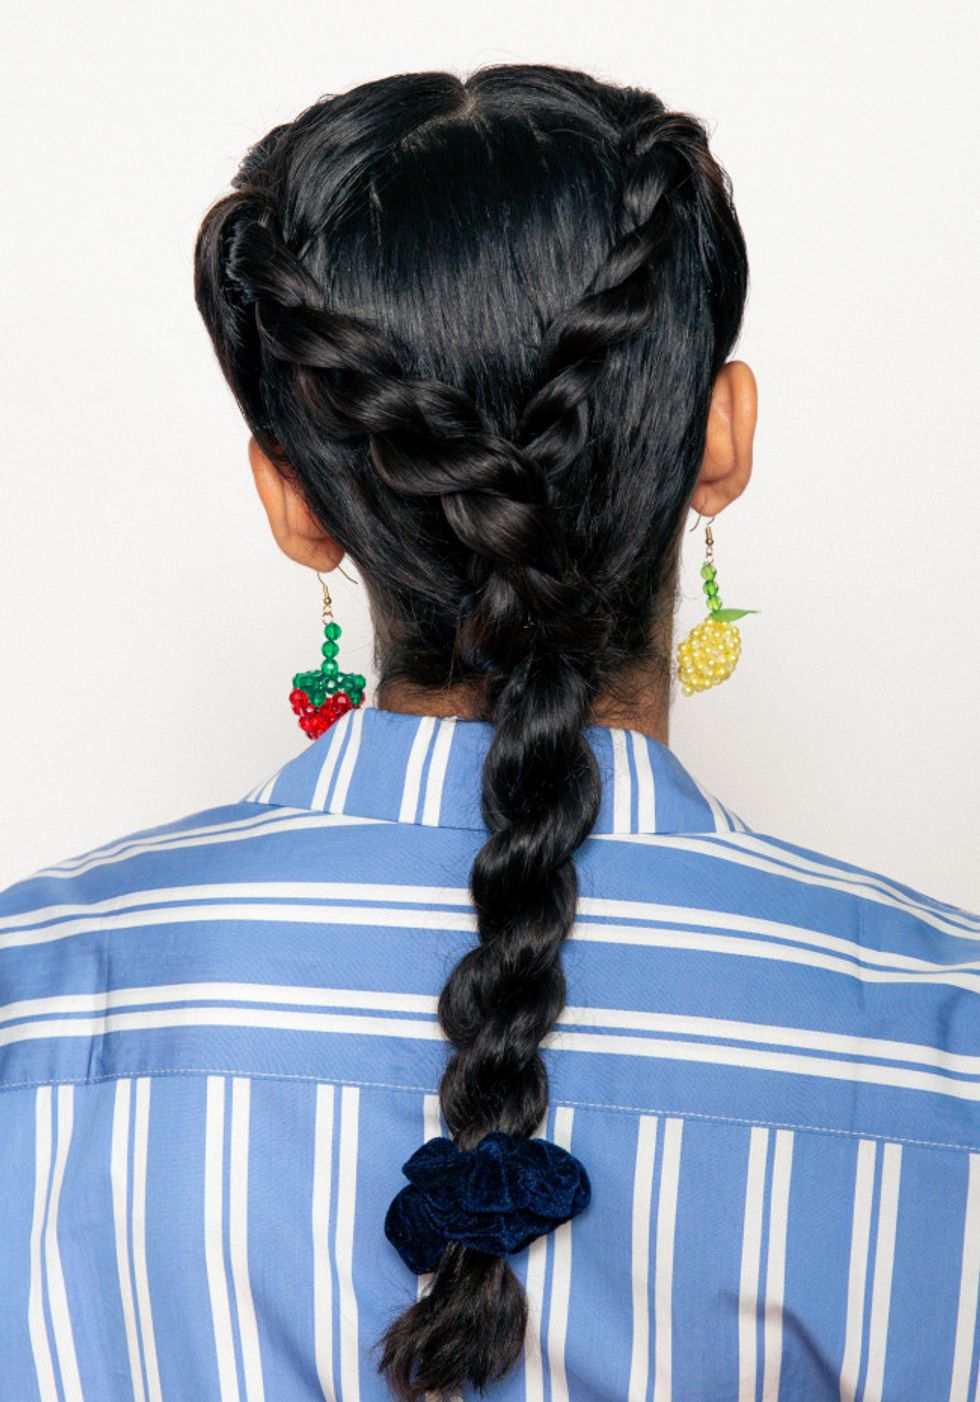

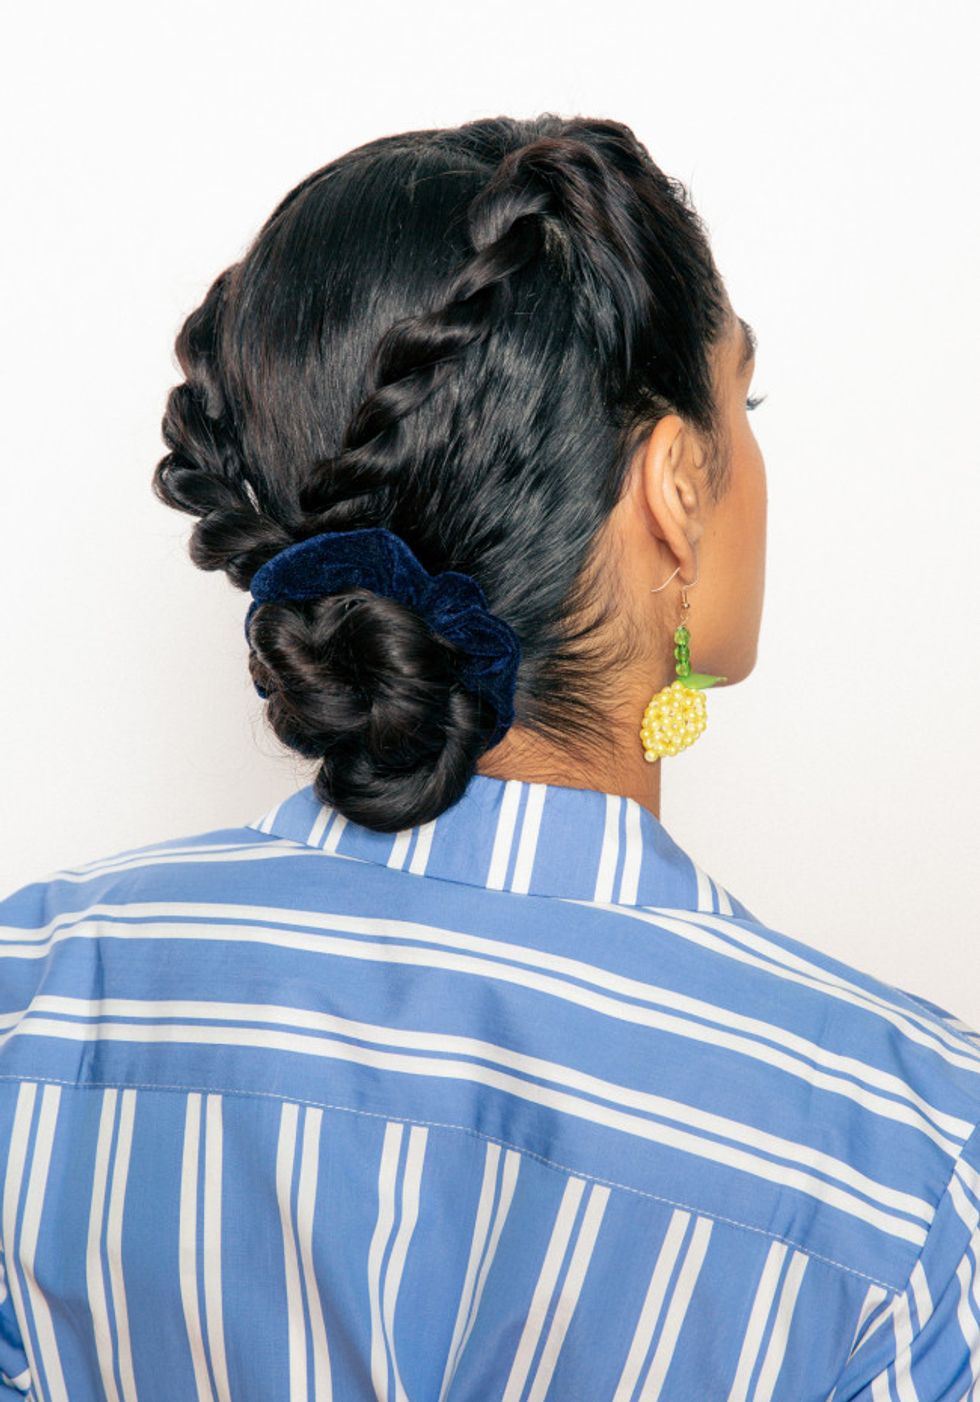
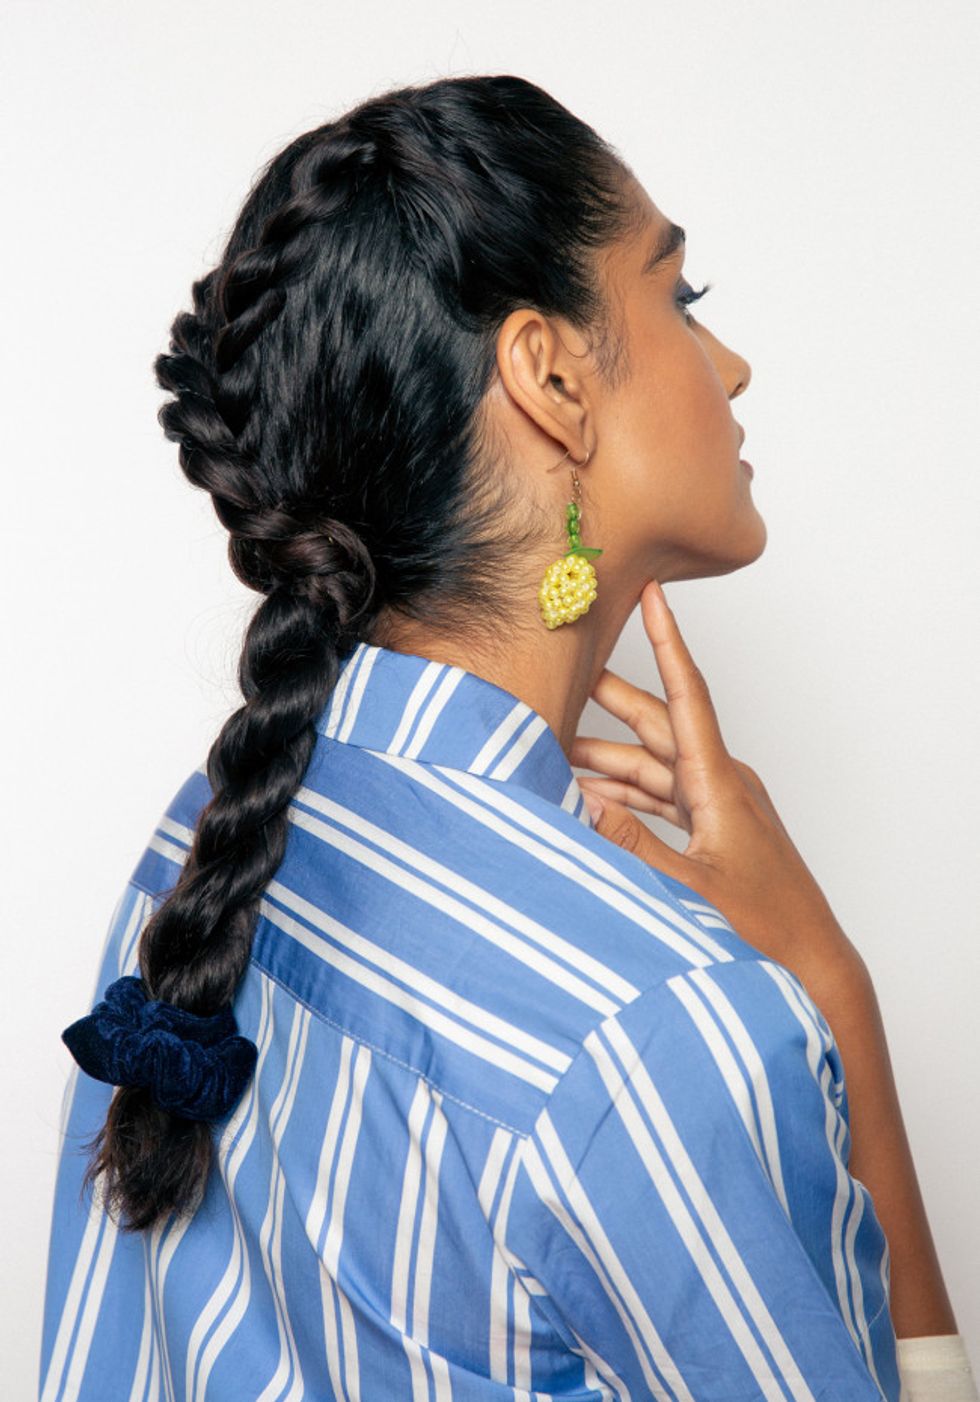
- Kandola Wears:
- Top by Kule
- Top by Kule
- Earrings by Susan Alexandra
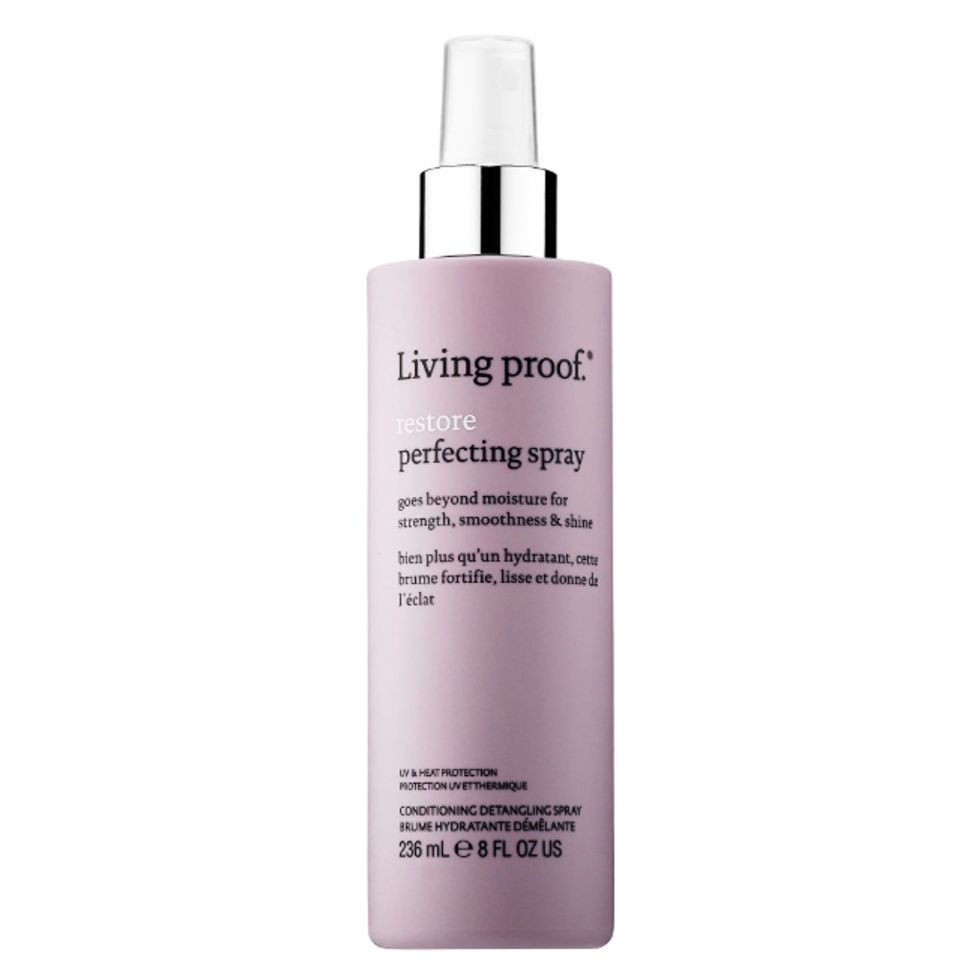
Step 1: Mist Living Proof Restore Perfecting Spray through dry hair, and comb through with a boar-bristle brush to tame any frizz.
Step 2: Part down the middle of the top of the head, and then from ear to ear, creating two sections in the front.
Step 3: To get the rope braid, twist two sections of hair outwards while wrapping the hair right over left, working downwards. Repeat for each of the top two sections and the larger braid at the back. Secure each of the braids with an elastic.
Step 4: Take the top braids and wrap them around the base of the third braid. Secure with pins and add a scrunchie if desired.
Bonus Look: For a nighttime option, wrap the tail of the middle braid around itself and secure with pins. Fit the scrunchie around the braid bun.