With that in mind, we teamed up with nail salon slash art space Vanity Projects, and their artist Joey Lim on three Independence Day themed nail designs. We gave Joey creative reign, and between the stars, the stripes, and the peace sign, we’d say we have you covered, as far as patriotic manicures go.
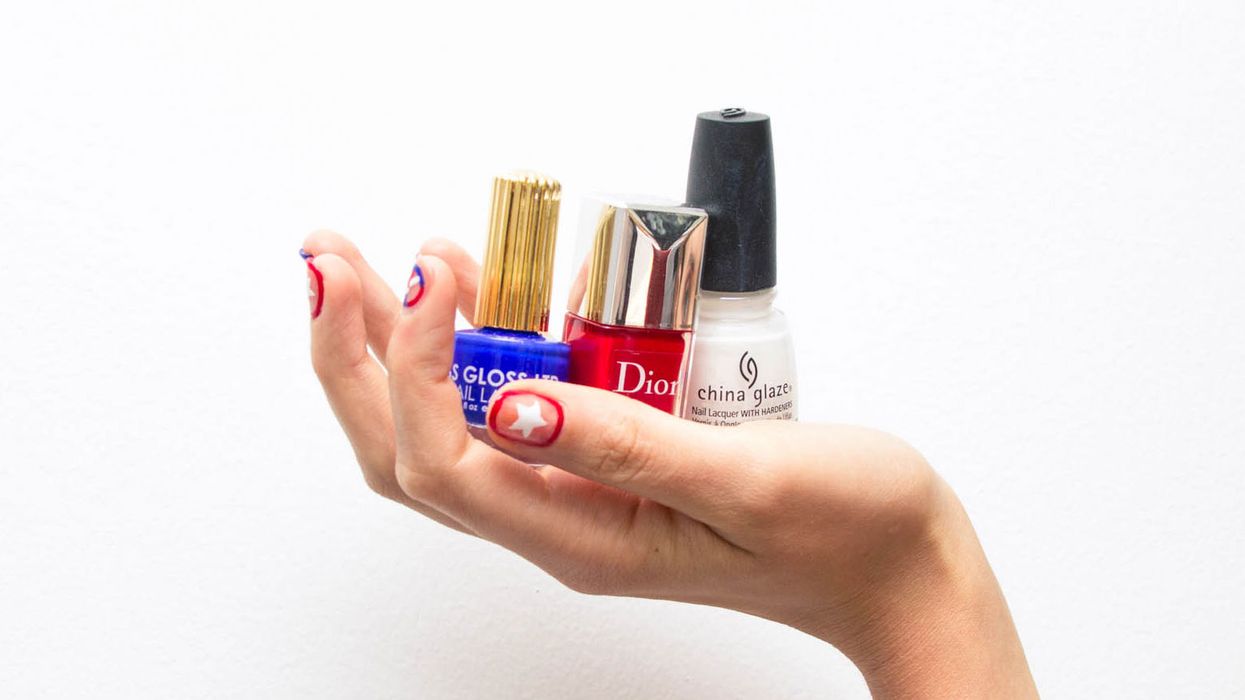
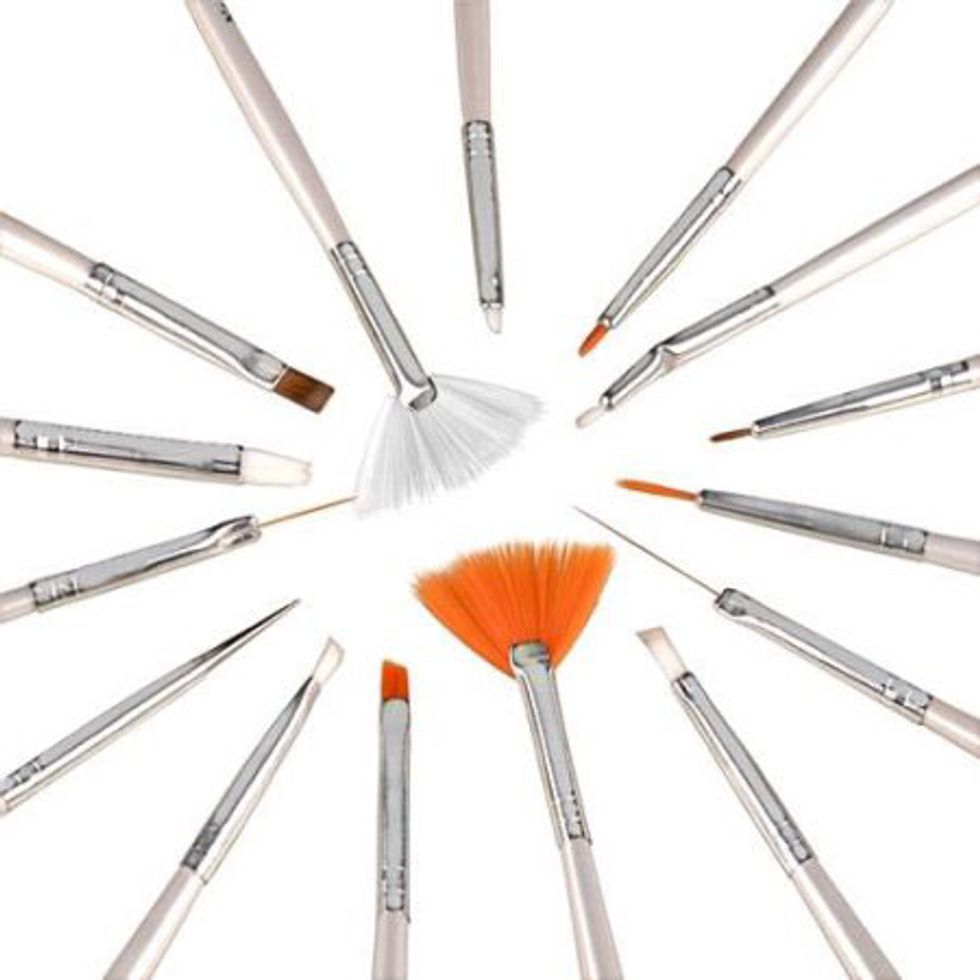
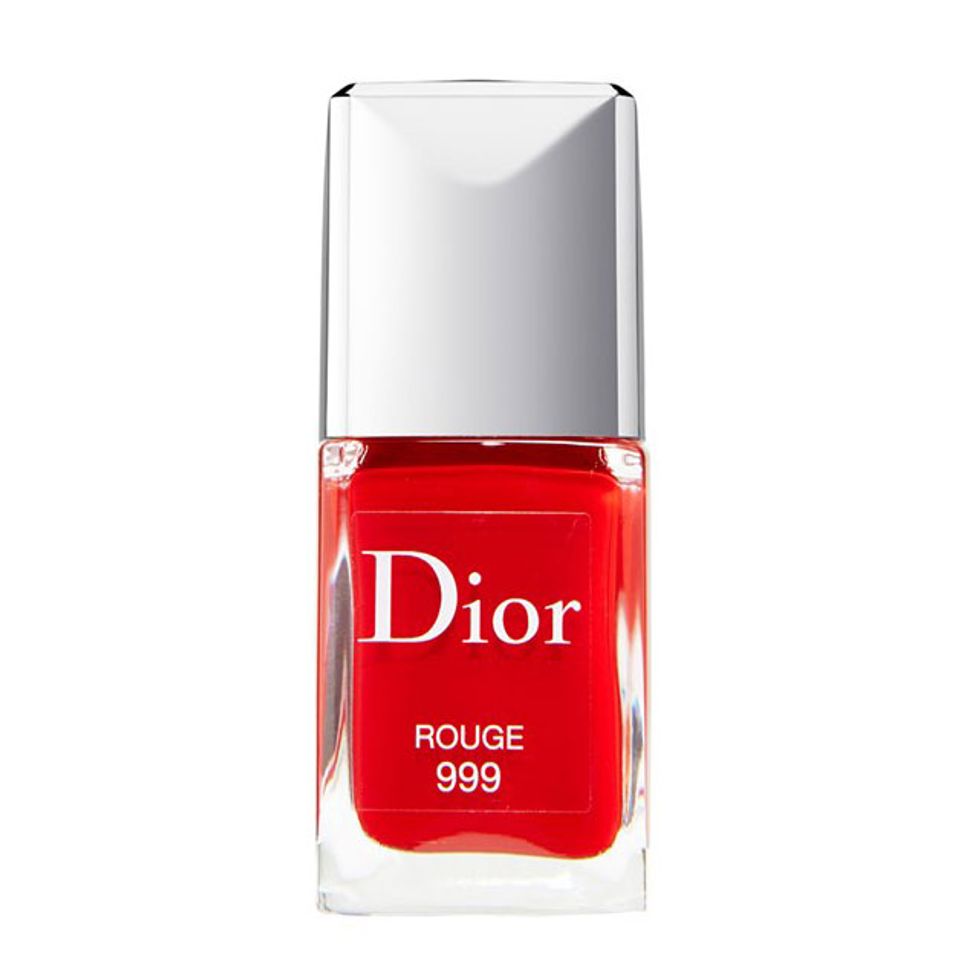
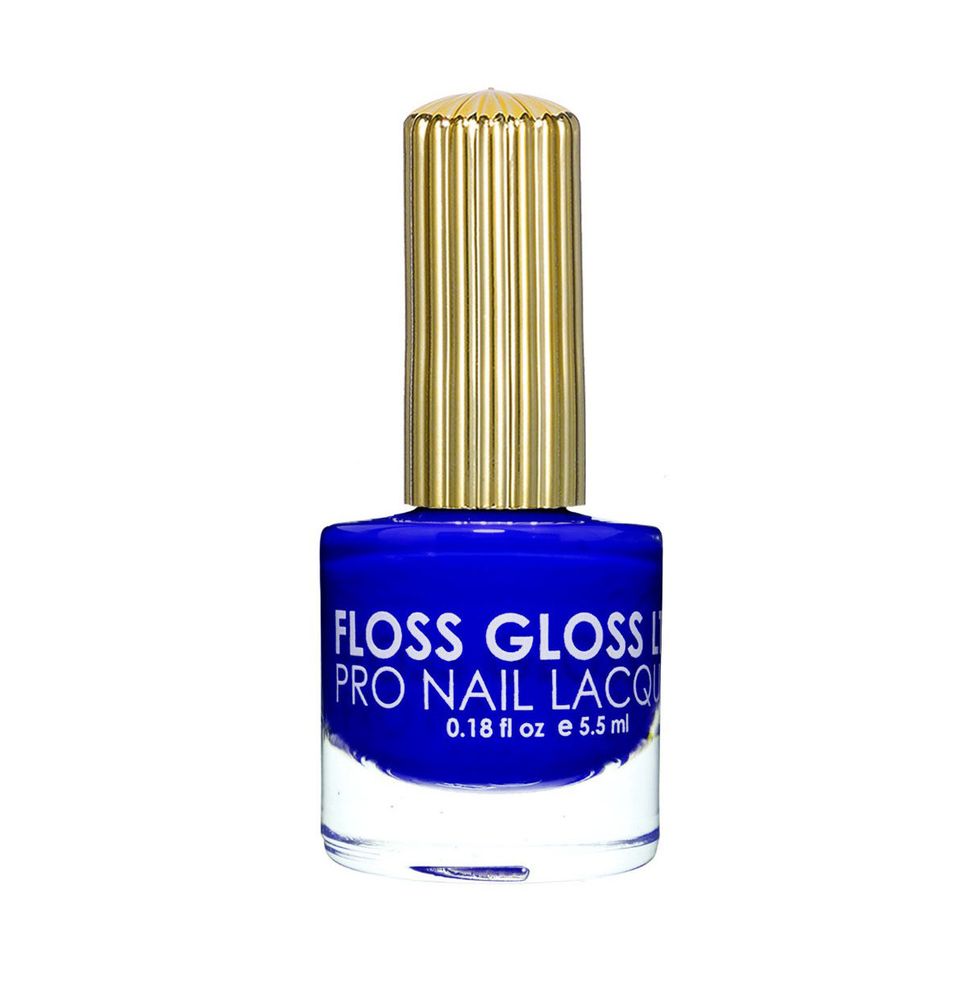
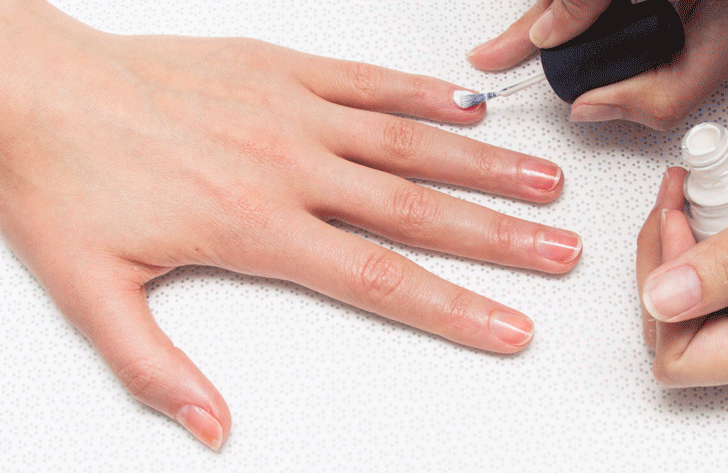
WHAT YOU NEED:

STARS
1. Paint your nails red as a base color. Do two coats, and allow them to fully dry.
2. Using the nail art brush, outline stars in white on every other nail, then fill in the stars with white polish.
3. Clean the nail art brush, and use the blue polish to paint stars on each remaining nail.
4. Allow the polish to dry fully, then seal everything with a clear topcoat.
STRIPES
1. Paint four fingers of each hand with two coats of white polish, and paint two coats of blue on the remaining nails.
2. Using the nail art brush, paint thin red horizontal stripes on your ring finger, and thumb. Once the stripes are dry, fill in every other space, to create bold stripes.
3. On your middle finger, and pinkie finger, paint vertical stripes in blue, then fill in every other bar solid blue.
4. Using the nail art brush, paint half stripes in red and in white, and fill them in so they alternate blue and red.
5. Let everything dry completely, then seal everything in with topcoat.
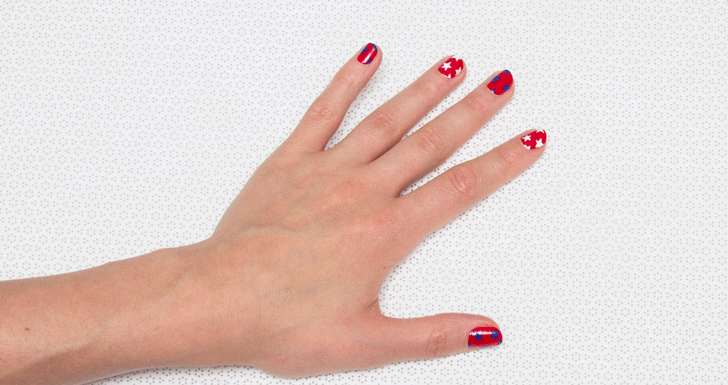
PEACE
1. Using the nail art brush, paint circles around the perimeter of your thumb, middle, and pinkie nails, leaving the center empty. Then, paint around the perimeter of your ring finger in blue polish, leaving the center empty.
2. On your pointer finger, paint a circle that is one third red, one third white, and one third blue. Note: for something extra fancy, try this in a metallic polish!
3. Next, using all three colors, paint the three lines that make up a peace sign inside the circle on your ring finger
4. Finally, use the nail art brush to paint white stars in the center of your thumb, middle, ring, and pinkie finger. You can also alternate hearts and stars!
5. Once everything is dry, apply a layer to topcoat to protect your design.