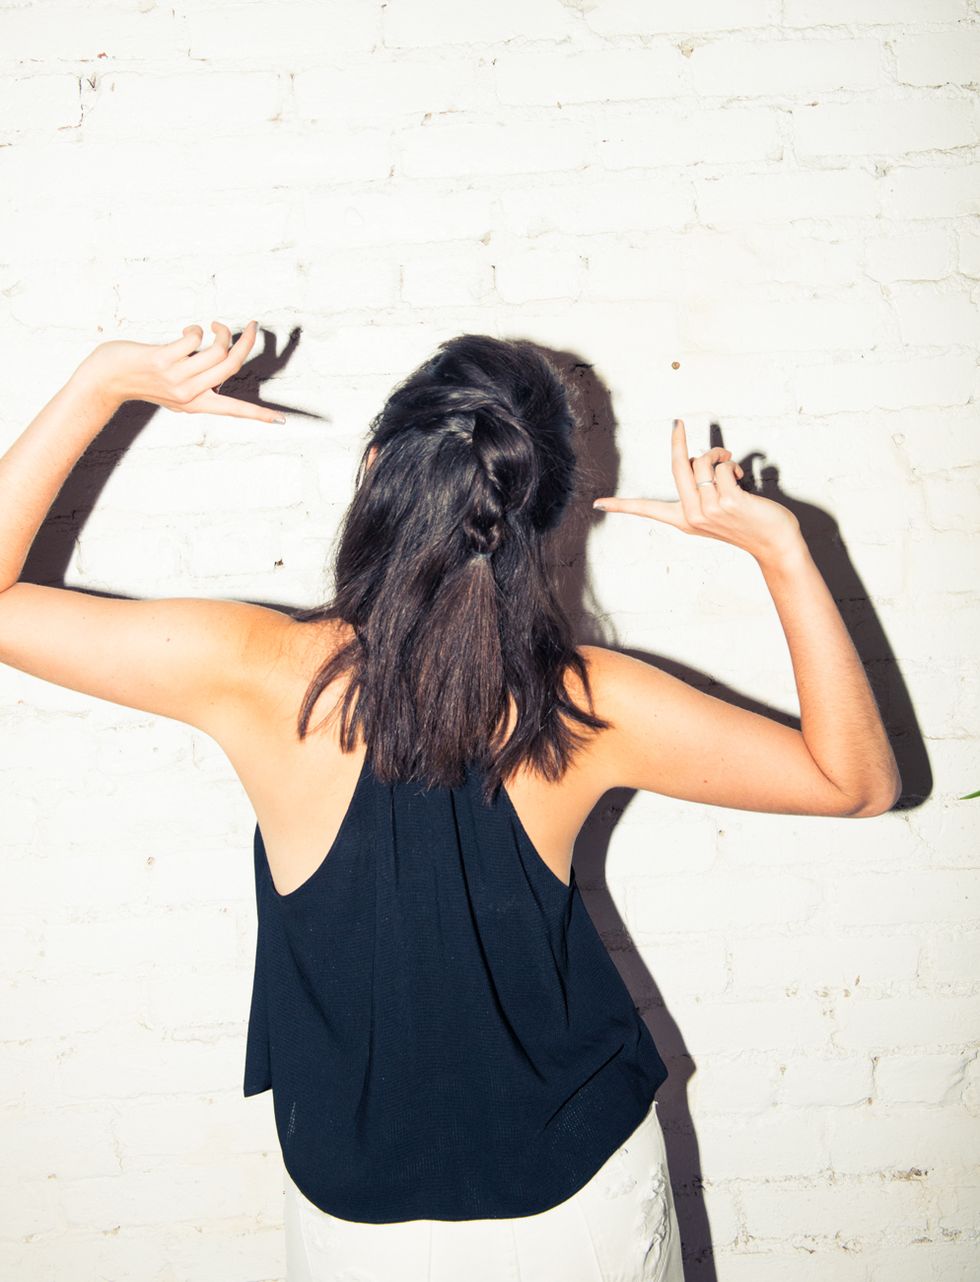
Half-up, half-down. It all sounds easy enough, right? You know what we're talking about—it's the kind of look that the Olsens can wear to the Met Gala without so much of a second glance. Ditto goes for Zoe Kravitz at Cannes. But if you're anything like us, you've tried your hand at a DIY with limited success. And while it seems like the ideal style for summer, the situation is only worsened by the humidity, addition of heat tools and potential post-day drinking primping. Chances are you end up finding yourself left with pulled-too-tight strands or not-cute, not-at-all-Olsen-like fluffy flyaways decorating your temples. Heeeeelp.
As we're apt to do, we enlisted the help of not just one expert, but two.
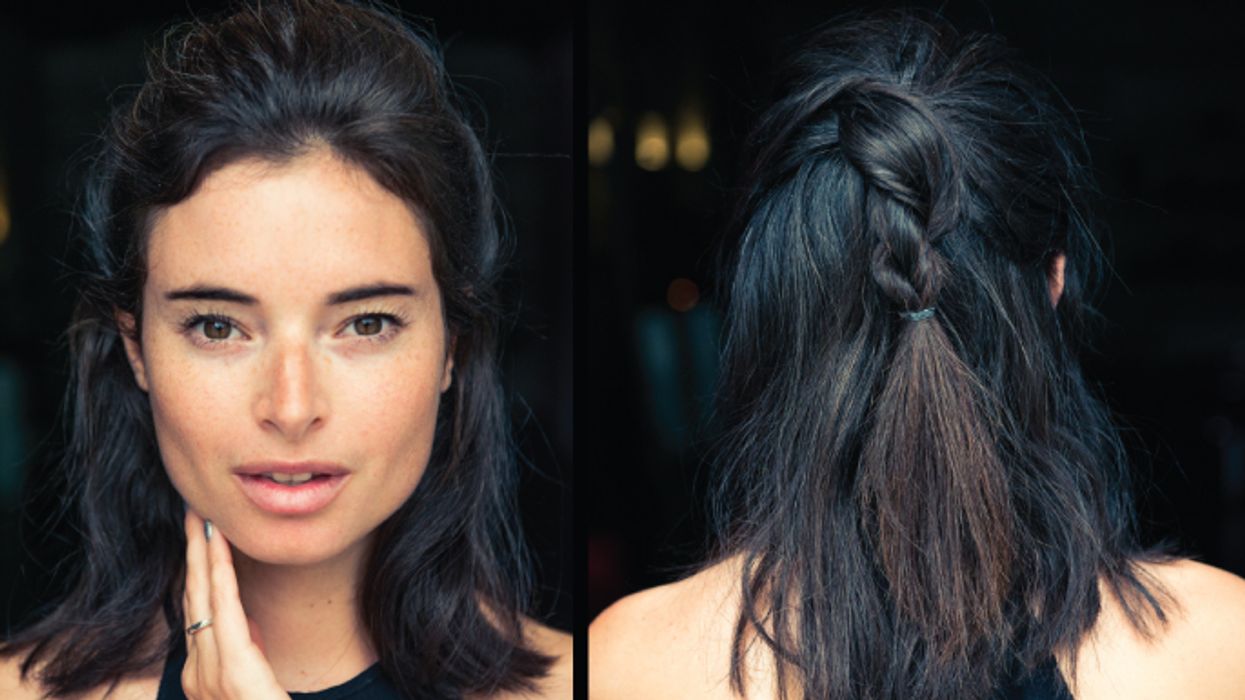
As we're apt to do, we enlisted the help of not just one expert, but two. We had the team behind Los Angeles' Lost Hills salon, Sera Sloane and Kate Stone, not only demonstrate the look for us—but demonstrate it on Joelle Kutner, who you'll also notice is not in possession of the kind of long-ass princess hair that makes half-up, half-down styles that much easier. Here's how it's done.
1.
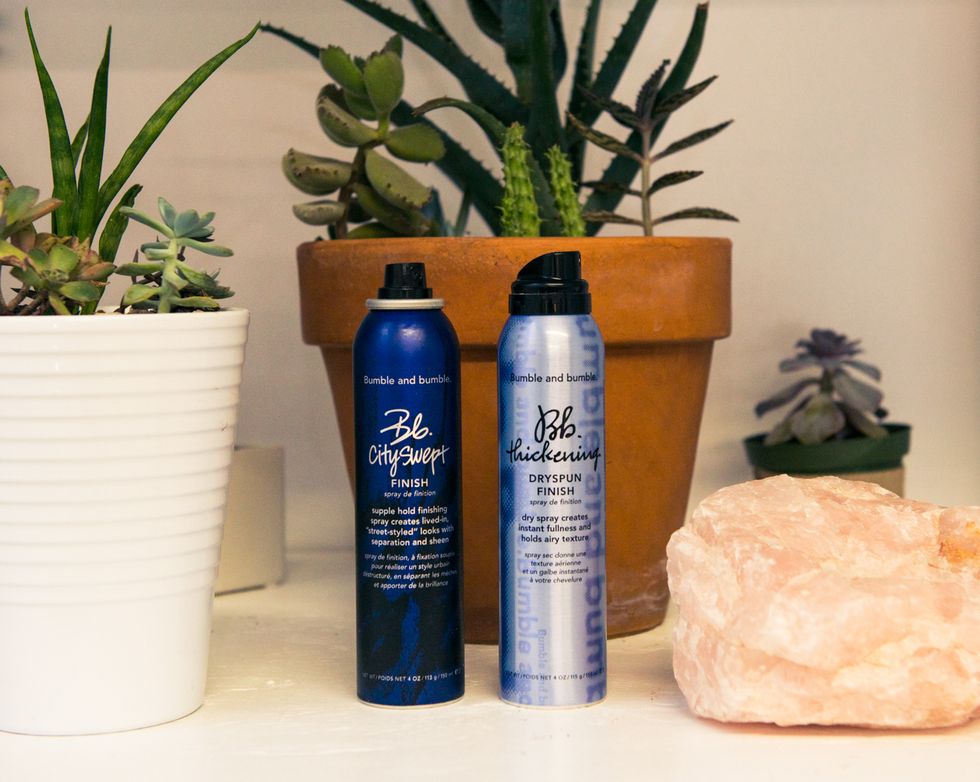
Prep hair with Bumble and Bumble Dry Spun Finish and Bumble and Bumble City Swept.
2.
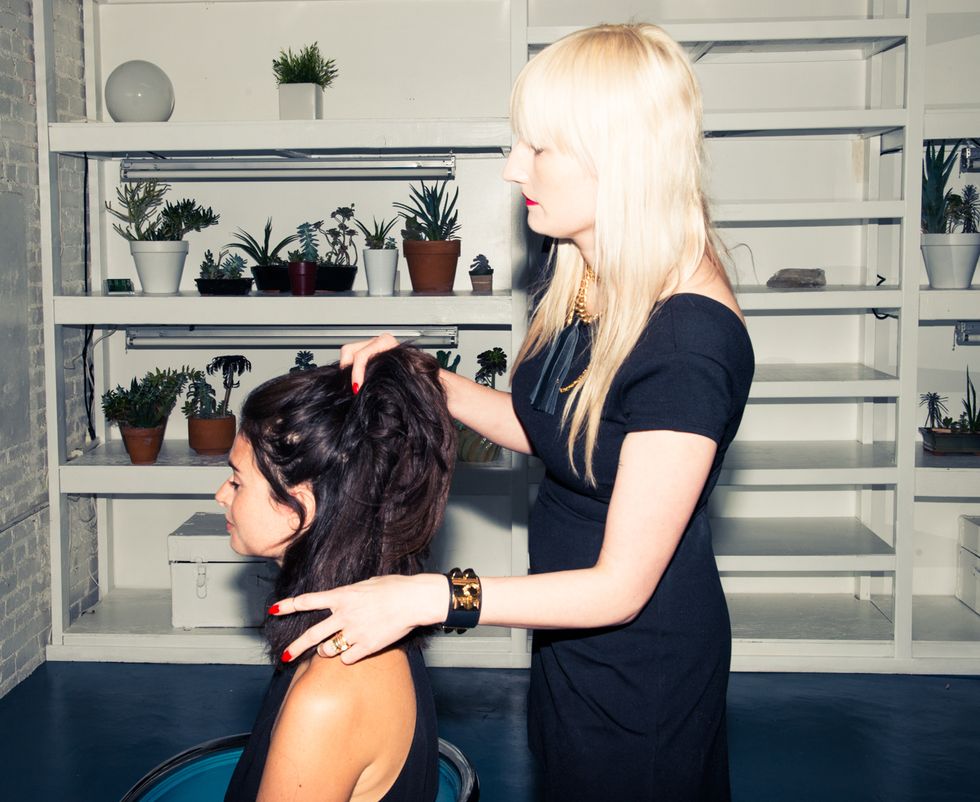
Massage the scalp with fingerpads; this helps create natural volume.
3.
Take a section of hair from behind your ears to the crown of your head with your pinky fingers to keep natural and messy. You won't need a comb, you want it to look effortless.
4.
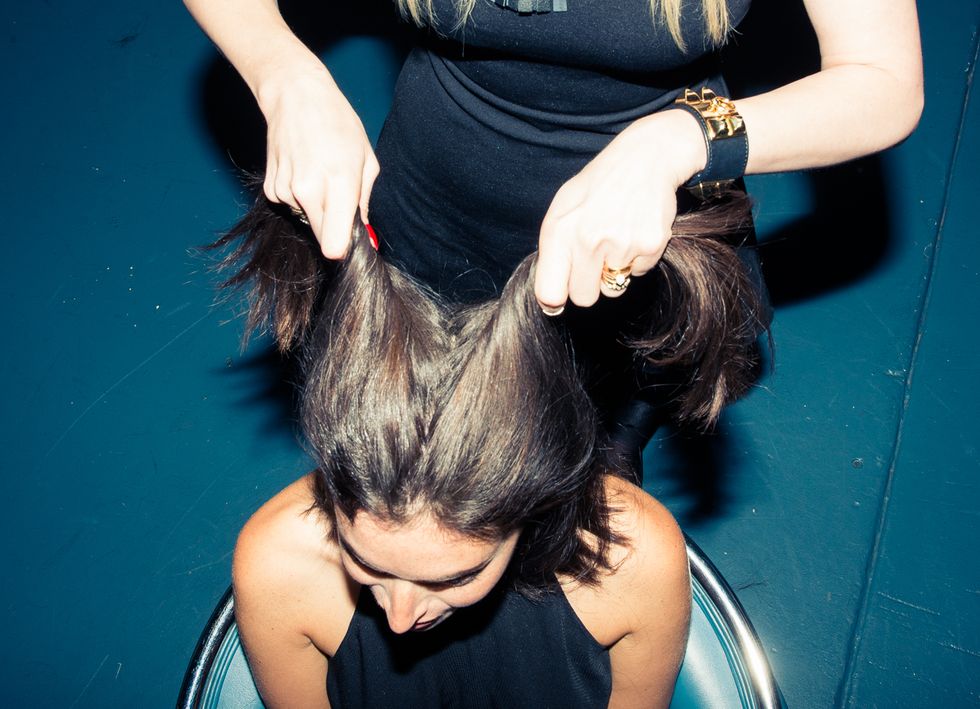
Split the section into two. Take a small section from just outside of each larger section and cross over to make an X, as if you were starting a fish tail.
5.
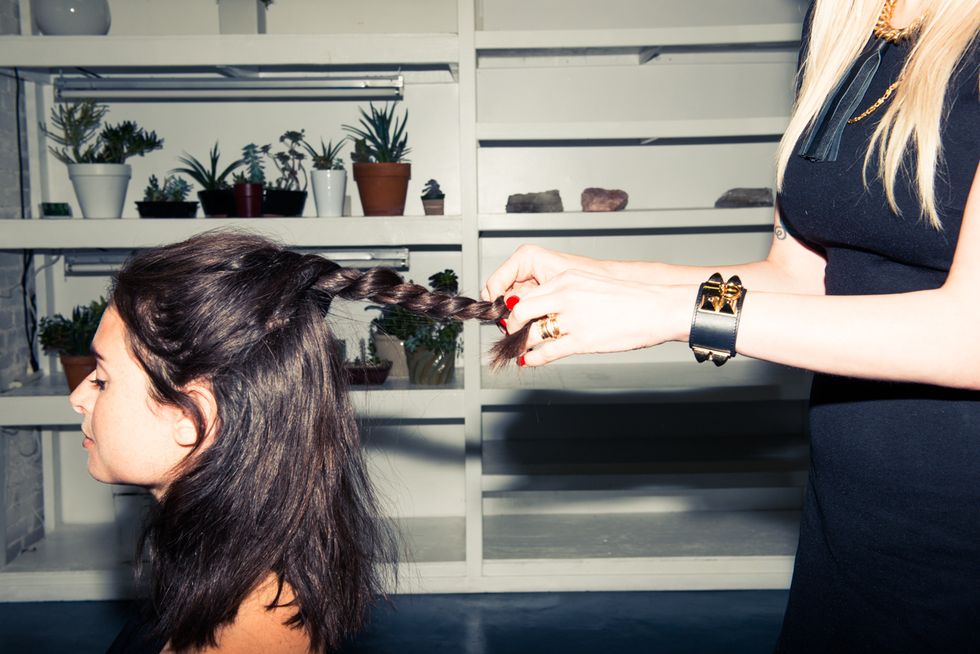
Turn the pieces into a rope braid by twisting sections in opposite directions and crossing them over each other.
6.
Secure with small elastic, then place pins to hold shape and add lift.
7.
Move around the roots with your fingerpads one last time and use the same two Bumble and Bumble products to finish.