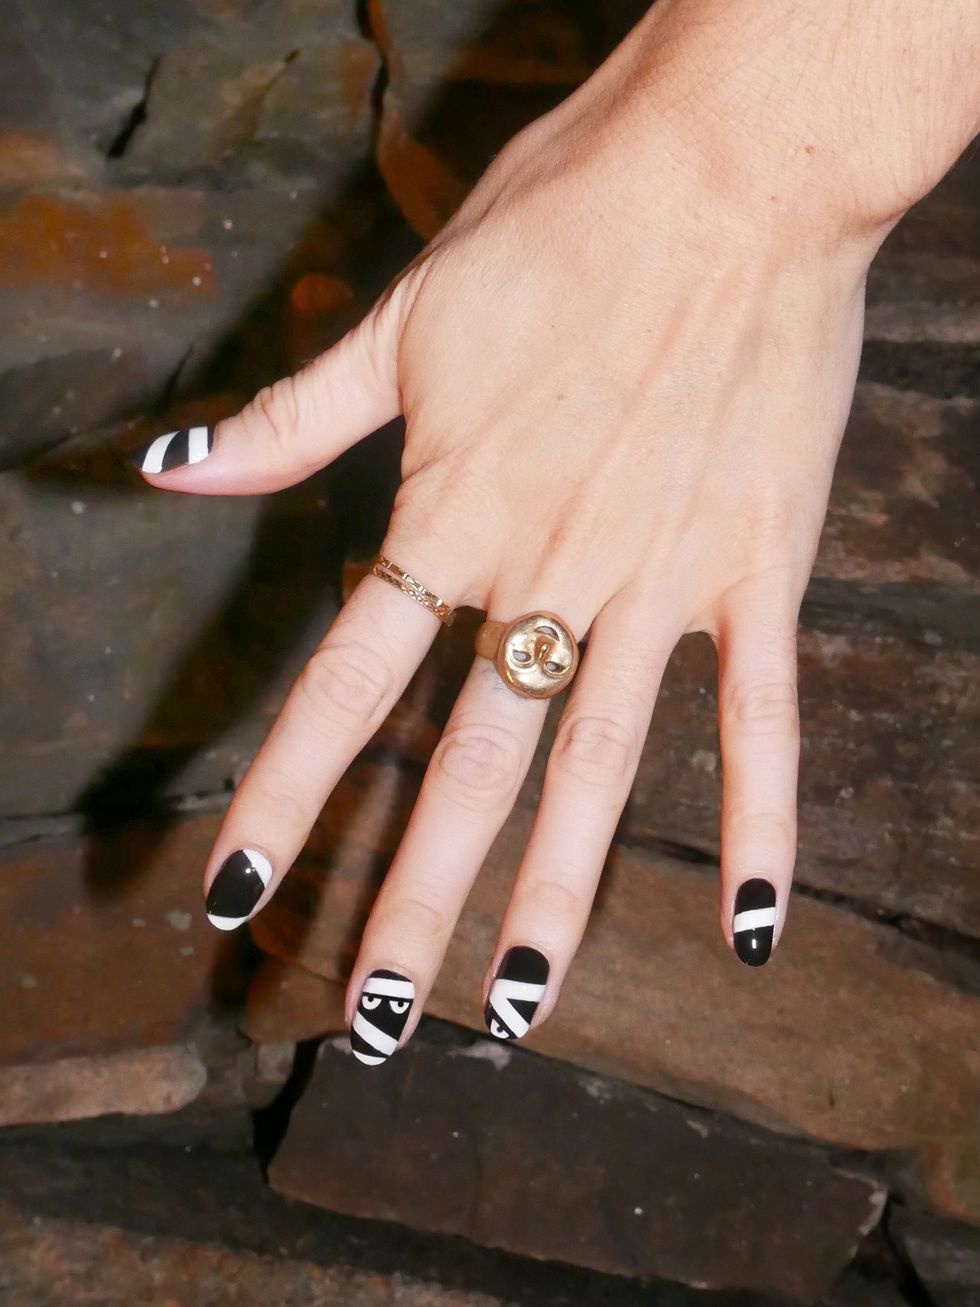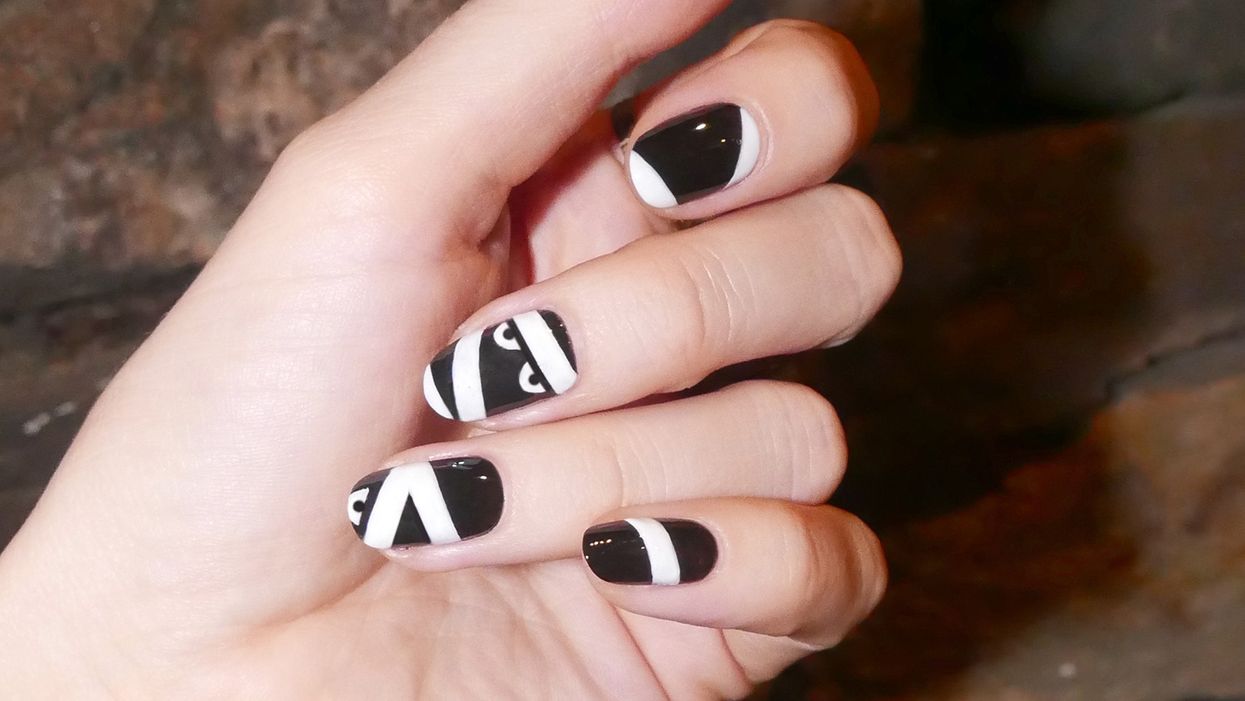
When we’re in need of new nail ideas—whether it’s a nail art tutorial that perfectly matches our outfit, or a new shade of red—we hit up Madeline Poole for DIY tips and inspiration. So with Halloween coming up, we knew we had to ask for her take on spooky nails (i.e., more than just a couple coats of dark purple polish). Per usual, the manicurist did us one better and dreamt up a mummified nail look that’s perfect for both kinds of people—those who tend to keep Halloween more low-key (as in, your nails are the costume), and those who go all out every year. Read on for the mummy manicure step-by-step, and then prepare yourself for an onslaught of compliments.
You’ll Need:
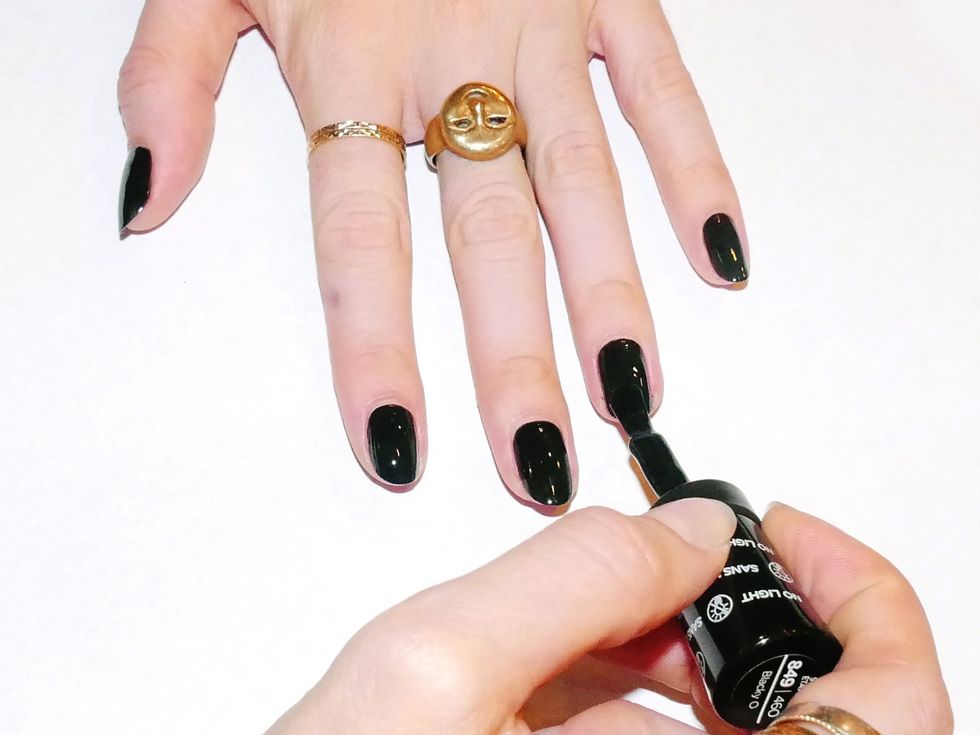
Sally Hansen Miracle Gel in Blacky-O
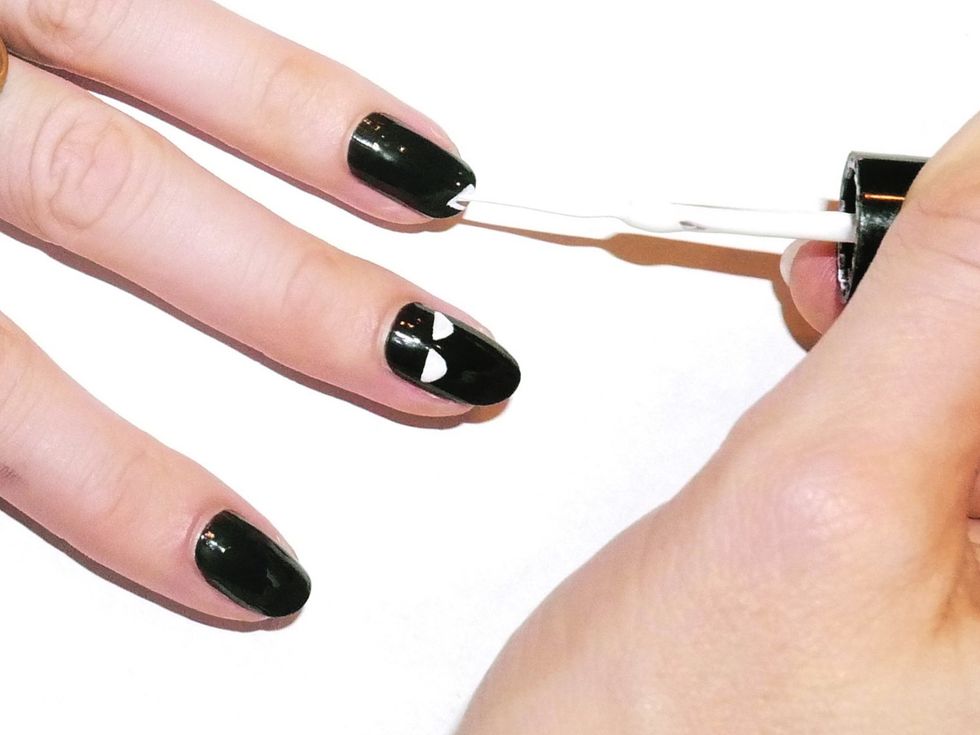
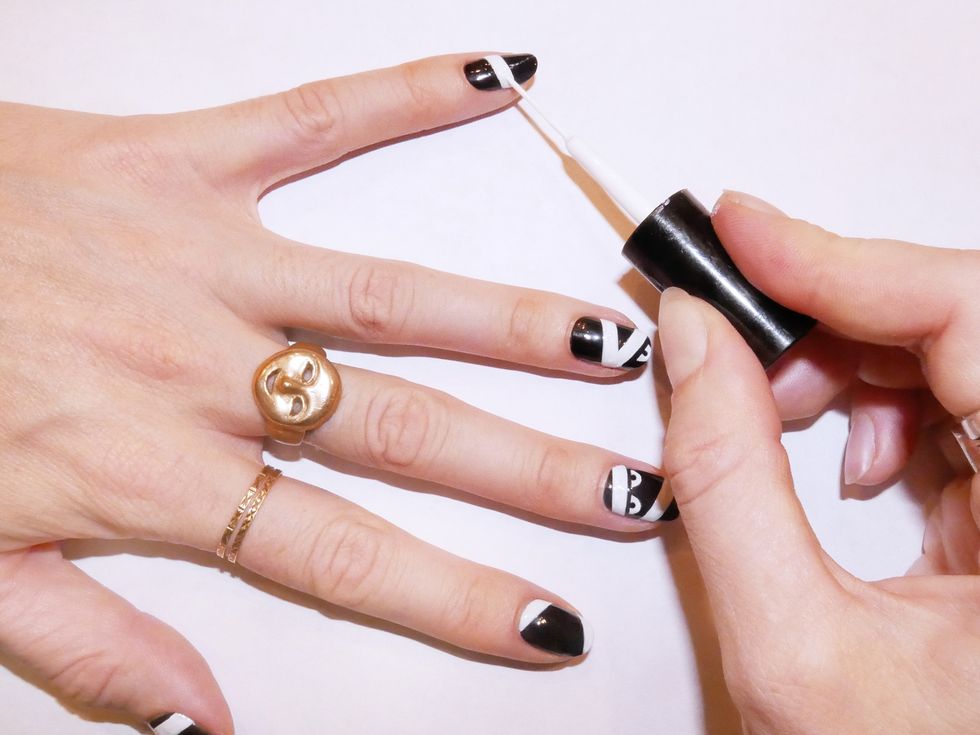
Sally Hansen Miracle Gel in Get Mod
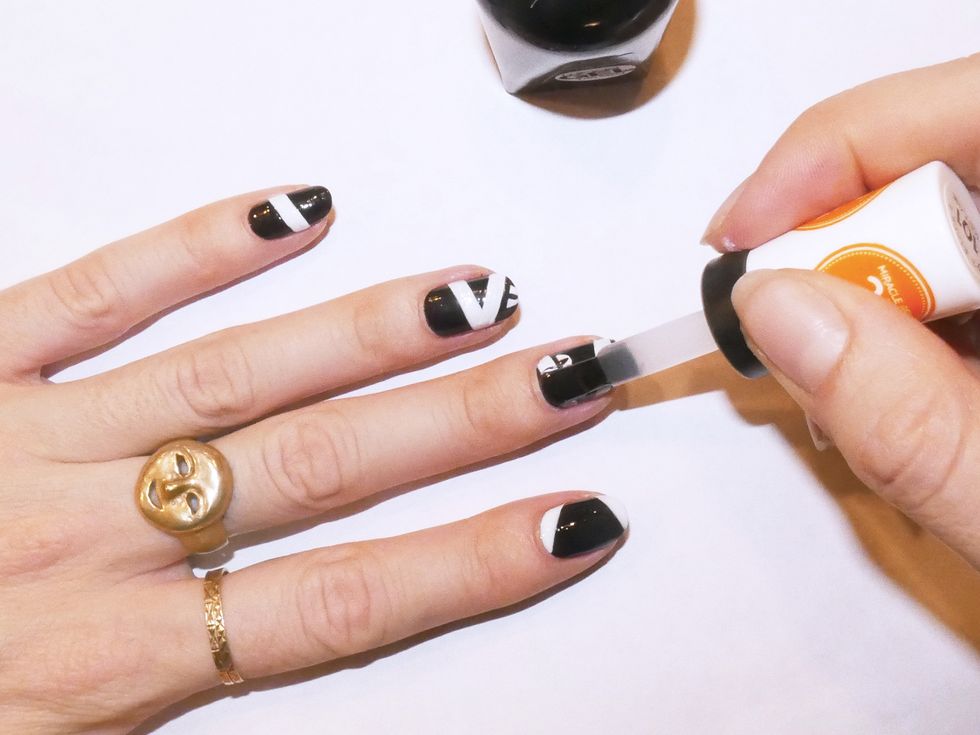
Sally Hansen Miracle Gel Top Coat
striping brush
Step-by-Step: