Your nails are not immune to the logo craze. Models at the Kith show last night who wore the Champion collaboration collection were also sporting a red, white, and blue manicure worthy of keeping nail art alive. Lucky us, we got a sneak peak when we went to the beauty test. (Like a wedding, this is the pre-show trial to finalize the hair, makeup, and nail looks before the real thing.) Nail artist Alicia Torello painted on athletic stripes and the signature Champion logo to match the brand collaboration.
Step 1: Start with a Clear Base
It looks extra cool to have the stripes float on a clear background. First, buff and clean your nails—especially if your last shade accidentally dyed them. A good buff will get you back to that healthy natural shade. Use a base coat like Essie First Base Base Coat.
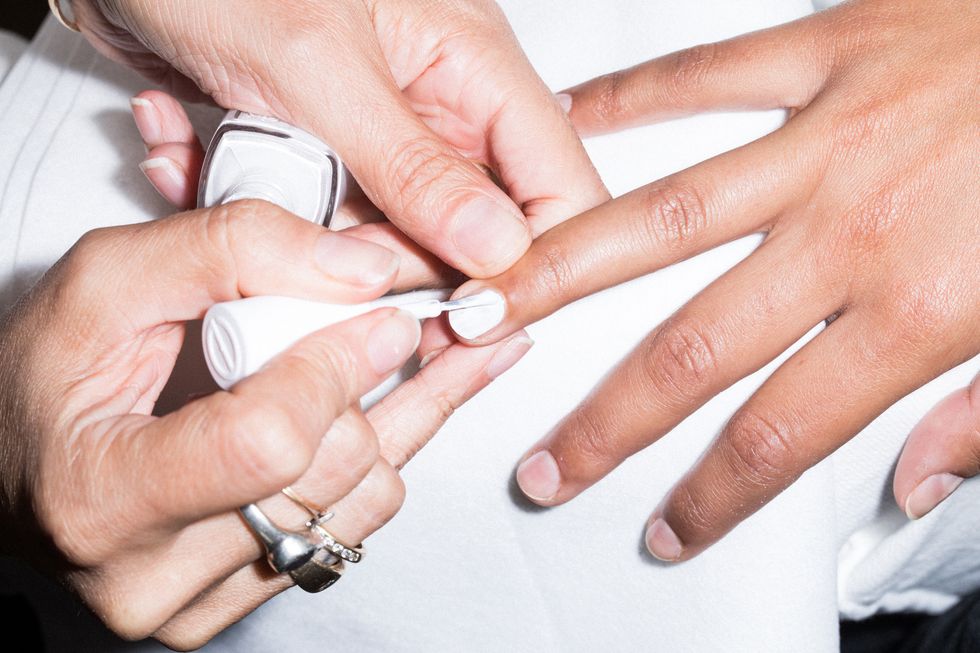
Step 2: Put White on the Accent Nail First
On whichever nail you put the logo (Torello chose the ring fingers), paint a base layer of white, like Essie Blanc.
Step 3: Draw the Athletic Stripes on the Other Nails
For all the nails without the logo, draw track-pants-style stripes in blue and red. To get a perfectly straight line, Torello recommends using a skinny, fine-tip “striper” nail brush from Amazon. You can essentially lay it down on its side as you drag it up your nail. Always start with the red, Essie Really Red, followed by the blue, Essie Butler Please, since the blue is darker.
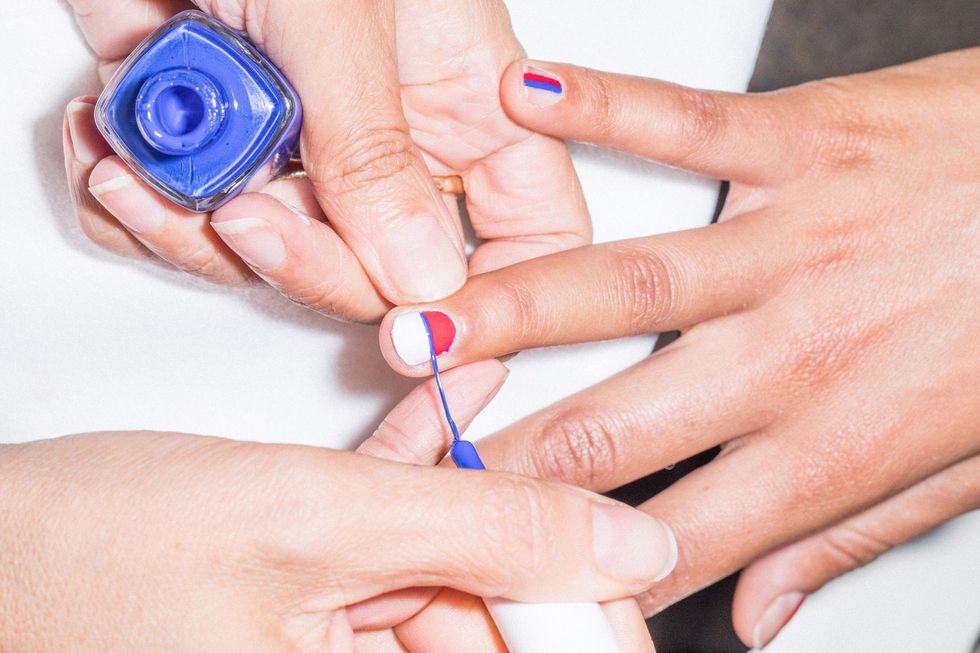
Step 4: Make a Red Half Circle on the Accent Nail
Back on the accent nail, before you go right in for that “C,” lay down the little red half circle. Use the striper brush to draw a half circle of red right over the white “moon” of your nail.
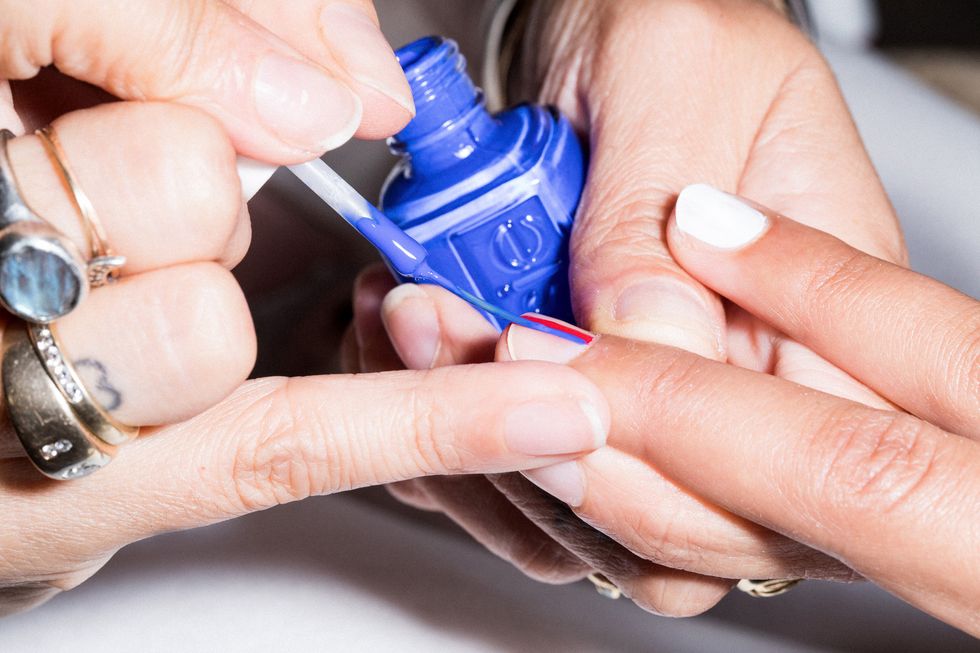
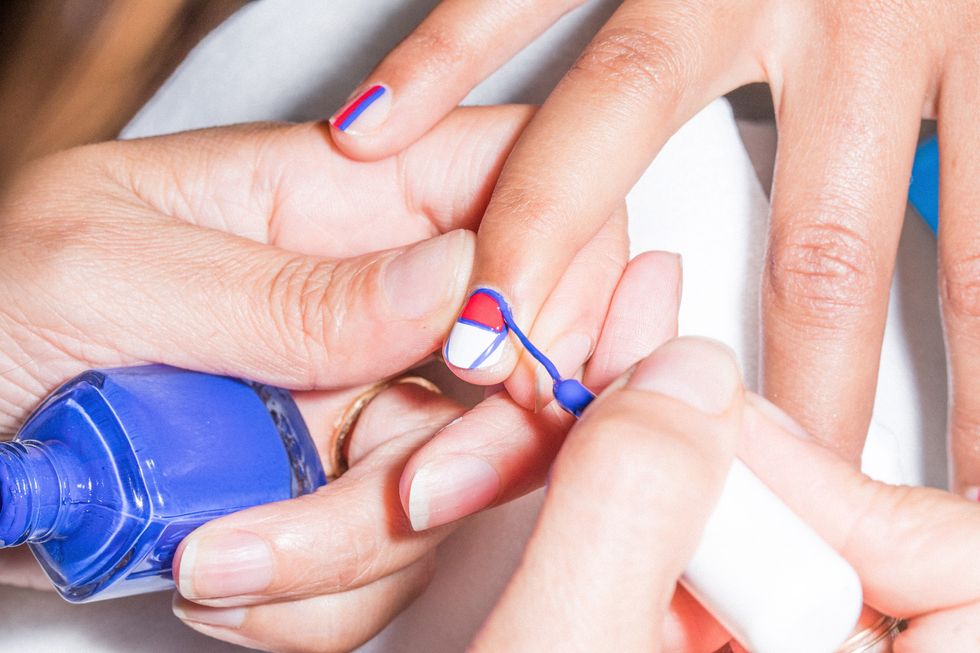
Step 5: Top It with a Blue Line
Clean your striper brush and draw the blue line the goes across the middle of the C. Make it right at the top of your red half circle, holding the brush down almost on its side.
Step 6: Trace Your Cuticle in Blue for the Perfect “C”
Finally, you get to draw the blue horseshoe-like “C” for Champion! Conveniently, says Torello, your natural cuticle is just the right shape to trace—just be sure to curve the ends in a little bit at the tip. If you get any color on your skin, use an angled eyeliner brush dipped in nail polish remover to clean up.
Step 7: Detail the “C” and Top It Off
To get the C just right, thicken the sides of the letter like the images above. Lastly, a pretty shiny top coat keeps your nail art looking F-R-E-S-H. It also make it last longer. Try Essie Speed Setter Top Coat.