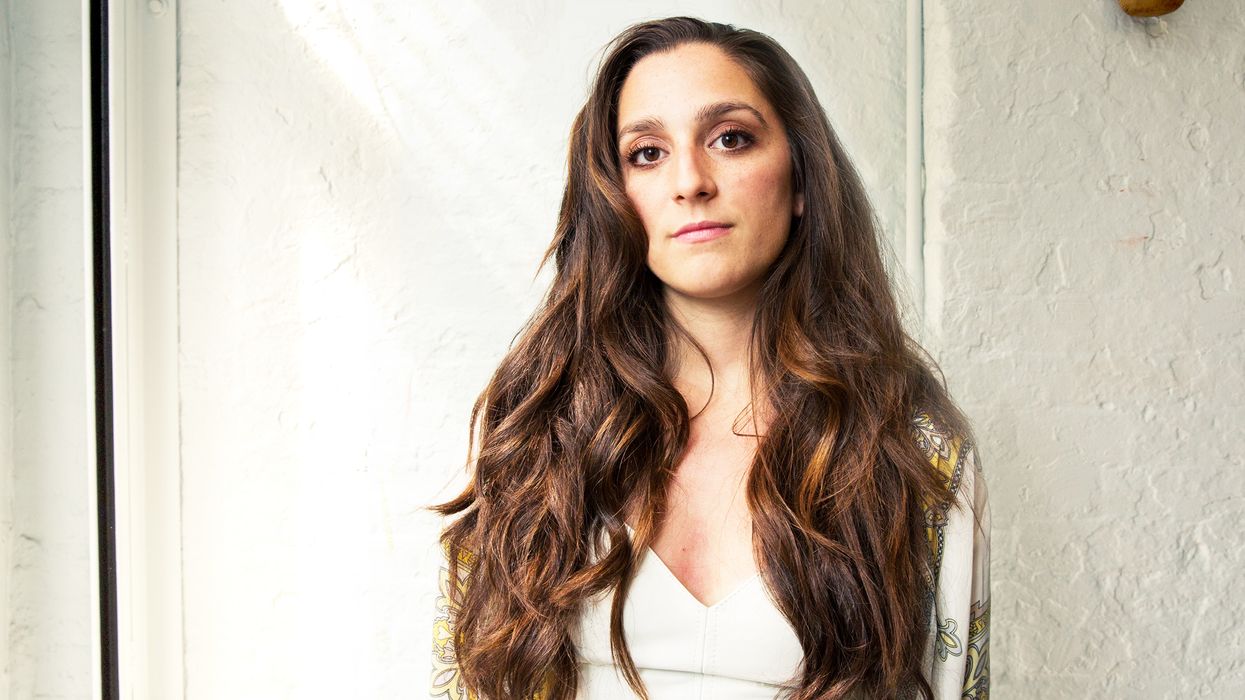
I was born with a lot of hair. This is something my mom would tell the hairstylists at my childhood salon, and I can’t help but remember thinking it sounded like an apology. Maybe it was—everyone always seems so overwhelmed with my hair that my mom wanted to say sorry for the trouble, that she couldn’t help it, and that I was born this way. My hair was so thick and so heavy I would get headaches frequently and go to the doctor only to have her prescribe a haircut.
I used to want to chop it all off—I hated it so much I’d never wear it down. I would carry a full pack of hair bands because the one I was using always split in two and flung across the room. My hair always embarrassed me, but my mom told me I’d regret cutting it, dying it, straightening it. So I never did.
Eventually I ran out of hairbands and I started to wear it down. Now I don’t want to cut it ever. It’s part of my identity, and it makes me stand out in a crowd. It’s what most people comment on before even learning my name. Sometimes strangers call across the street, “Never cut that, girl!” And I nod. “No way, sir!” Sometimes people actually ask to touch it (this happened uptown at a makeup store just three days ago), and I’ll let them (well, sometimes). It weirdly makes me happy, even though I should probably stop talking to strangers and letting them pet me.
As fun as this all is, the summer makes it difficult to fully embrace my hair. I find myself wearing it up even when I don’t want to because of the heat. But one day in June I found myself at Pembley getting a blowout by Julie Dickson, and my life changed forever. She knows how to style my hair so that I can wear it down and out no matter the temperature. If you happen to have hair like mine and refuse to take the easy way out, here are Julie’s three perfect summer hairstyles. Haircuts are for quitters.
Done/Undone Lived-In Waves
“This is a great hairstyle for long summer hair, because it looks air-dried but is a little more finished. Using a vertical sliding technique while heating the hair allows for a less contrived look. It’s best on dirty hair!”
WHAT TO DO:
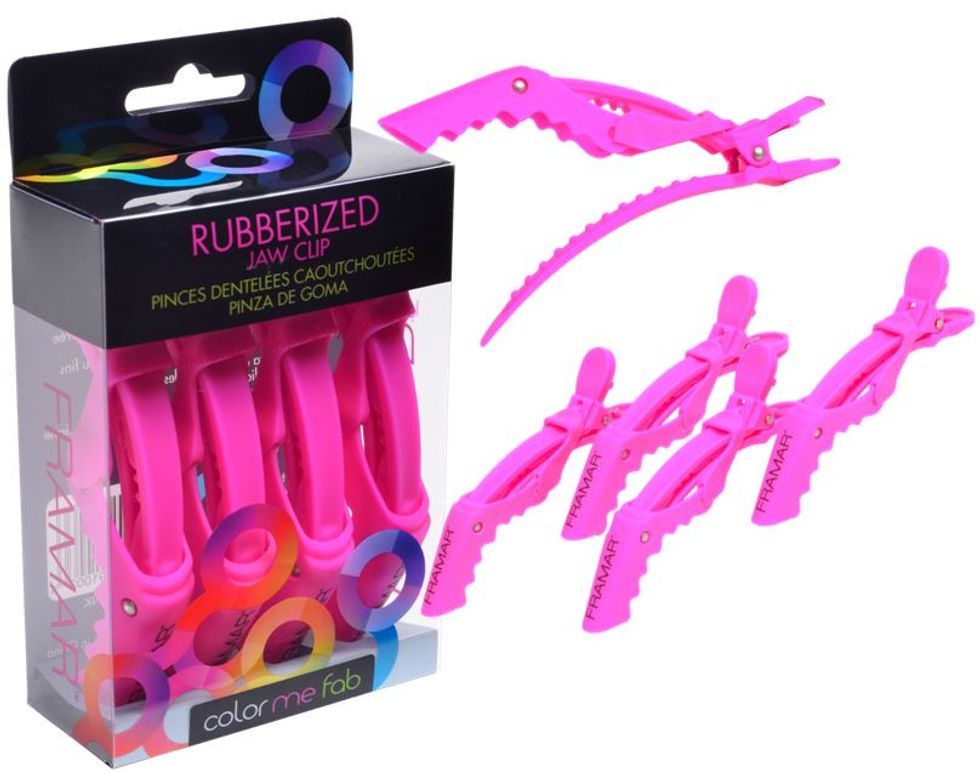
Step One: Section - “Using a strong clip, separate the hair into two large horizontal sections to separate the top of the hair from the bottom. Section from temple to temple and back to the crown (this is called a horseshoe section). Feel free to create subsections if all of the hair isn’t being held by one clip. Control is key.”
Step Two: Curl -“Starting with the bottom section, take vertical sections starting from the front of the ear on one side of the head. Curls should go away from the face. We all have a direction that we’re better at curling. I’d recommend going in that direction all the way around the head until you get toward the face. It’s easier, and it only matters that the curls near the face are curled off of the face. Once you’re finished with the bottom of the head, remove the clip, drop your horseshoe section, and do the exact same thing.”
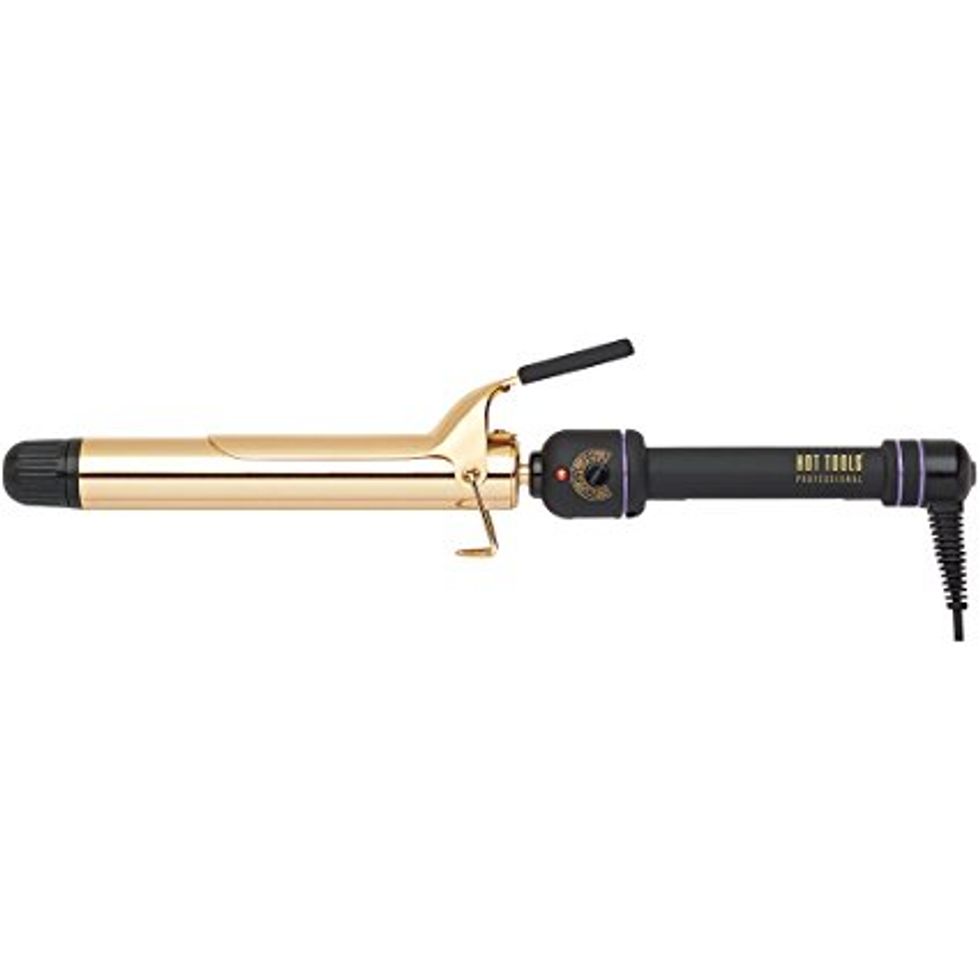
Step Three: Slide Curling Technique - “Keeping the iron closed (this will also work with a clipless wand), hold it vertically, and use your hands to grab a section of hair and wrap it around the iron. Holding the ends with your fingers while curling will keep them less curled and pageant-y. A good rule of thumb is to take sections no larger than the barrel of your iron. In this case I used a 11⁄4-inch iron. Once the hair is wrapped around the iron, Slide it back and forth three or four times for about five seconds. Drop it, don’t touch it, and move on to the next section! You can shake everything out at the end.”
Pro Tip! - “If you like a curl, leave it alone until it cools to give it time to set, but if you’re not thrilled, pull it out right away, as it’s easier to do when the hair is hot.”
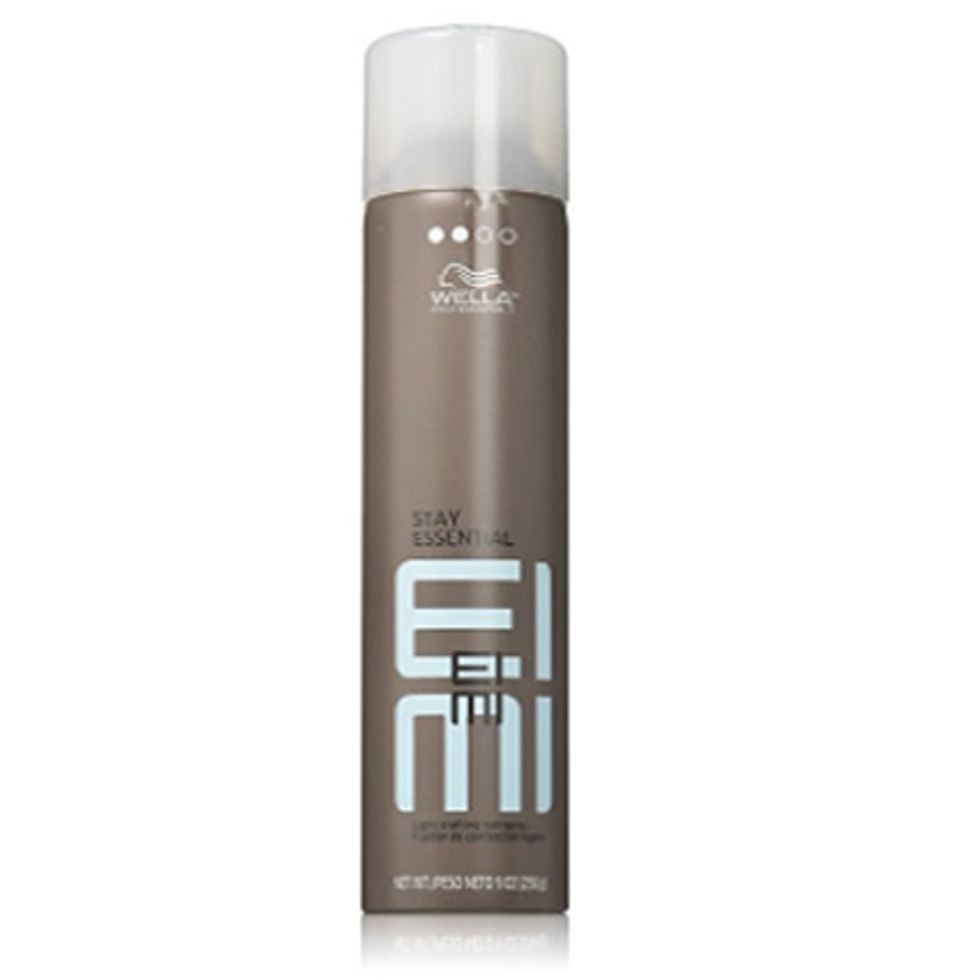
Step Four: Finish - “Product is important! Before starting anything, I applied a heat protectant cream, then sprayed each section with a light working hair spray before curling, and finished with a dry spray wax and had Tara shake out her hair.”
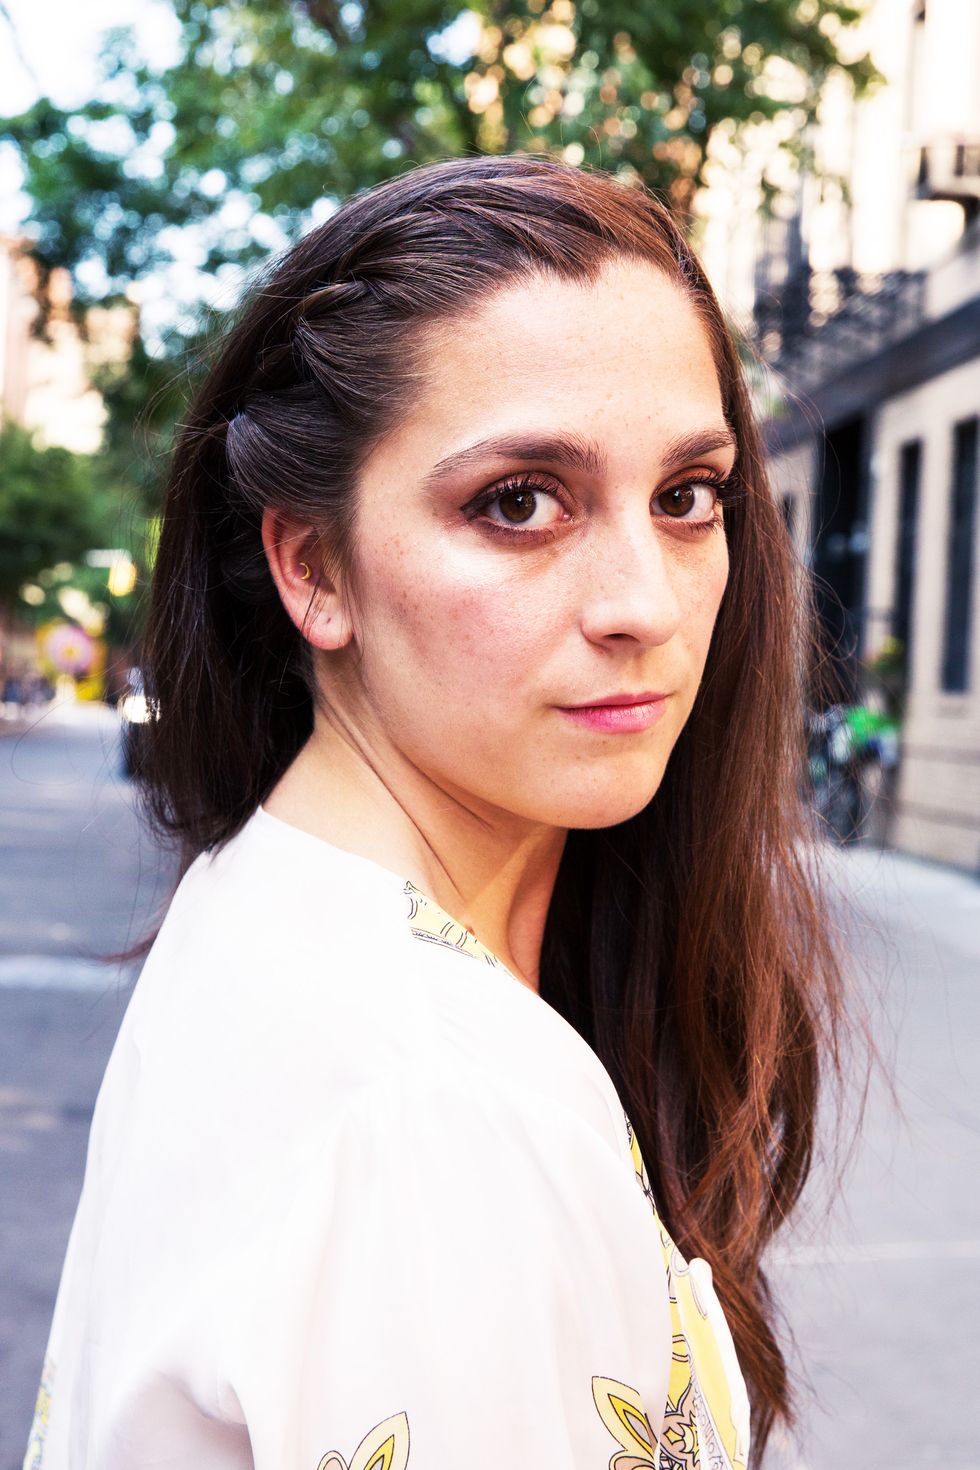
Headband Bamboo Braid ’60s Bond Girl Do
“This is a great hairstyle for long hair because it shows off gorgeous length while getting hair off your face and neck, and we used the slide curls from the first look. It’s also pretty sexy.”
WHAT TO DO:
Step One:Determine Your Part - “Put it in before doing anything; here we decided on a deep side part.”
Step Two: Create Headband Section - This is to be braided later. Isolate 2½ inches of hair around the hairline, and clip everything else out of the way. This should look like an oversized beanie section.The rest of the hair should fall free.
Step Three: Start Braiding - “Anything close to the head braid will work! You could even do a simple pony. The idea behind this look is to create a headband effect using hair. I chose a two-strand close to the head braid, starting at the part and working my way around the hairline toward the nape of the neck. Tie it off at the nape when finished and do the same thing on the other side. When through, there should be two small ponytails at the nape, which will later be invisible.”
Step Four: Finish - “Drop the top section, tease the top if you’d like more volume, spray, and fluff the top.”
Quadruple Bamboo Braid “All Up” Do
“This is a great hairstyle for long hair because it uses the headband braid from the previous look, and even on the most distracting weather-driven days everything is perfectly controlled.”
What to do:
Step One: Section - “Divide the ‘beanie’ section from Look 2 in half, clip the two sections, and divide the top section in two. Each of these sections will be separately braided.”
Step Two: Braid Everything - “Use the two ponytails left at the nape of the neck from Look 2 to create one braid. Then use a two-strand bamboo braiding technique on each of the previously clipped beanie sections. Tie them all with elastics. You should have four braids.”
Step Three: Wrap and Pin - “This is the fun part! Wrap the braids around each other and pin with bobby pins as necessary. There is very little rhyme or reason to this, so have fun. The cool thing about this particular look is because there are very clear controlled sections, you can take everything down and start over if you’re not thrilled with your result.”
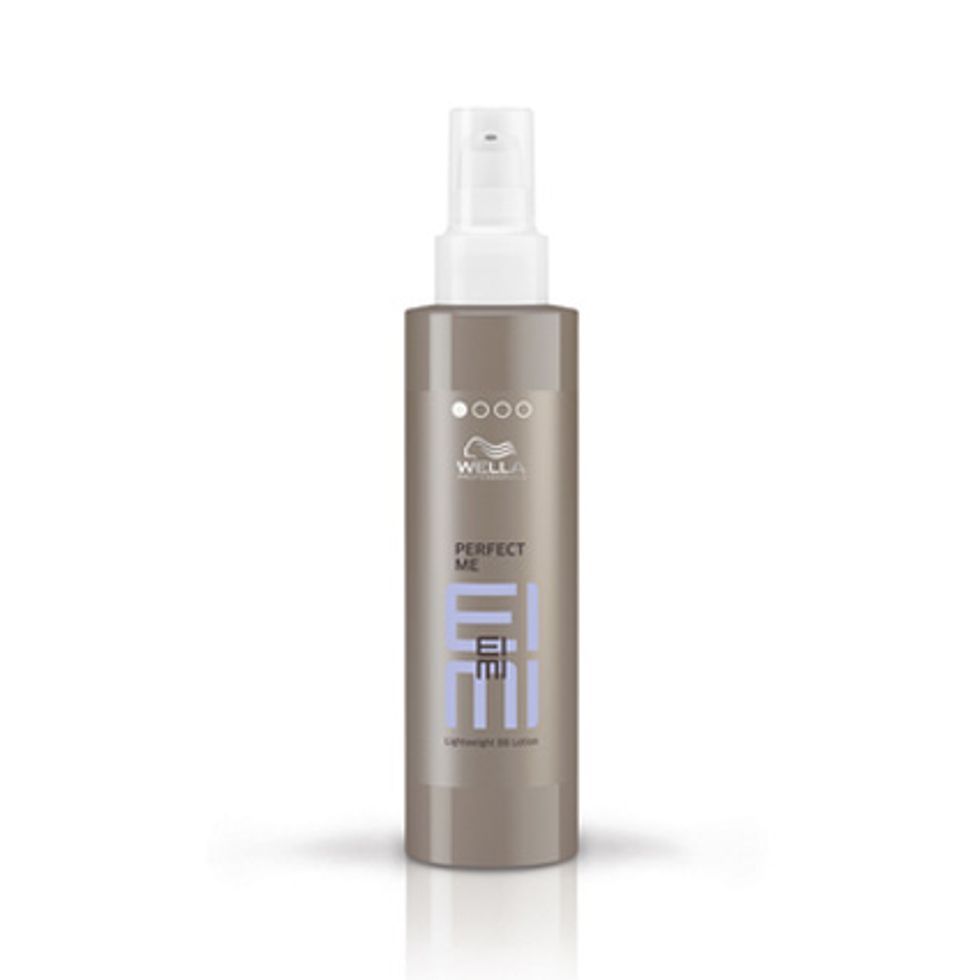
Step Four: Finish - “Smooth strays with a light cream and you’re good to go!”