If we had a dollar for every time we tried to give ourselves a blowout and failed, we’d be rich. But seriously, there have been way too many times where this has ended in us giving up and settling on frizzy hair or throwing it all up in a topknot. Being the problem solvers that we are, we set out to learn the ins and outs of an A+ blowout, all with the help of Medulla & Co’s hairstylist, Saina Sarafian.
WHAT YOU’LL NEED
blow-dryer with concentrator nozzle
7 round brushes
2 clips
Your Assistant Blowdry Primer by Davines**
This Is A Volume Boosting Mousse by Davines*(**)
Volu Hair Mist by Davines*
Your Hair Assistant Perfecting Hairspray by Davines
To112 Serum
*Ideal on finer hair
**These products are better for thicker or coarse hair
NOTE: “Seven brushes may sound excessive, but it makes for a more voluminous blowout.”
PRO TIPS: “Ceramic brushes work best for fine hair—they don’t over-pull the hair. With fine hair you want to simply apply heat and roll. Avoid over-pulling. For thick/coarse hair [use] boar bristle brushes, they grab the cuticle and help you stretch and smooth the hair.”
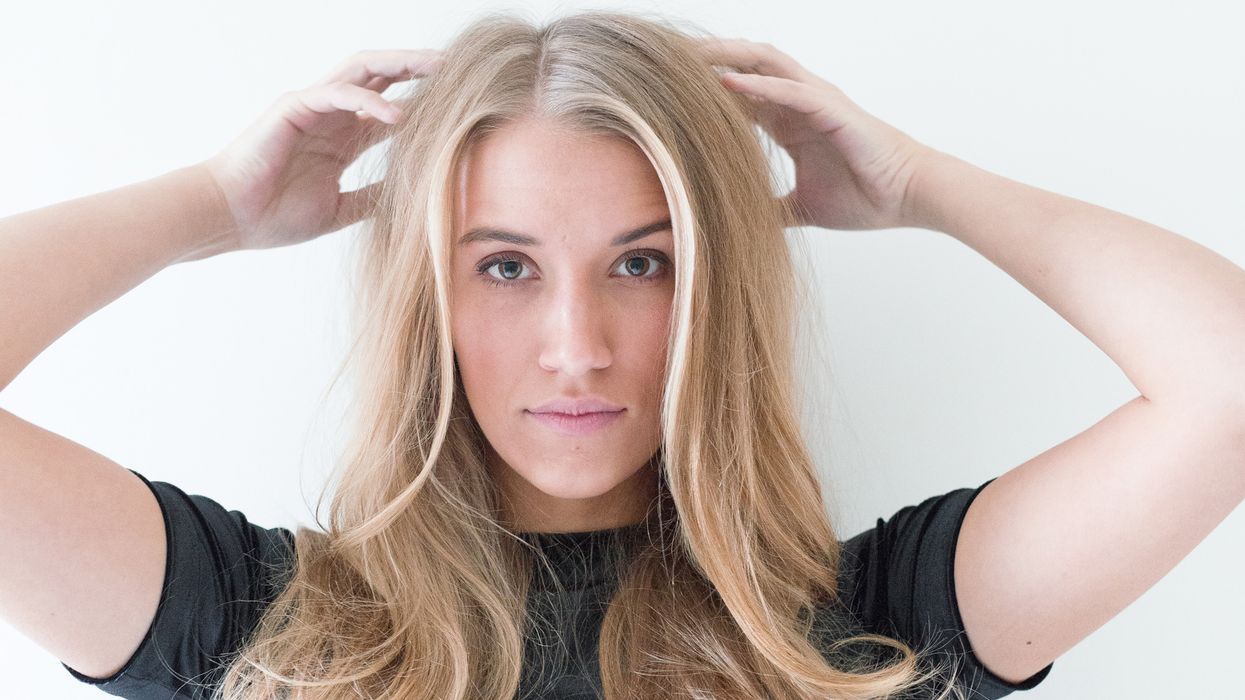
1. “Start with clean, healthy hair. Shampoo and condition with gentle and moisturising products. For fine hair, put conditioner only on the ends, this will help prevent the hair from being heavy and falling flat at the root. For thick/coarse hair apply condition all over. Rinse thoroughly for both.”
2. “Towel-dry the hair to remove as much excess water as possible. While drying the hair, simultaneously massage the scalp (the same motion you do when shampooing), [to] give body to the roots.”
4. “Once hair is 80-90 percent dry, section the hair in 3 parts vertically—the center section should be approximately the same width as the brushes you are using. Clip the left and right section away so they don’t interfere with your first section.”
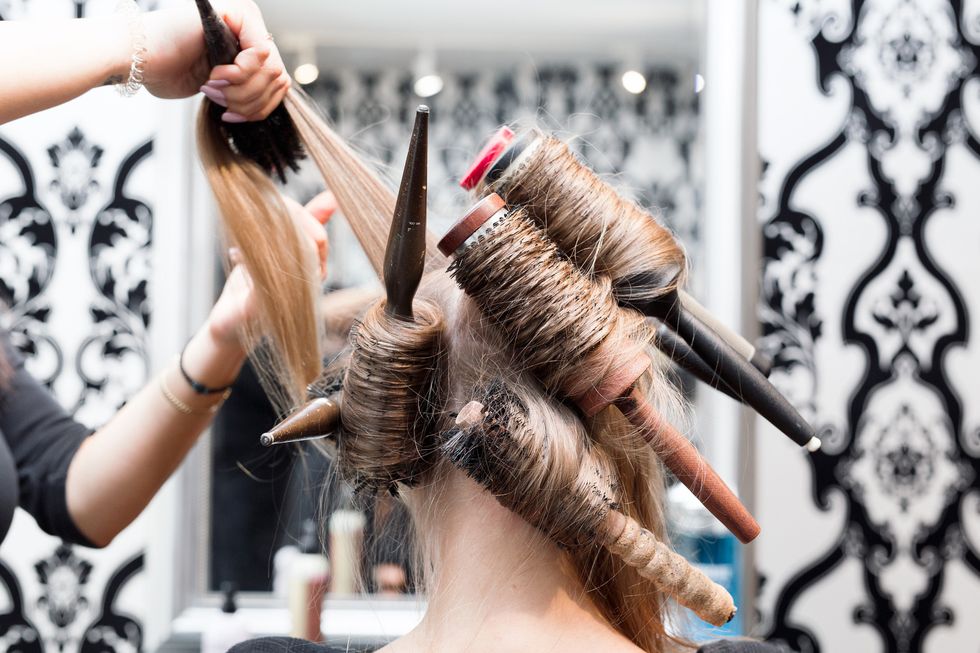
5. “Like Drake said, start at the bottom and work your way to the top. Don’t be afraid to grab a big section (especially on fine hair—with thicker hair you may want to take a smaller section). Take a large round brush and smooth the hair over it with the blow-dryer, curling the brush under the hair. Apply heat and roll the brush inward to lock it in place with your hair standing straight up at the root—this will give you the most volume. Continue this all the way to the top. Repeat the same steps on the left section, then right.”
6. “Remove the brushes in the same order they were applied and tousle it for a natural flow. The longer you leave the brushes in, the more body and curl you’ll get. The earliest they should be removed is when the hair has become cool to the touch.”
7. “Warm up a few drops [of serum] in your hands and pull your fingers through the ends of your hair and around the front at your face. It’s a final polish as you place your fabulous blowout around your shoulders and settle your look.”
Model: Shannon Colwill