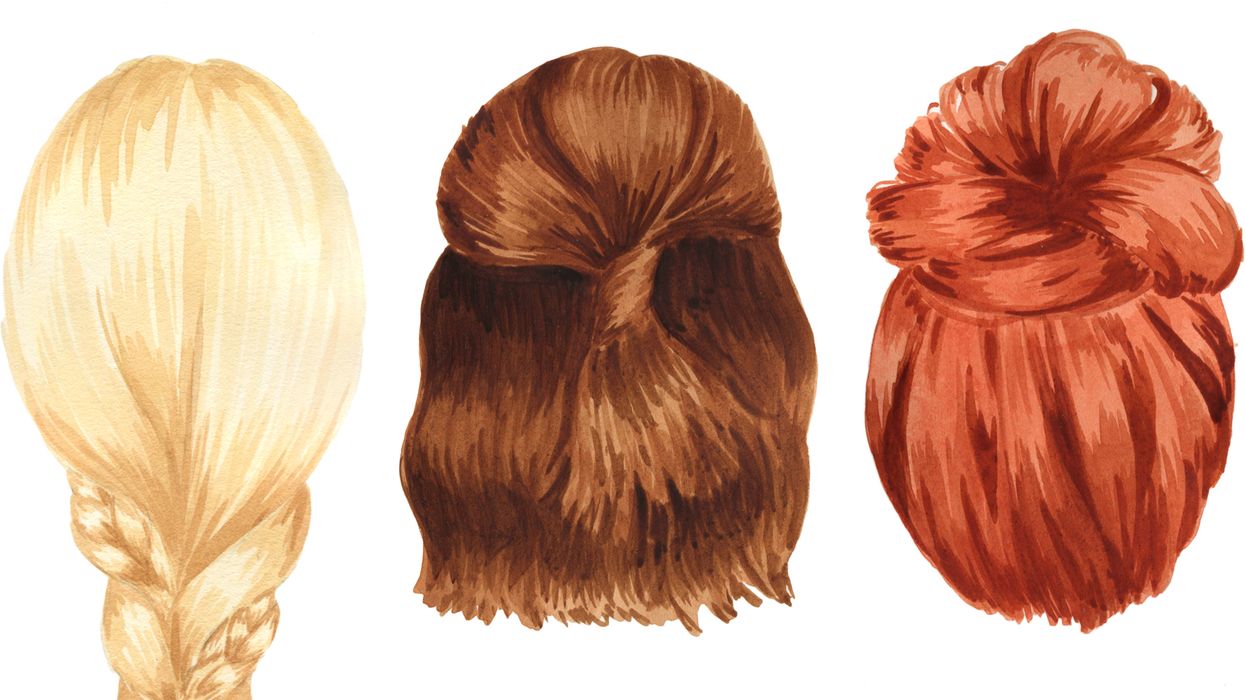
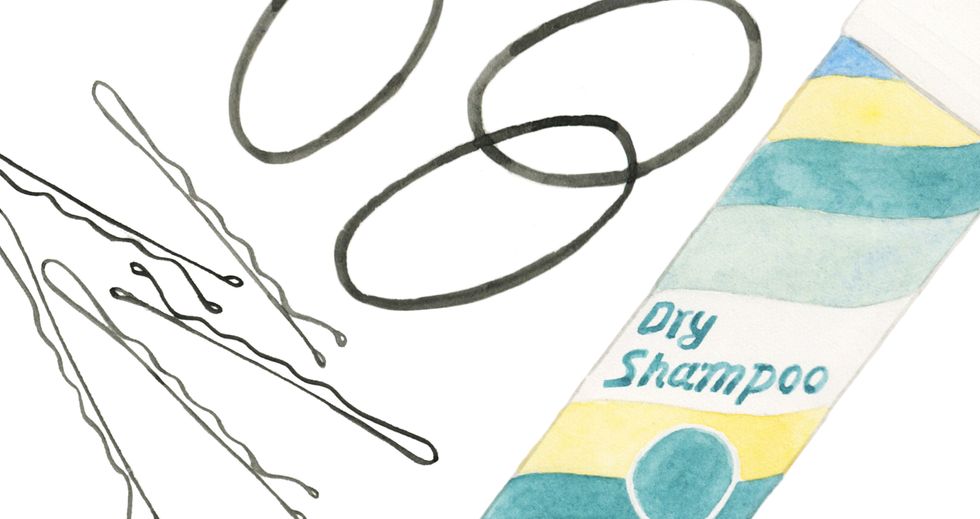
At this point, our relationship with music festivals is increasingly become that of a love-hate one. Yes, there's the initial rush of purchasing those tickets, but the thrill inevitably wanes once we realize at some point, we'll be required to go without shampooing at least one day (if not more) longer than we'd like. In the interest of not bobbing along with a ratty top knot for the entirety of Drake's set; we hit up Kristin Ess (also known as the patron saint of Lauren Conrad's side braids, perfect waves and robust buns), who was kind enough to hook us up with 3 days worth of hairstyles that can be achieved with just some bobby pins, an elastic hair tie, and some dry shampoo (duh!). Oh, and a curling iron, but c'mon—greatness like this isn't achieved without just a little effort.
1.
The Fun Bun
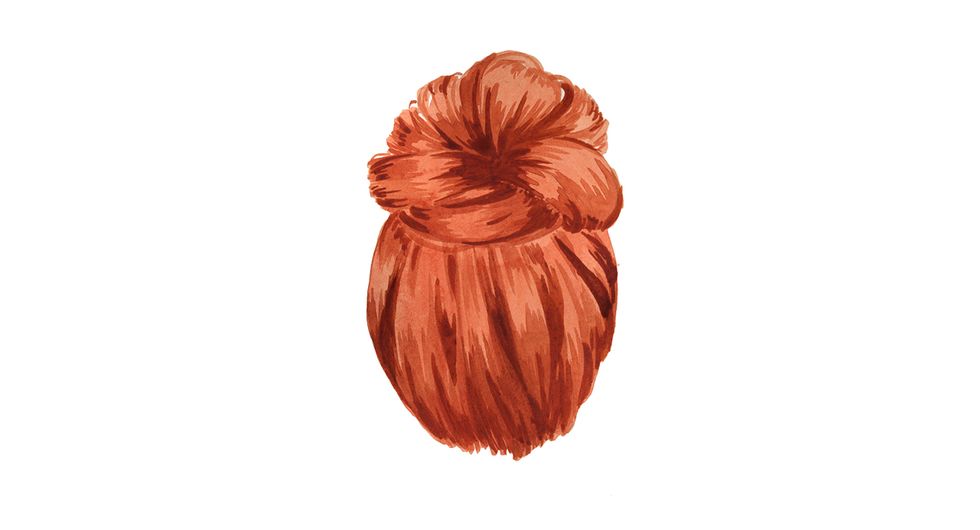
Step 1: "If your hair is straight, use a 1' curling iron to curl everything under. This will make it easier to tuck pieces into the bun. When they’re straight, they tend to pop out more. If you have wave or curl hair, you can skip this step if you want to."
Step 2: "Flip your hair over and gather everything into a ponytail on top of you head, securing it with an elastic ponytail holder."
Step 3: "On the last time around with the ponytail holder, only pull the ponytail through half way."
Step 4: "Take the loop you’ve created and spread it out. Don’t over think it. Just widen it and allow it to be somewhat messy."
Step 5: "Take the tail end and wrap it around the ponytail base."
Step 6: "Pin the end of the ponytail to the base using a couple of hairpins or bobby pins."
Step 7: "Gently pull on pieces and then pin them. This will give your top-knot a slightly more messy texture."
Step 8: "Spray a veil of medium hold hairspray all over. Don’t smooth down all of the fly aways, just lightly tuck the pieces that have gone rogue!"
2.
Braids on Braids
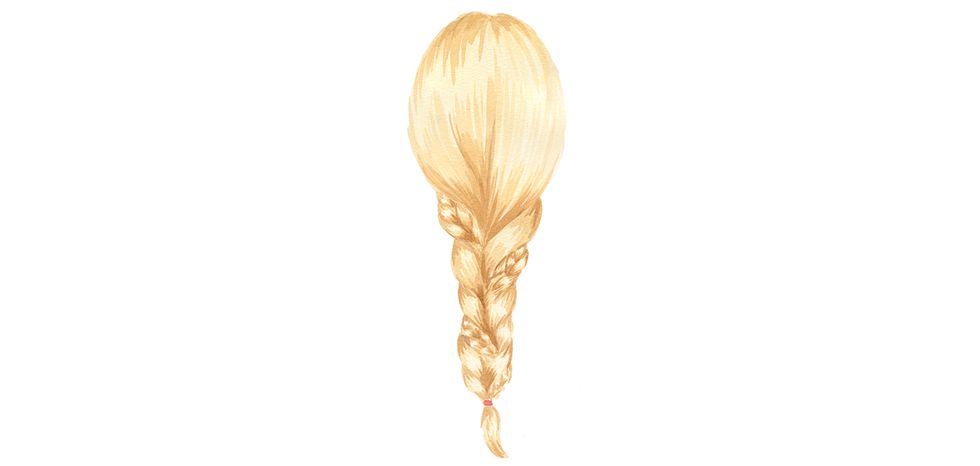
Step 1: "In a regular braid there are 3 strands. For this look, all you do is braid one of those strands beforehand."
Step 2: "Loosen the braided strand up with your fingers. This creates extra texture + breaks up the mundane pattern of a regular braid."
Step 3: "Braid as usual!"
3.
The Middle Twist
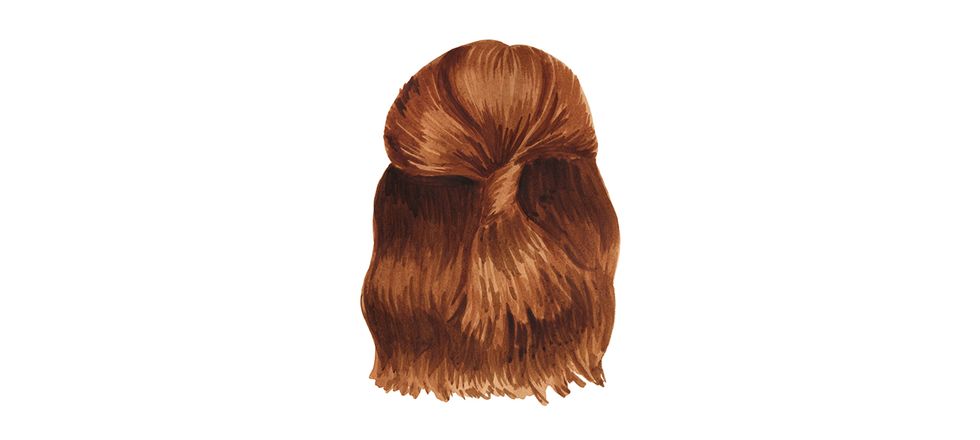
"If you already have wavy hair, skip the steps of curling. Twist a couple pieces back and add some fresh flowers or a bobby pin."
Step 1: "Start with clean, dry hair and natural waves."
Step 2: "Add a heat protecting or frizz control serum from middle to ends."
Step 3: "Use a 3/4″ barrel curling iron to refine any unruly waves."
Step 4: "Find a middle part."
Step 5: "Start with a small piece near the temple and another piece one inch or so behind that one. Twist backward."
Step 6: "Add in another small piece one inch behind that one."
Step 7: "Add in another piece and twist."
Step 8: "Add one more piece and twist."
Step 9: "Pin the twist to the back of the head."
Step 10: "Repeat this process on the other side and pin it in back as well."
Step 11: "Cut some small fresh flowers if you want! This step is obviously optional."
Step 12: "Pin them into the hair right above the twist."